|
|
26 January 2019 I recently placed a video on Youtube of a malfunctioning Linn Karik CD Player displaying error 1 1. I managed to fix the player, but I had so many queries and questions that I decided to also post the laser adjust process here. The only thing that seems to trip people up with the Karik is adjusting the HOP-M3 laser. I would like to thank Victor for his help in tweaking the process and for the photos.
Red circle -
Don’t touch this screw, it’s adjusted at the factory (from what I’ve read).
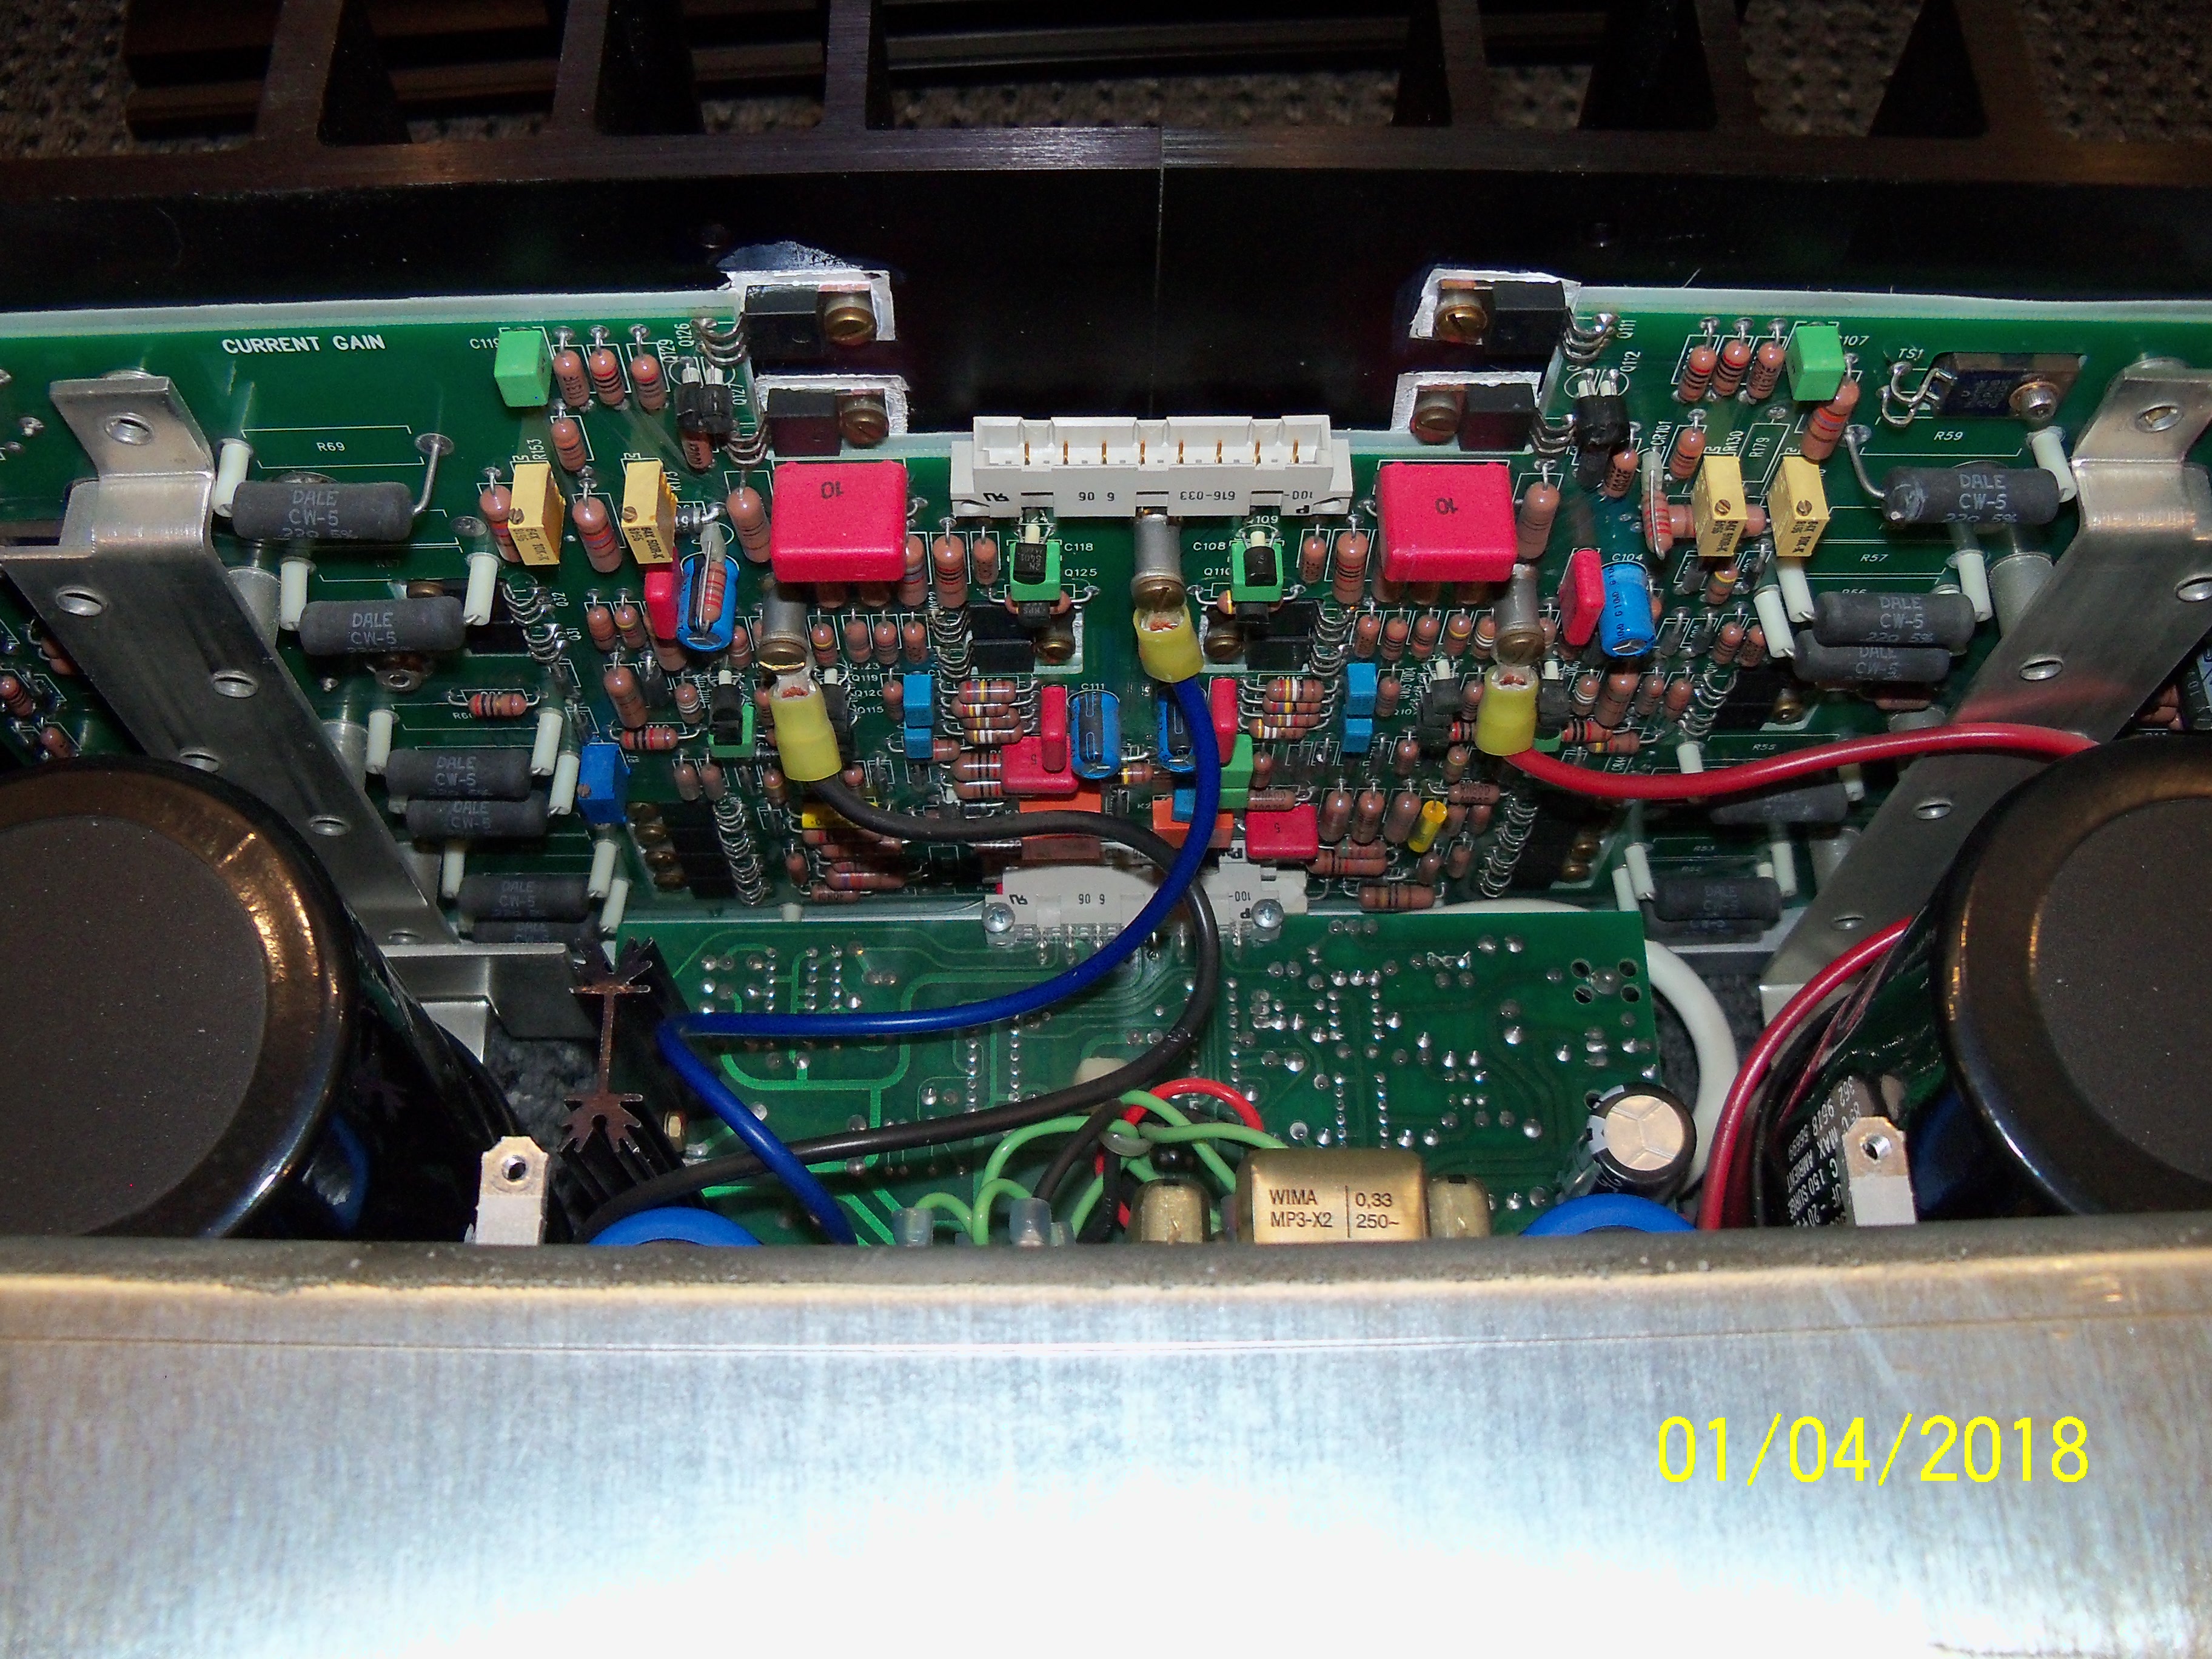
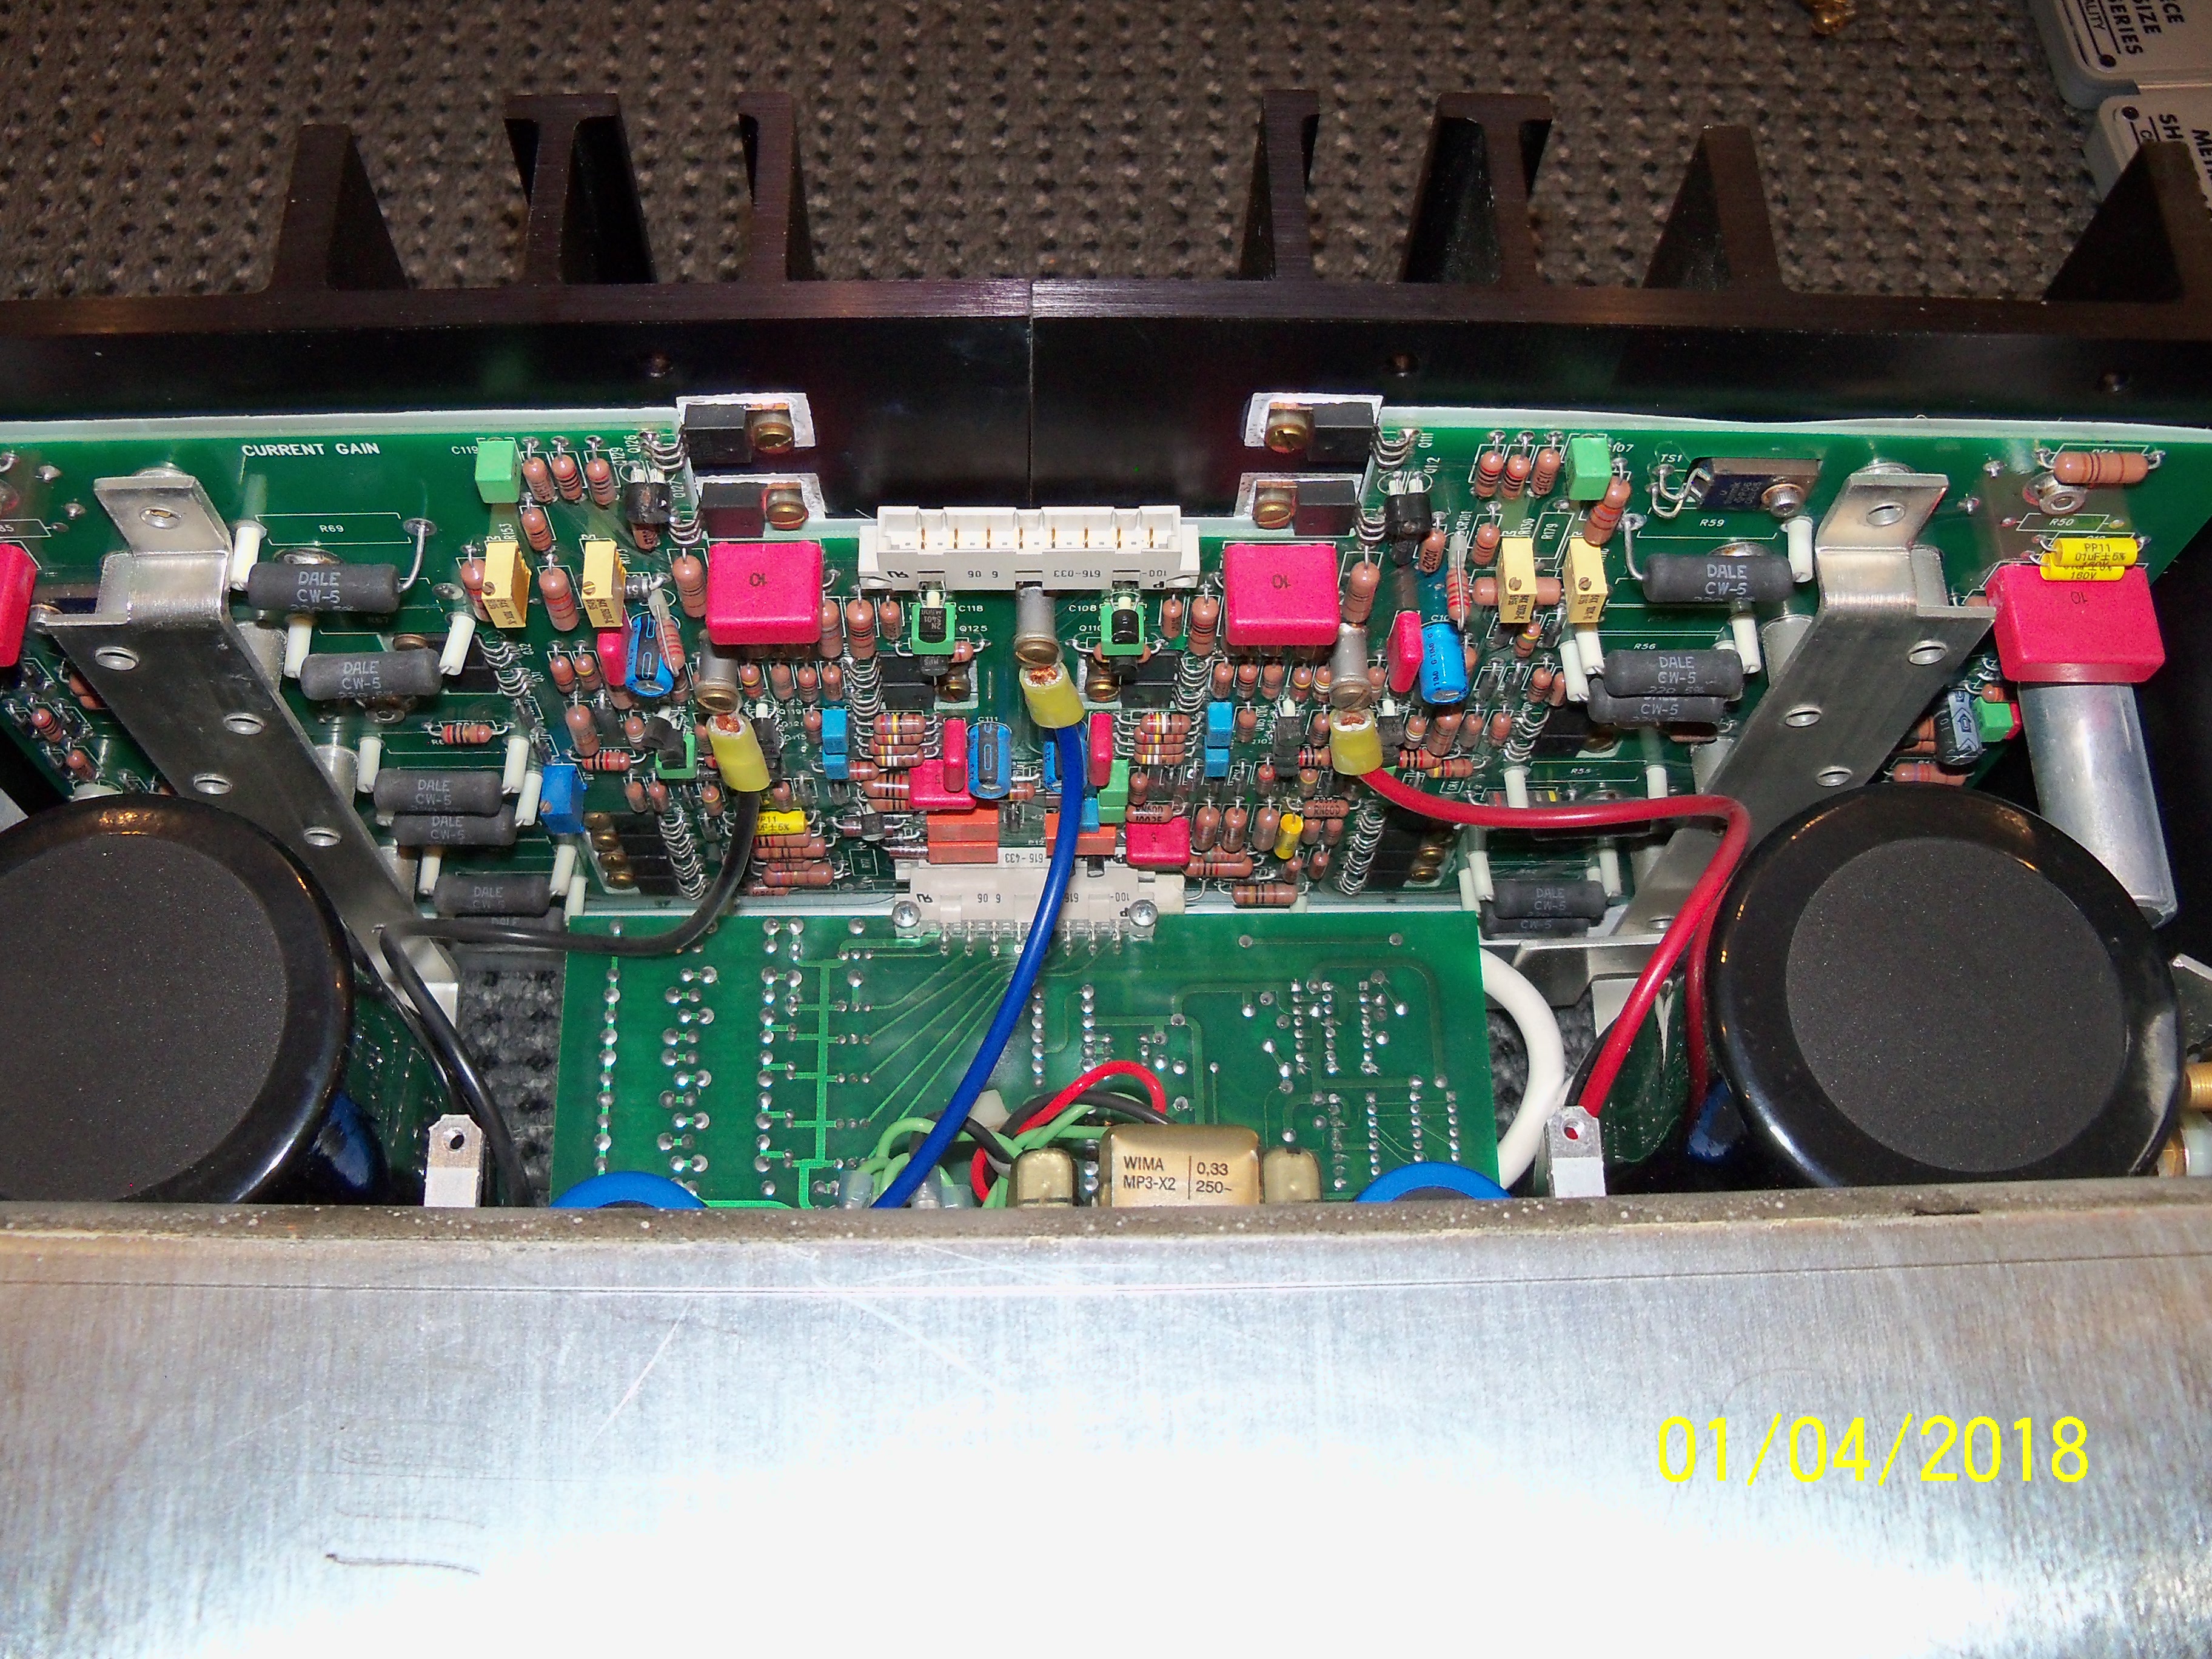
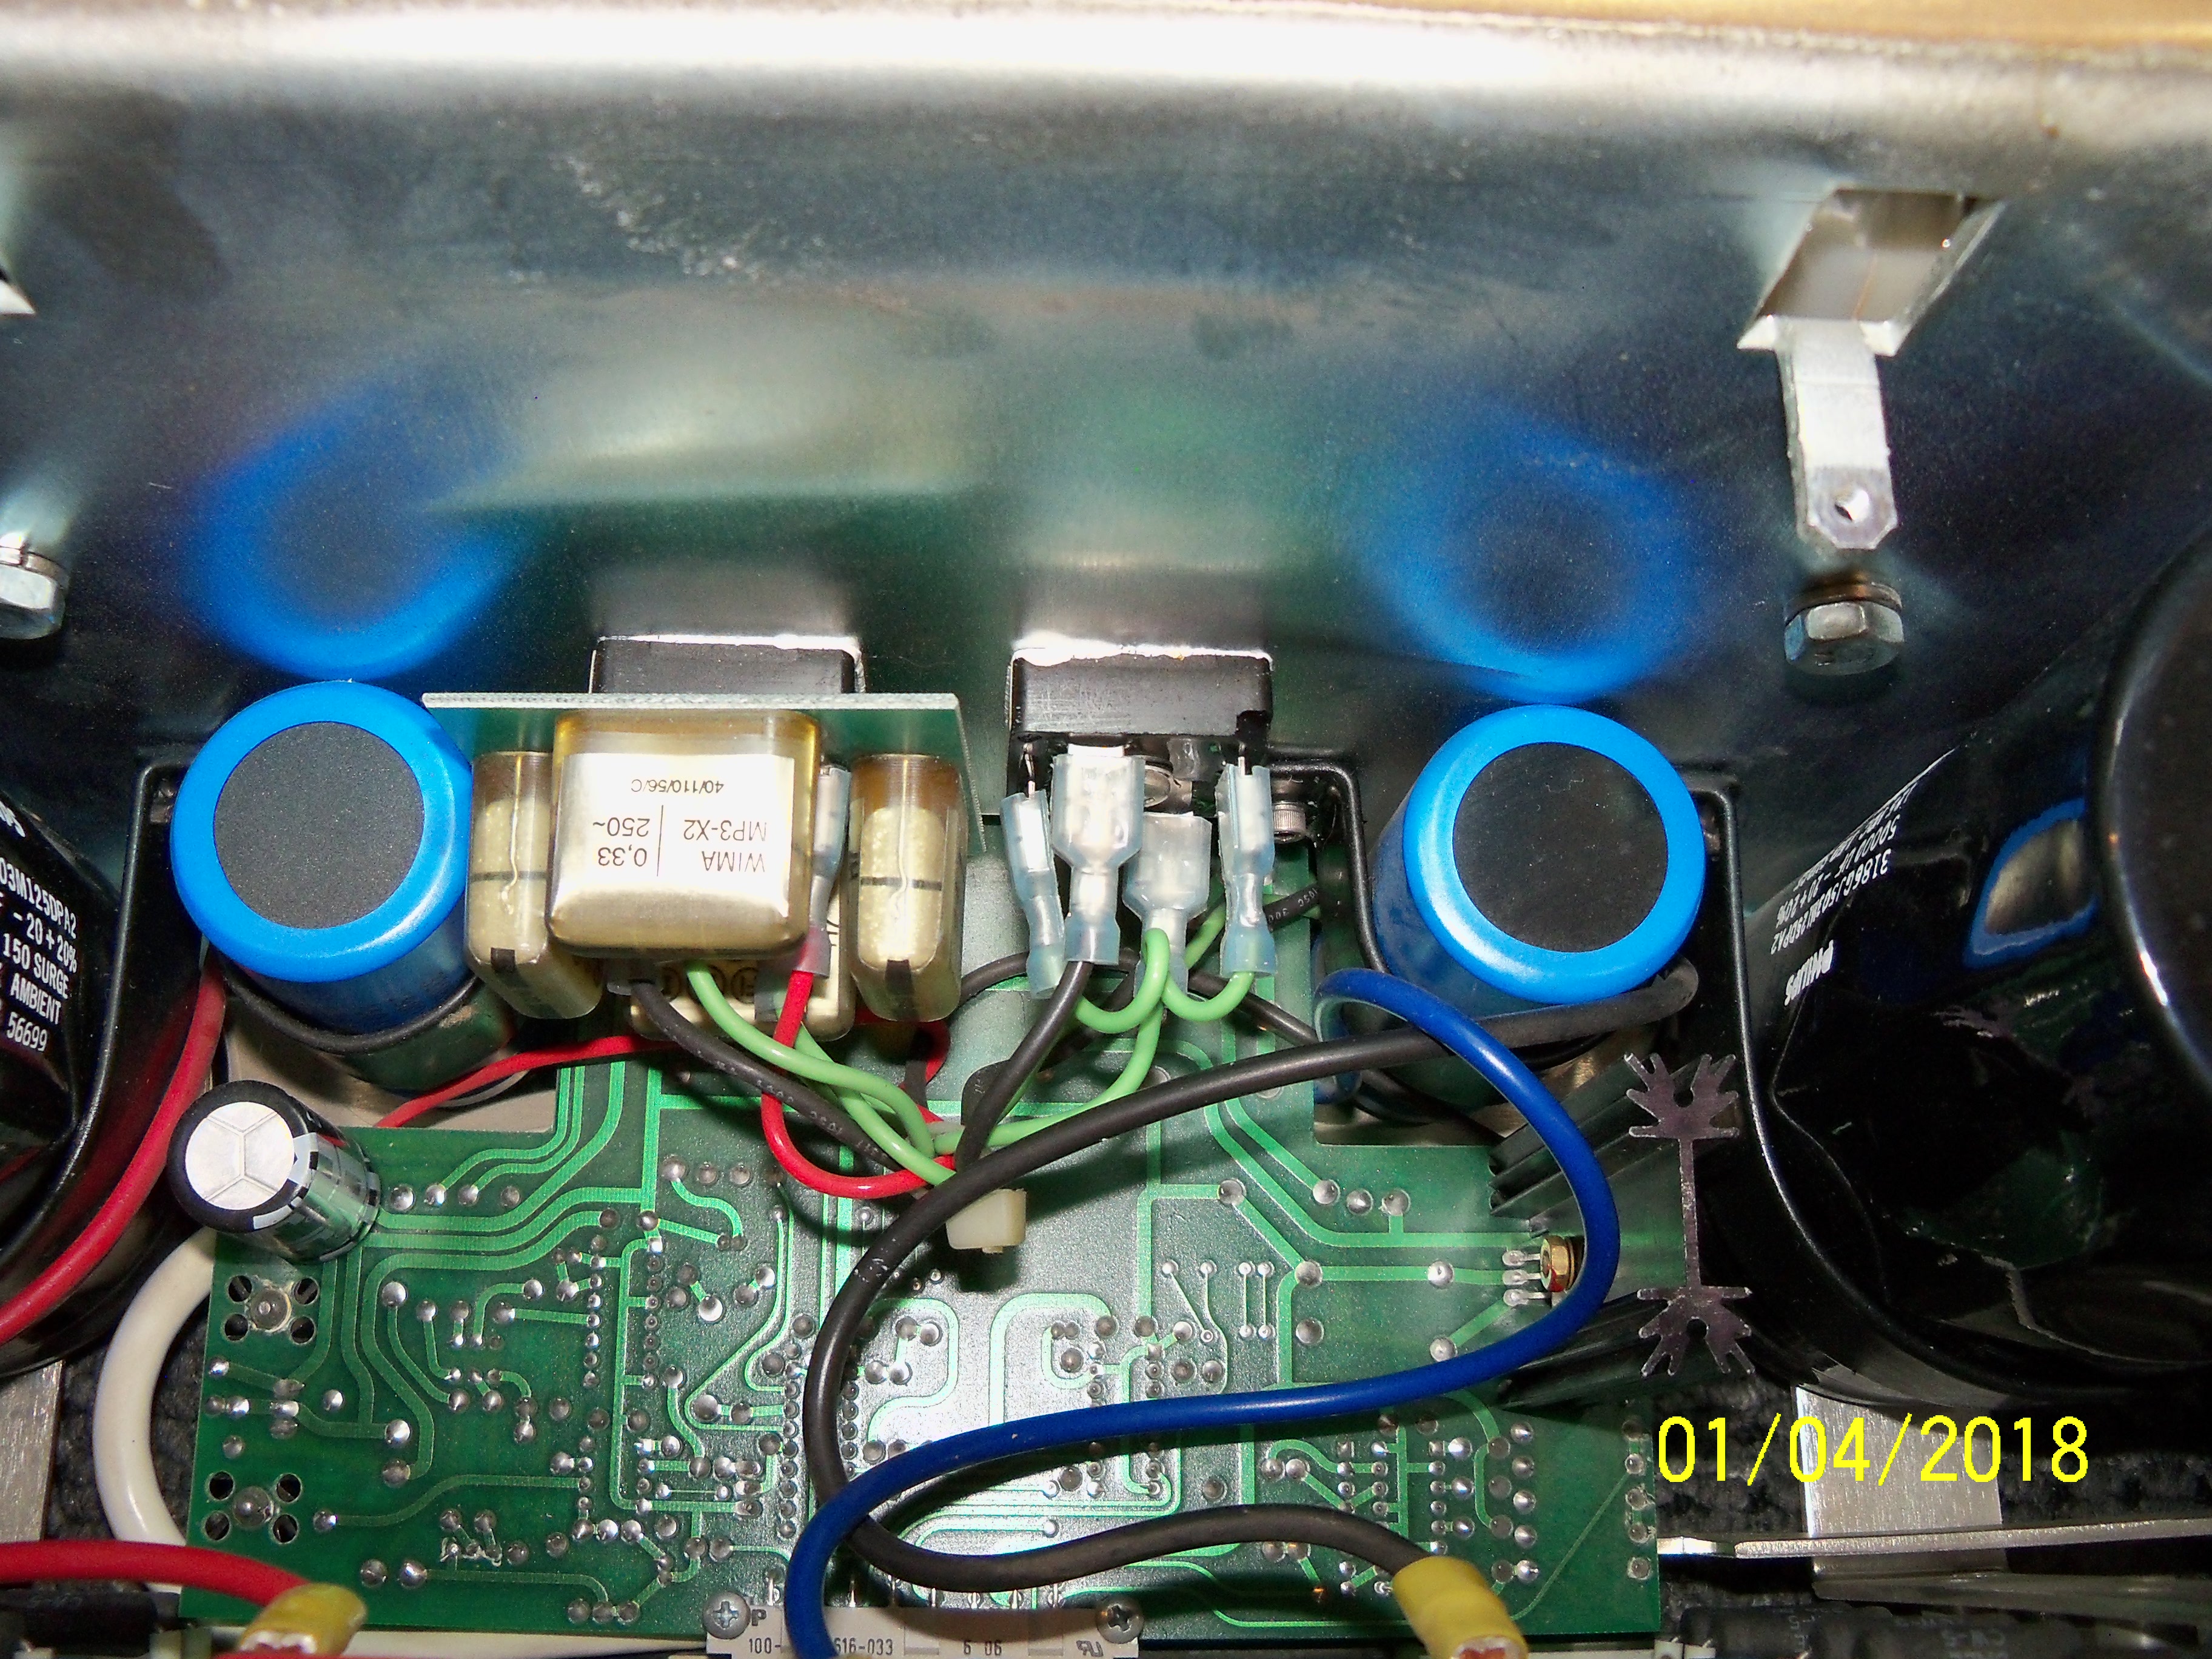
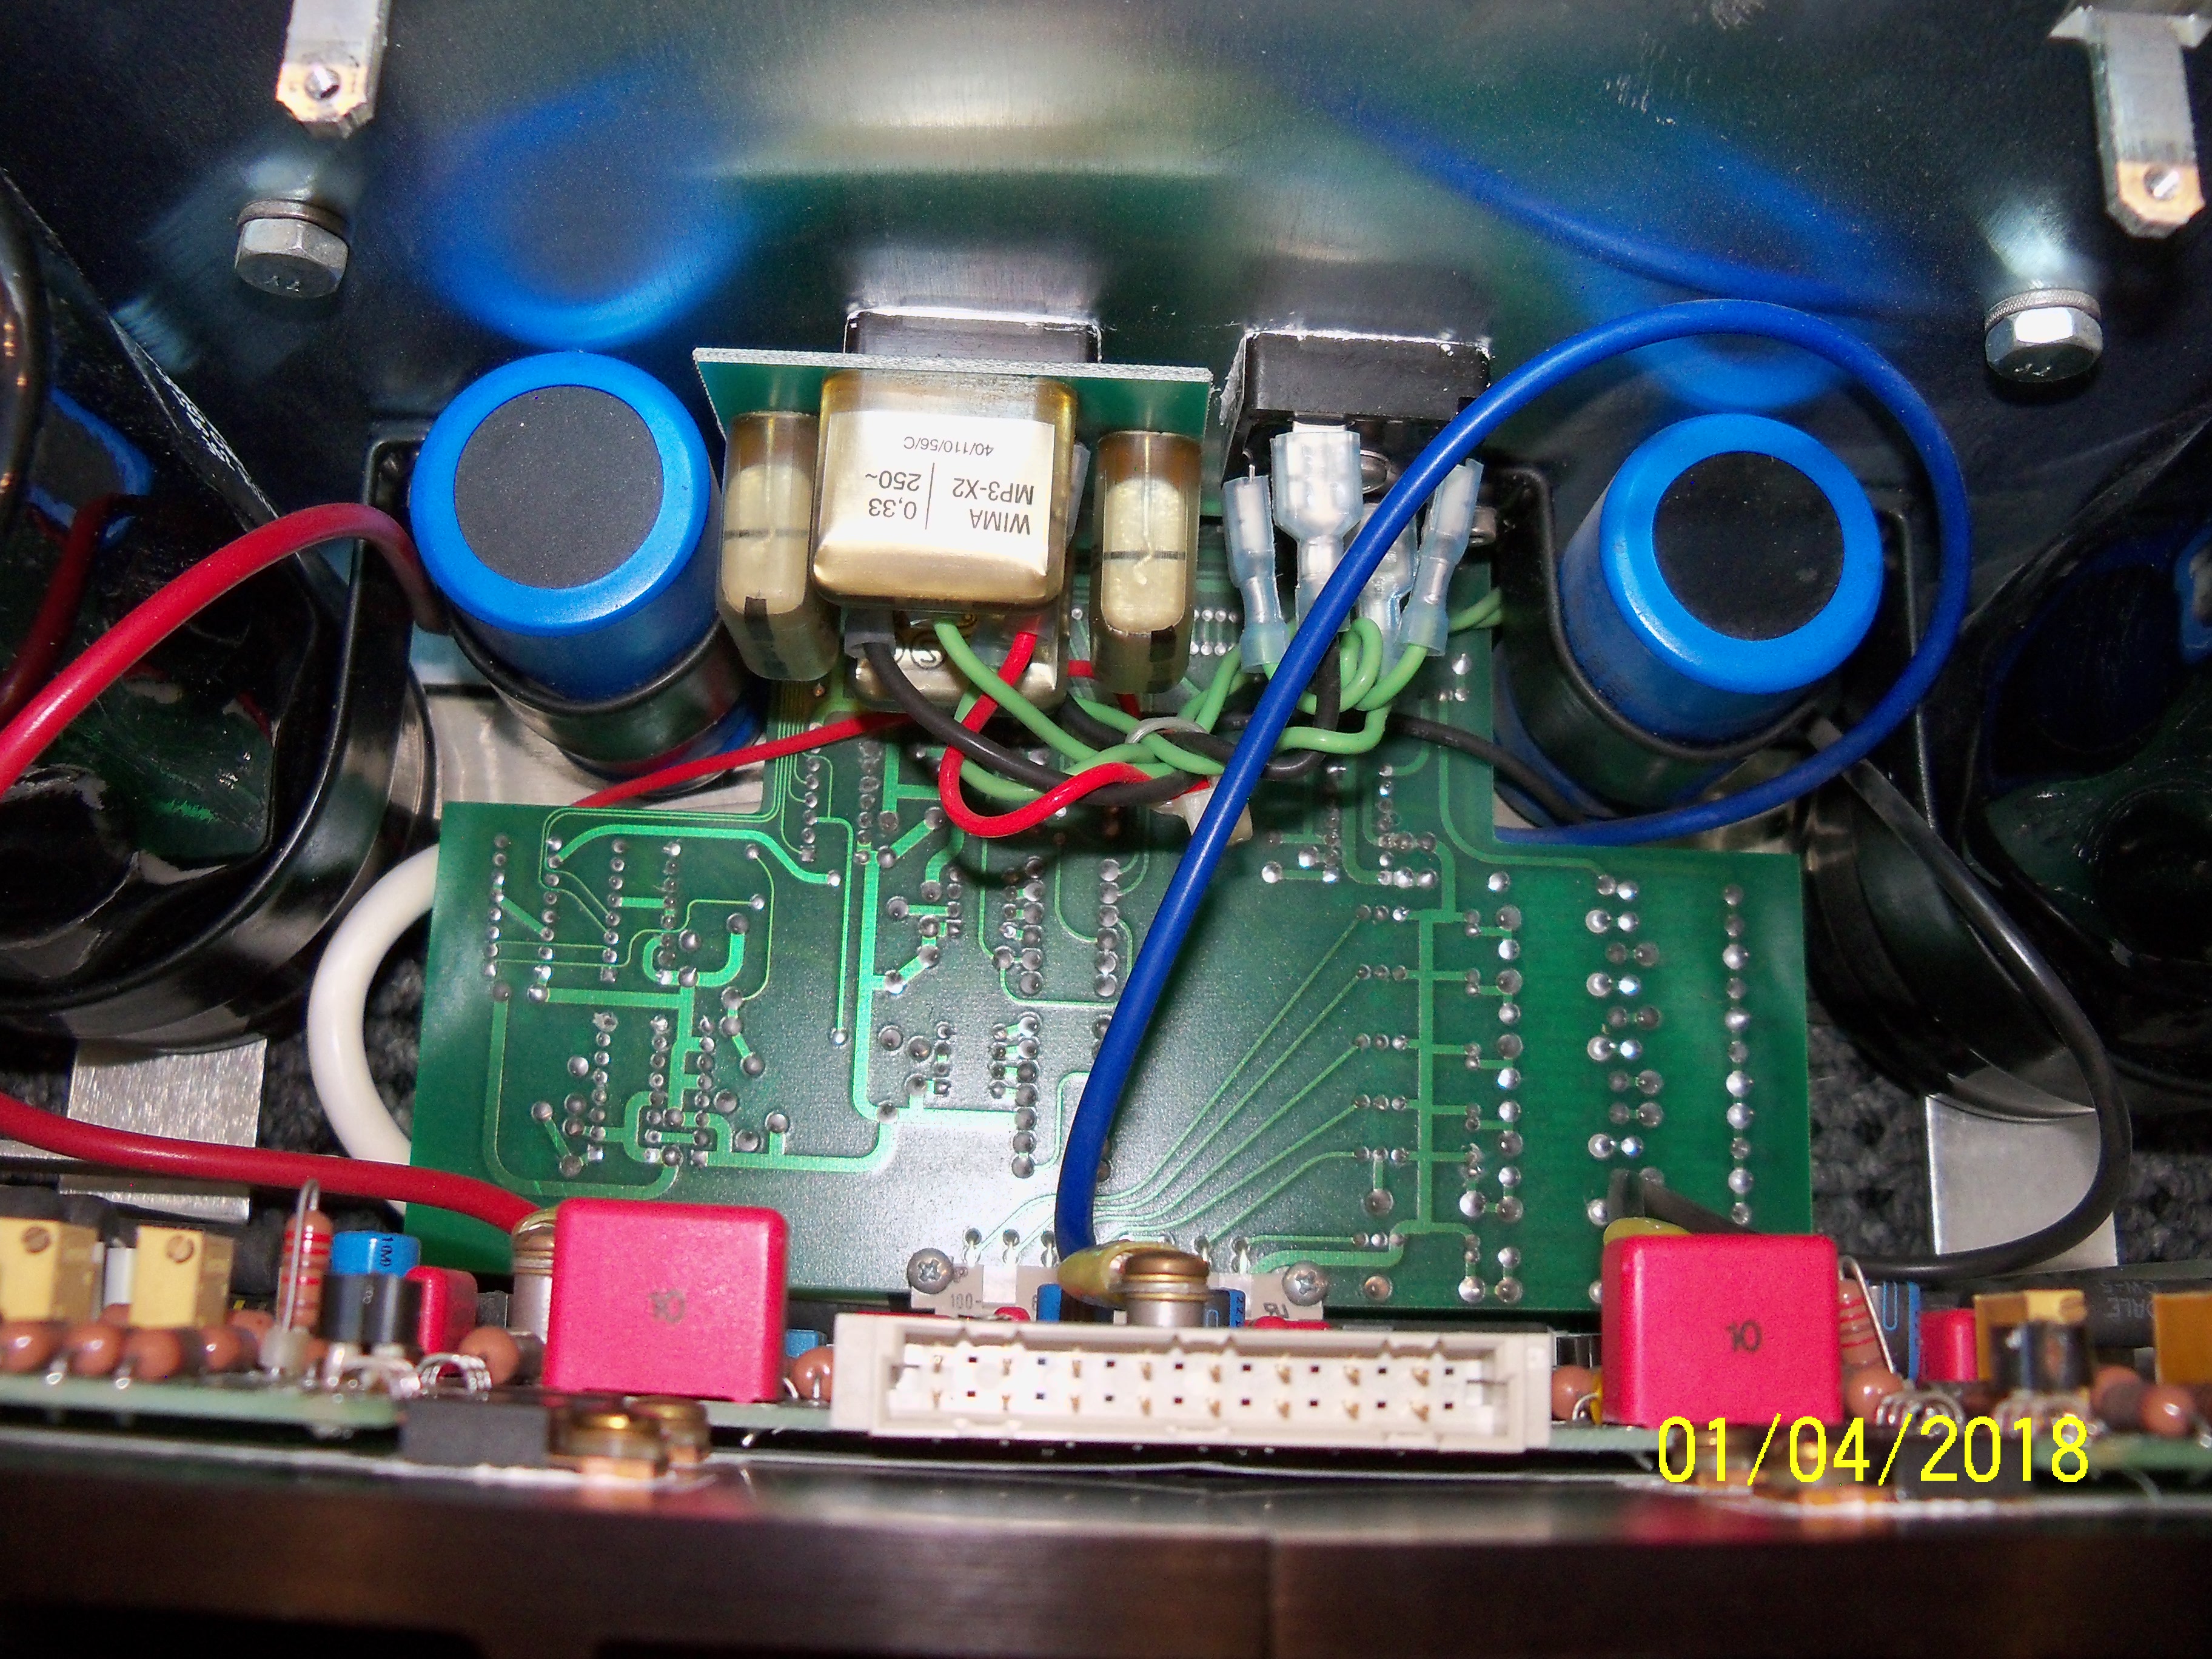
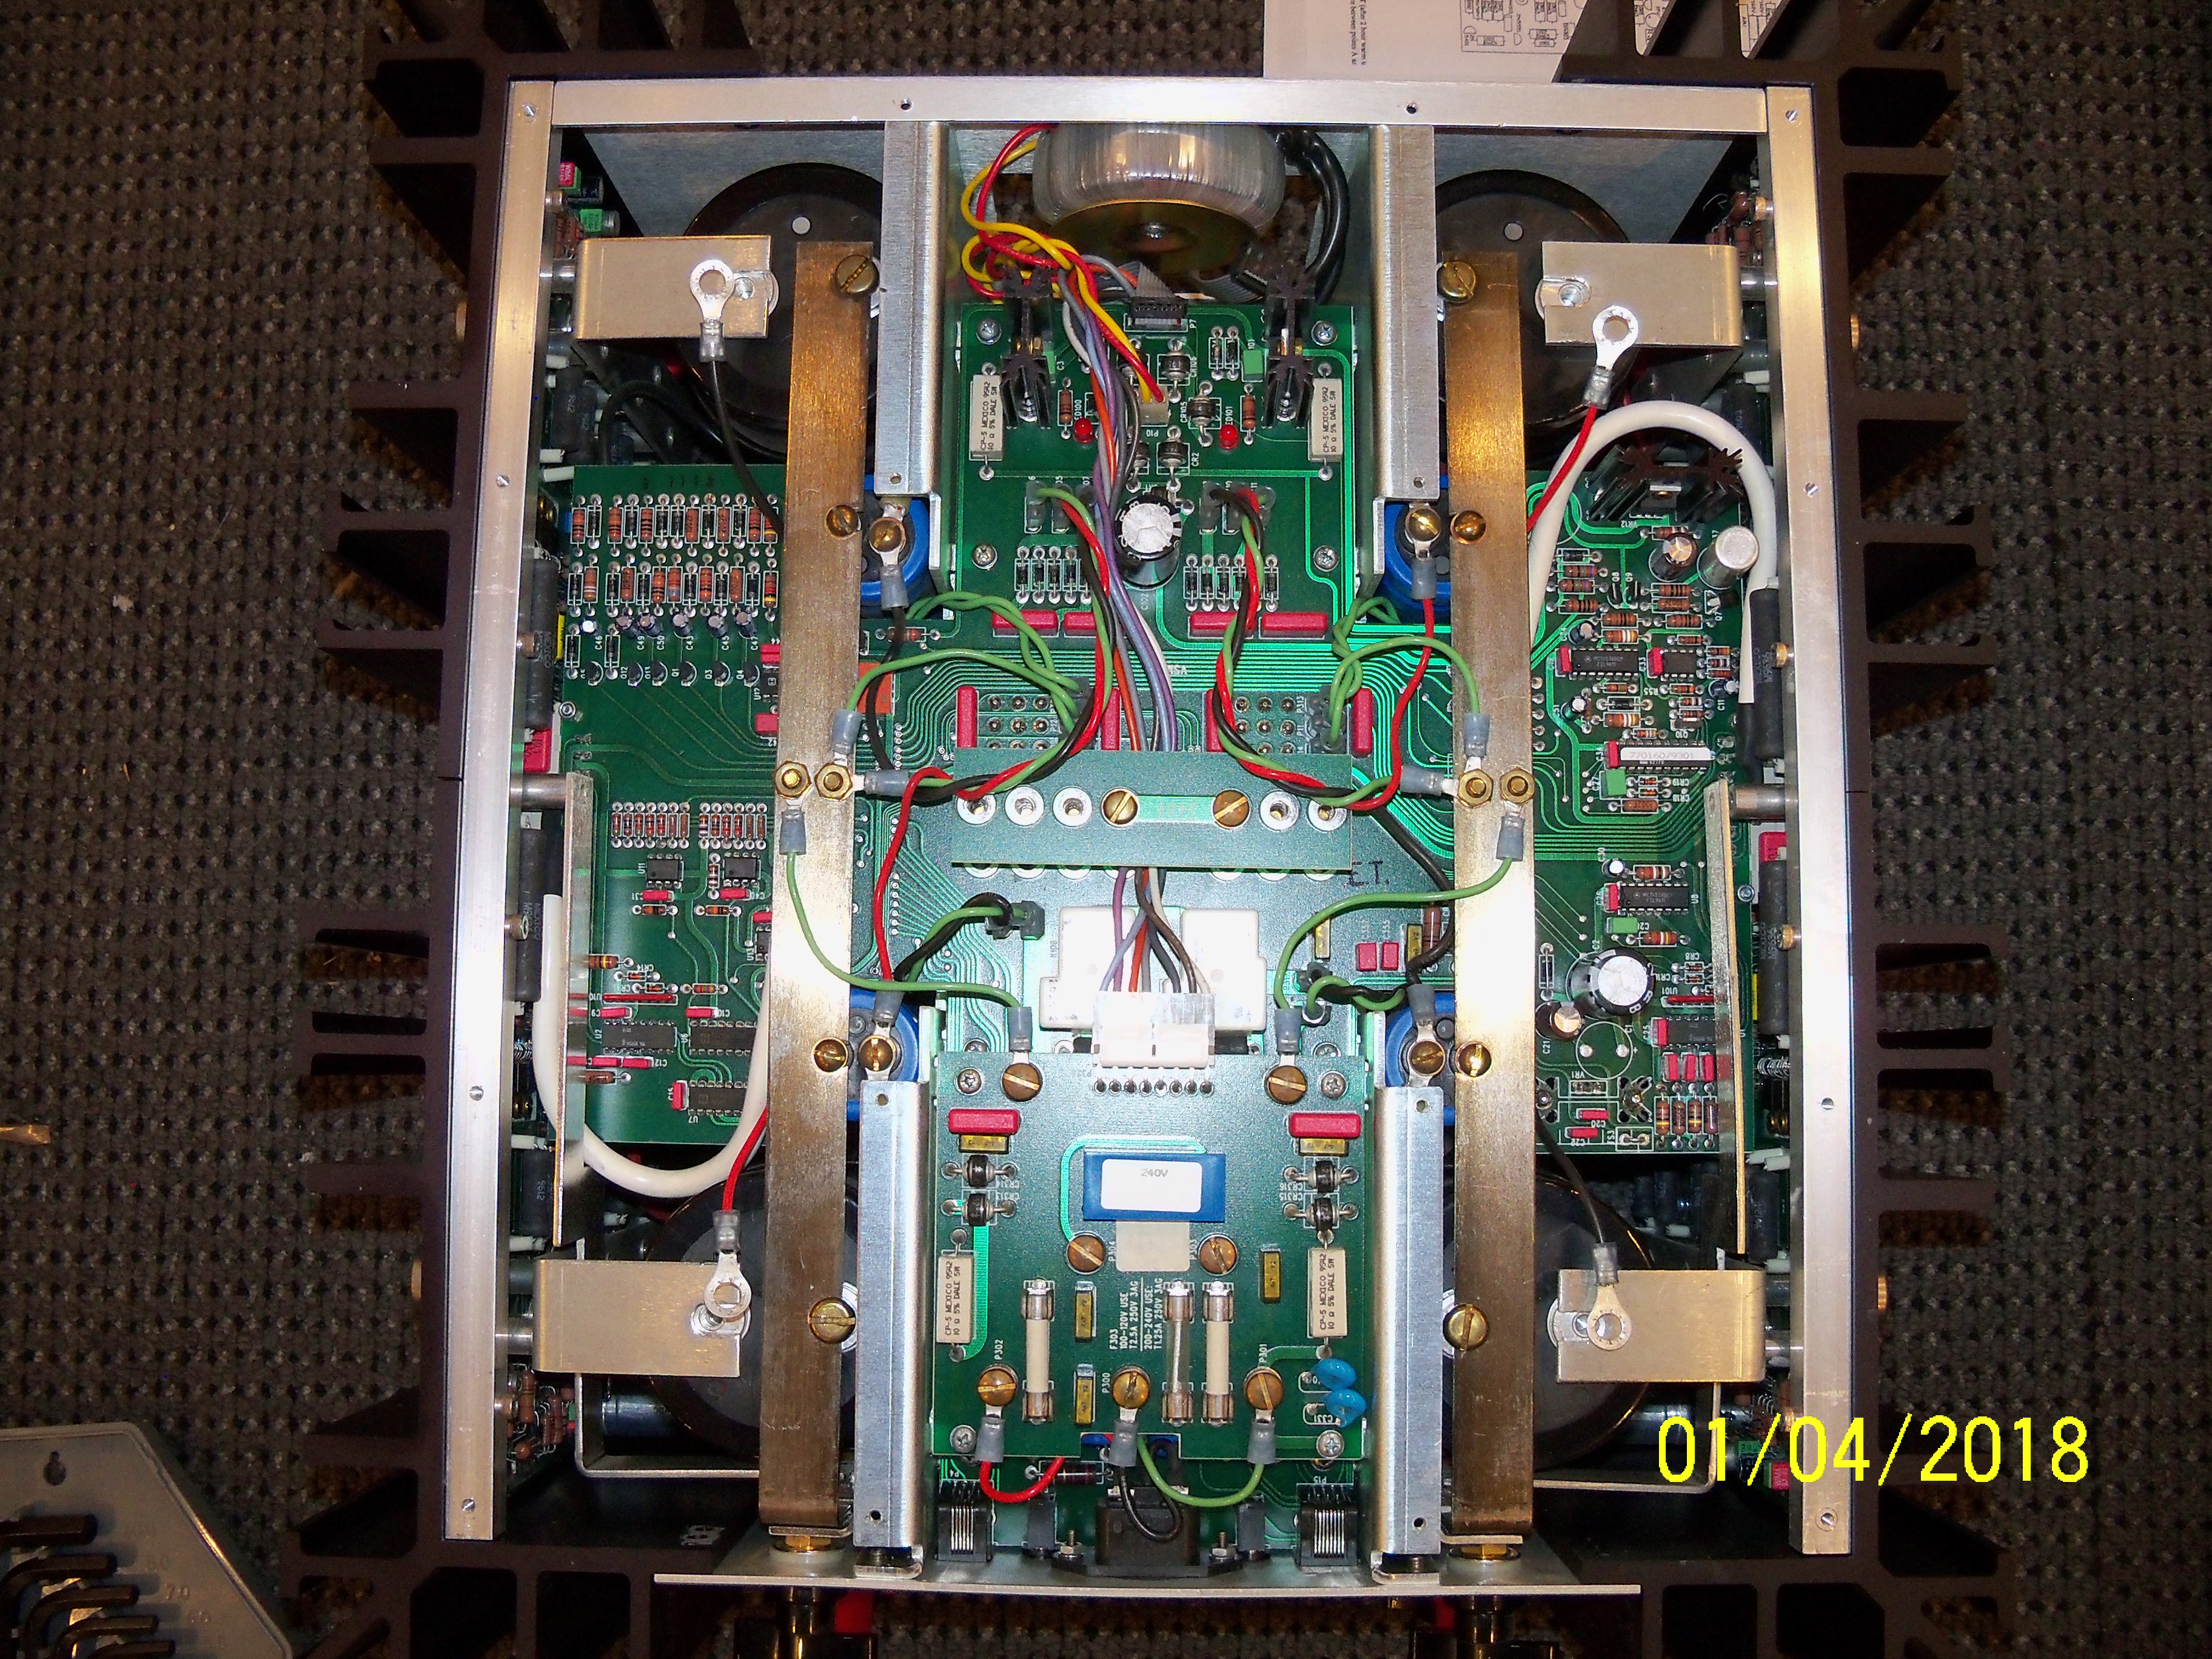
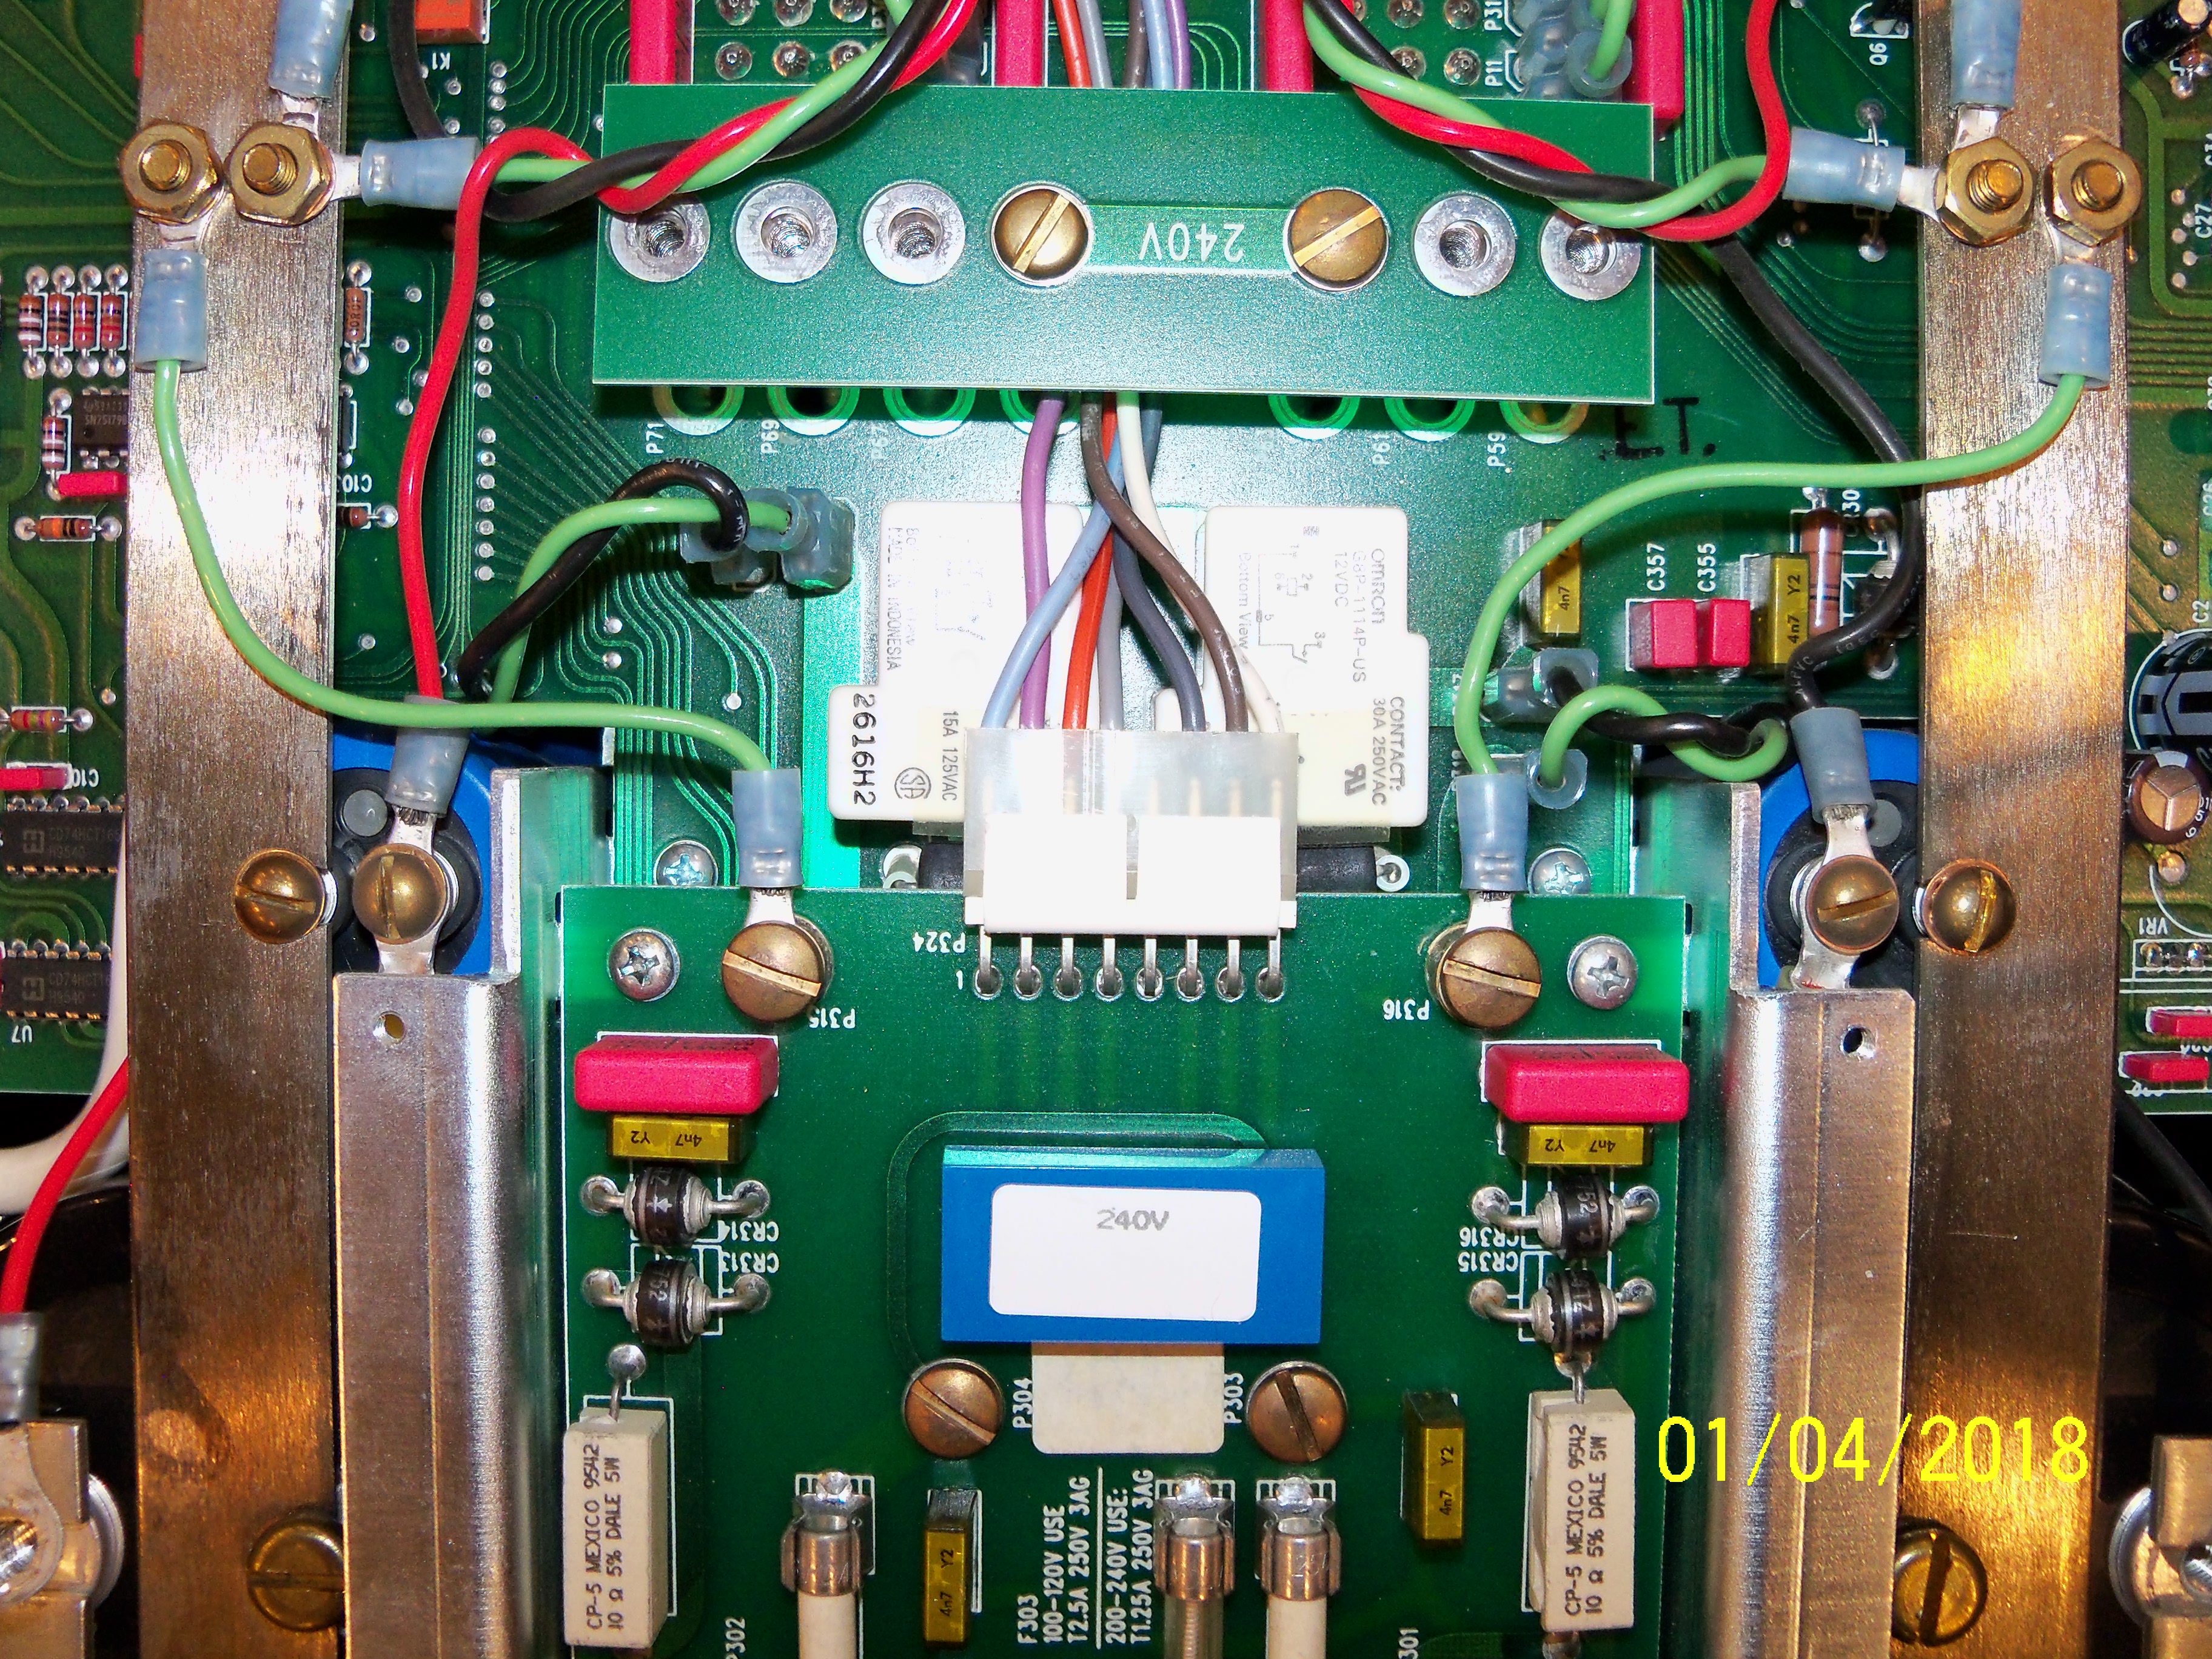
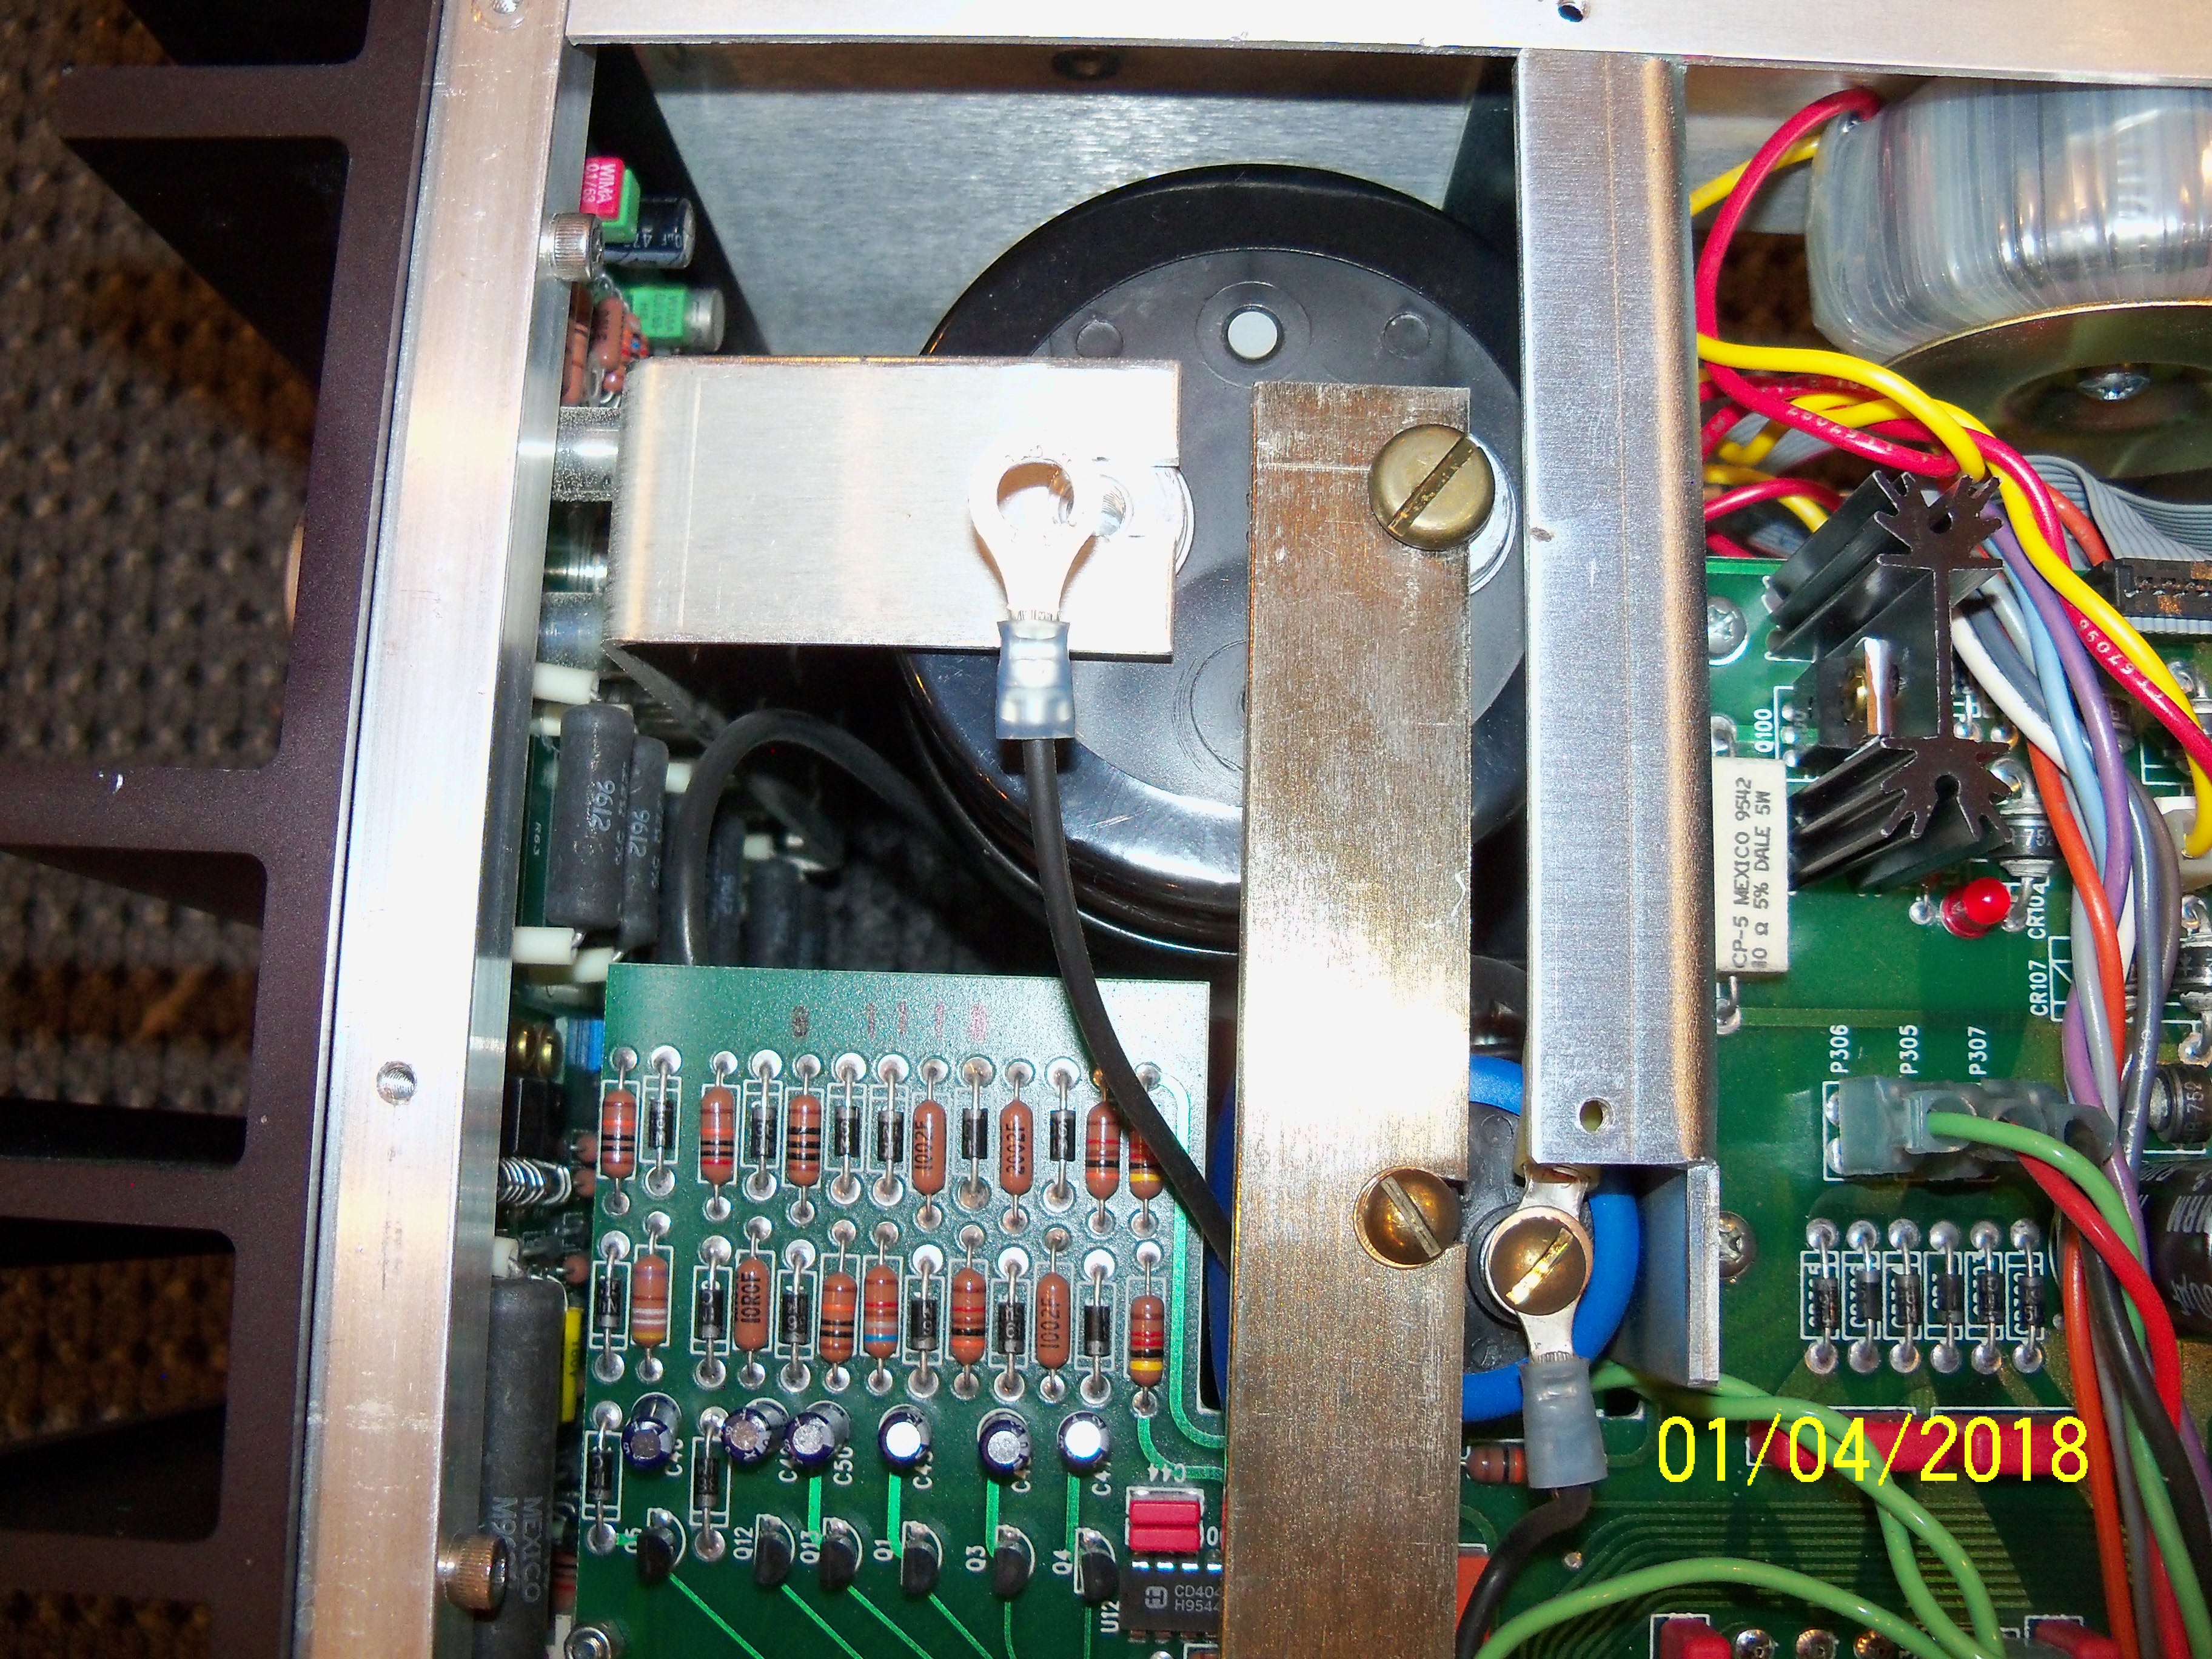
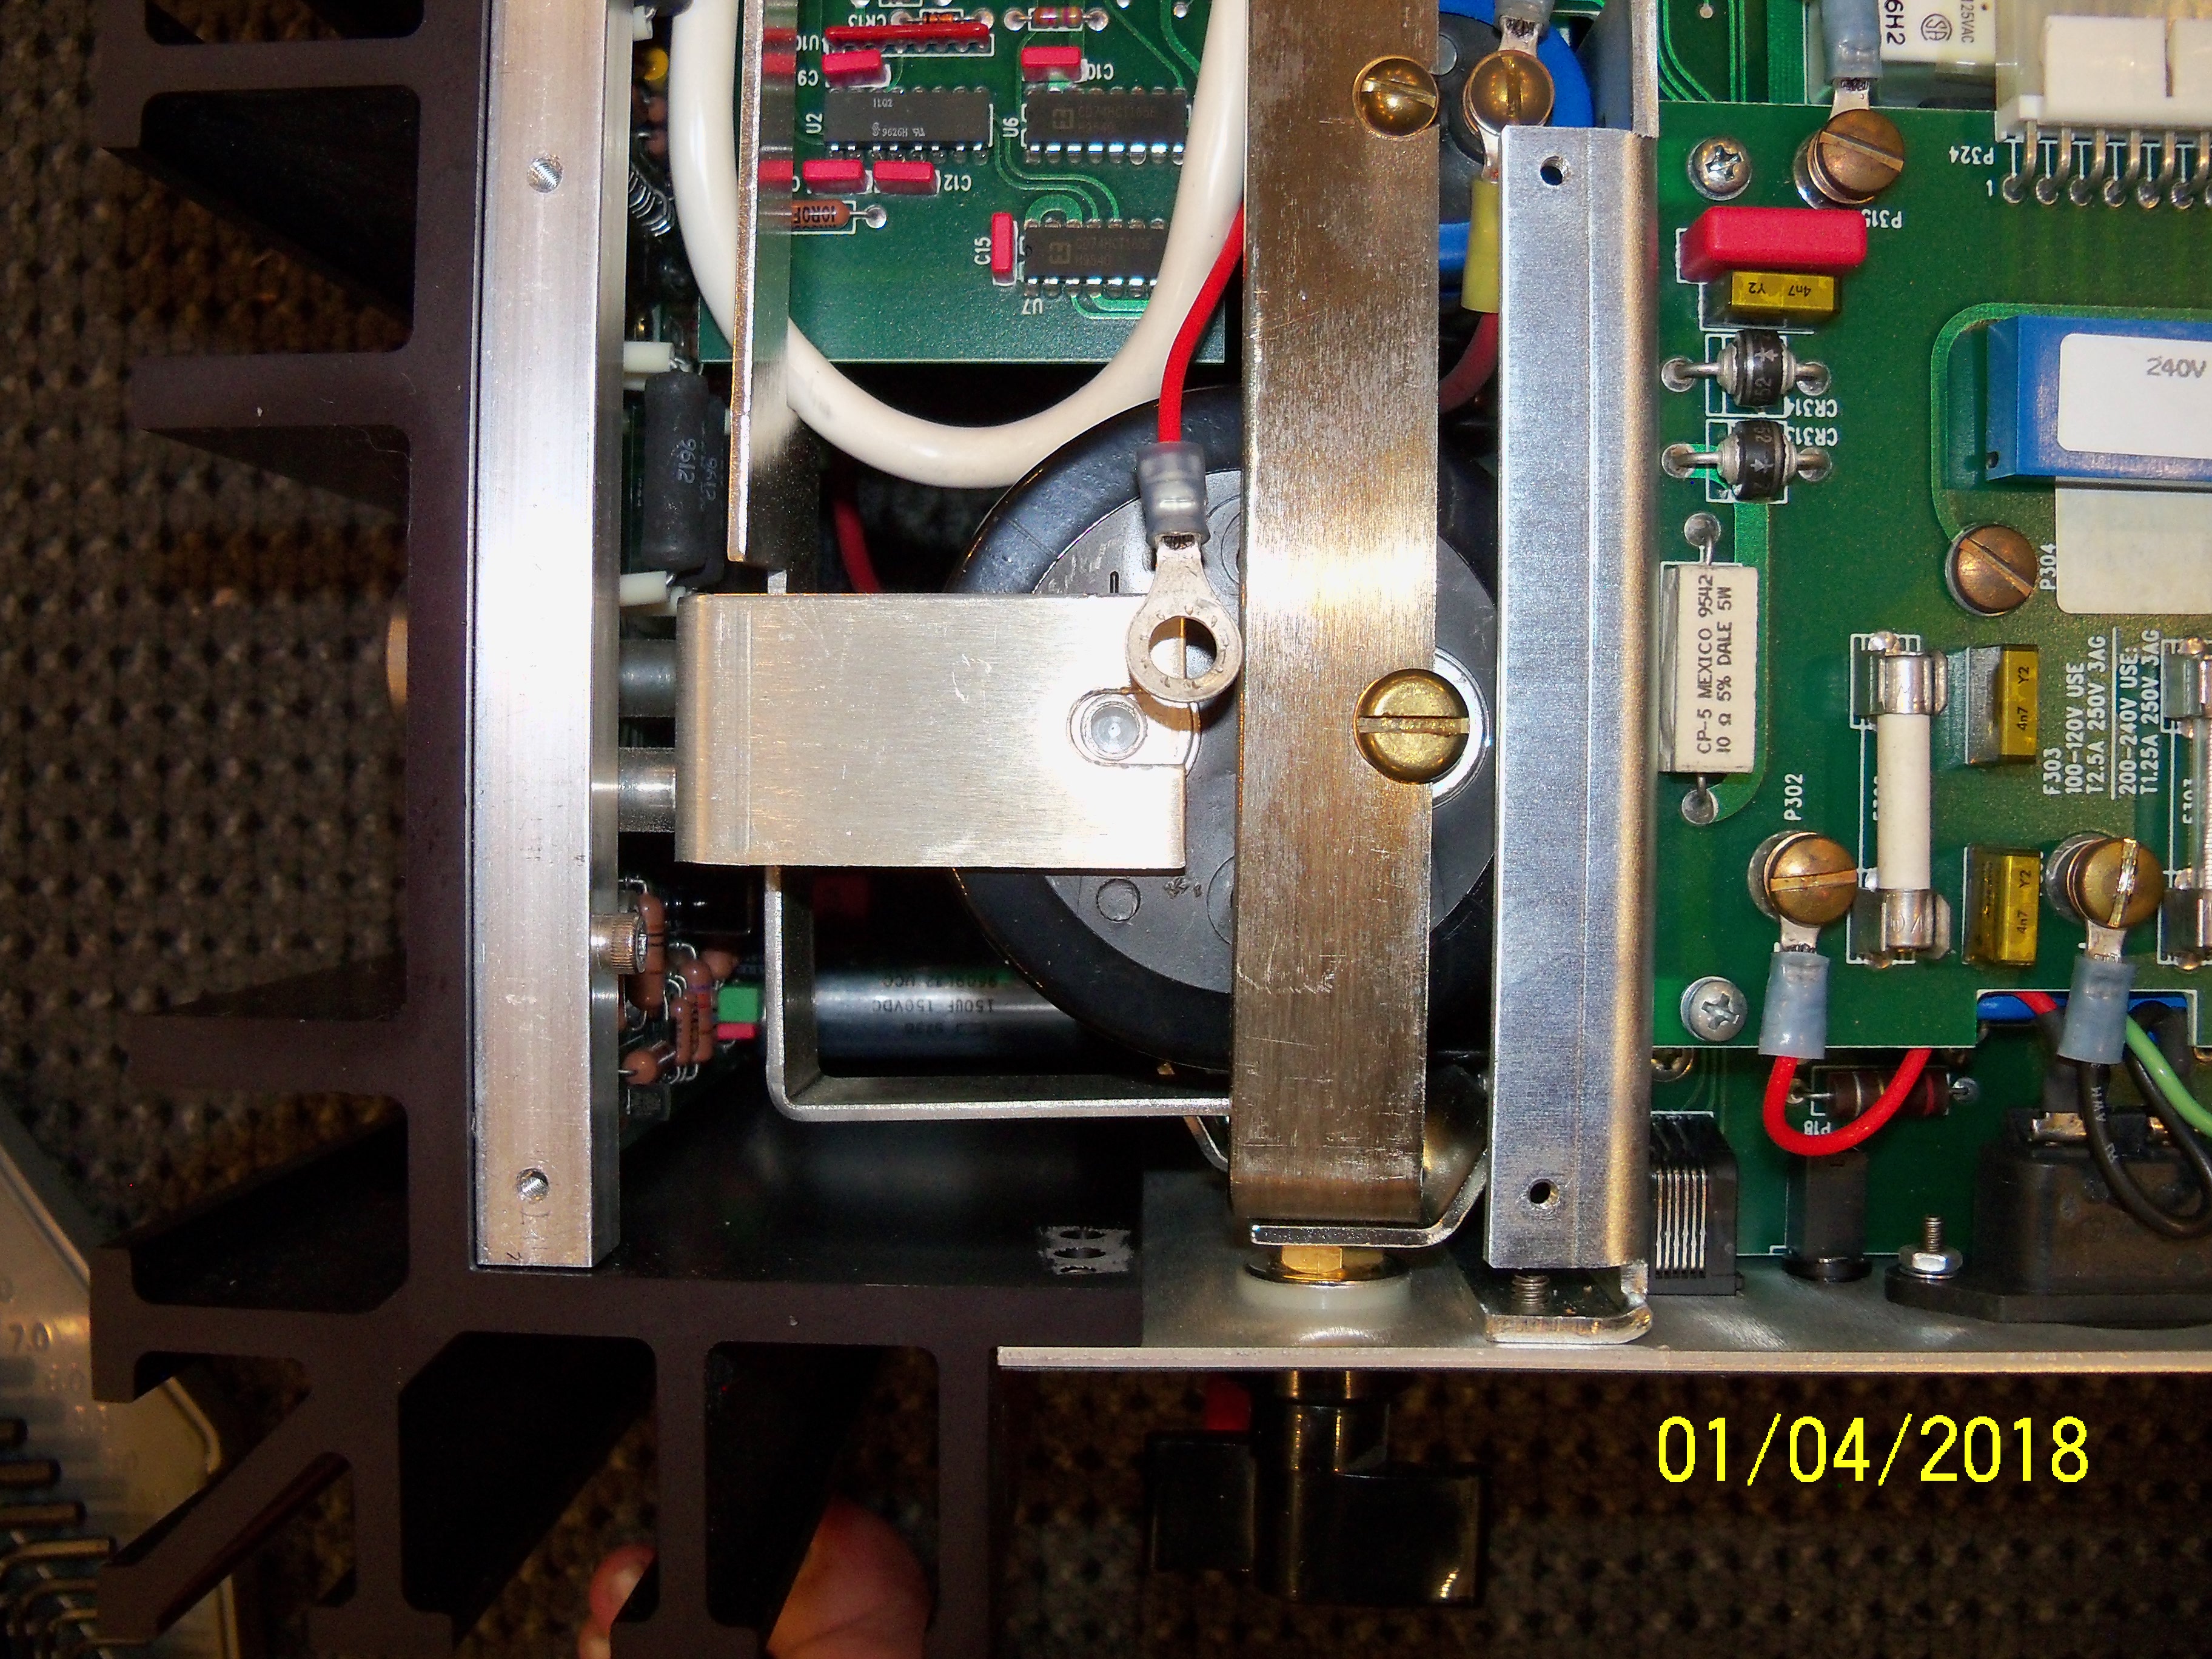
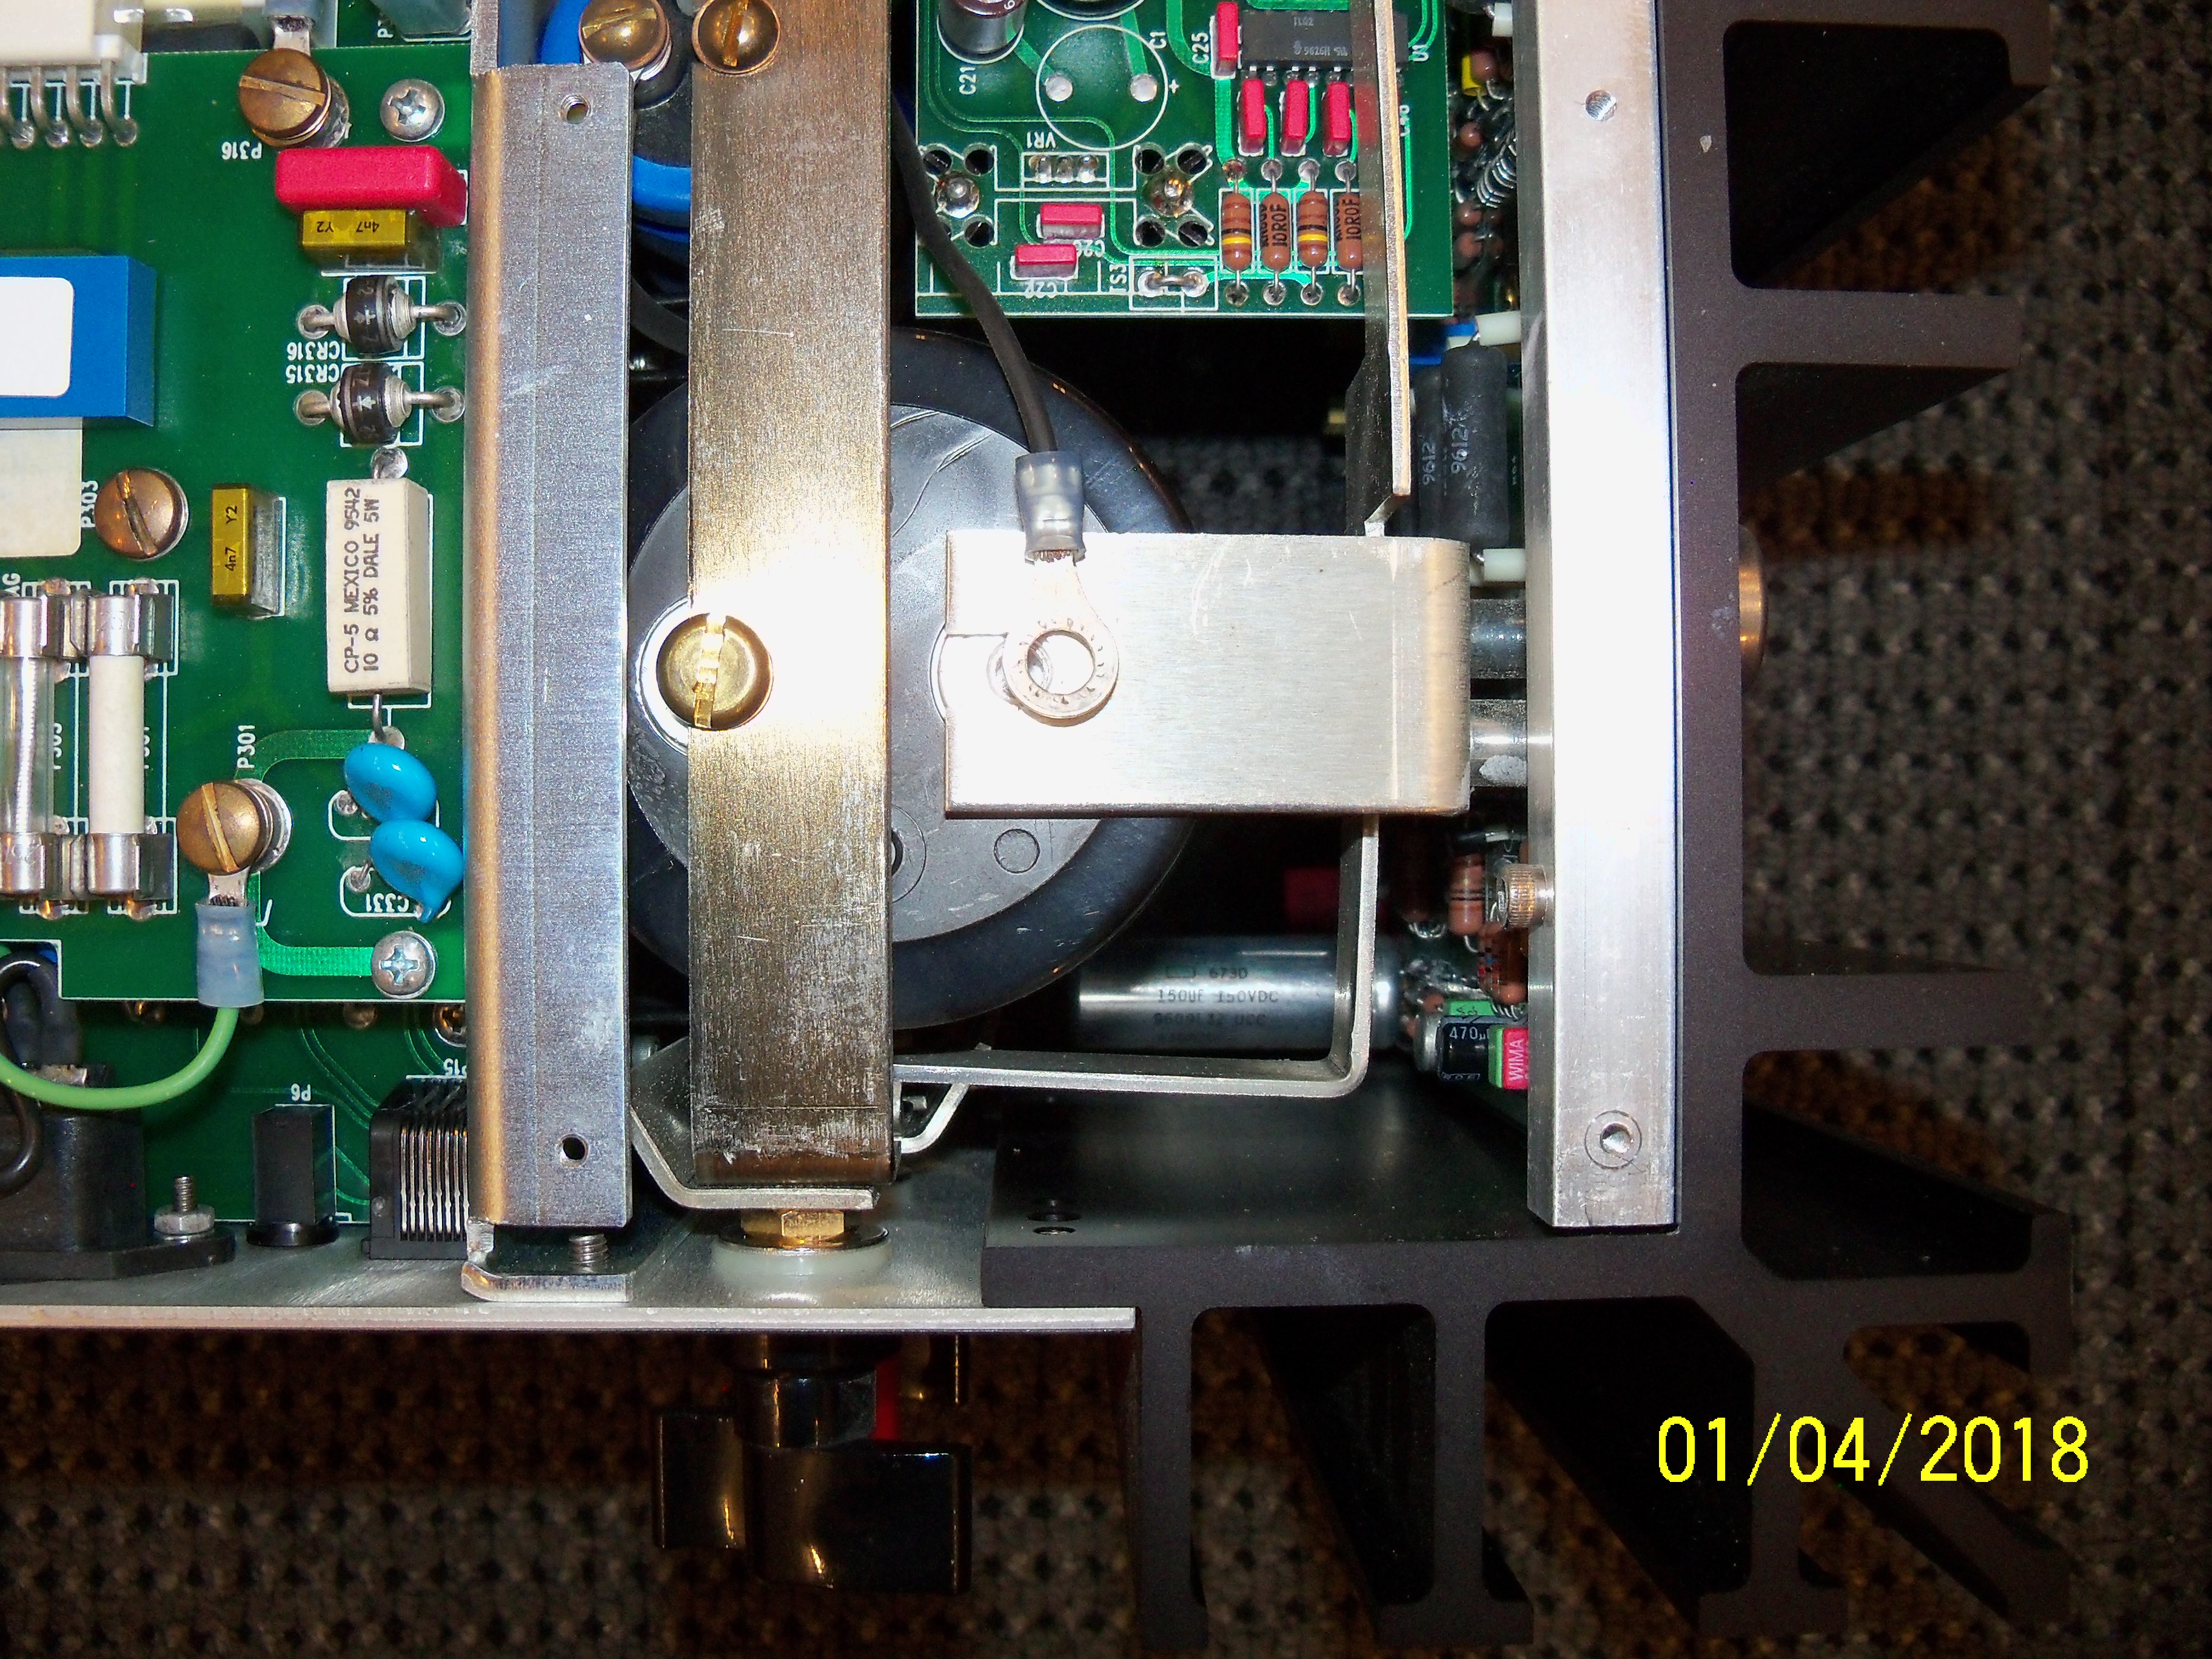
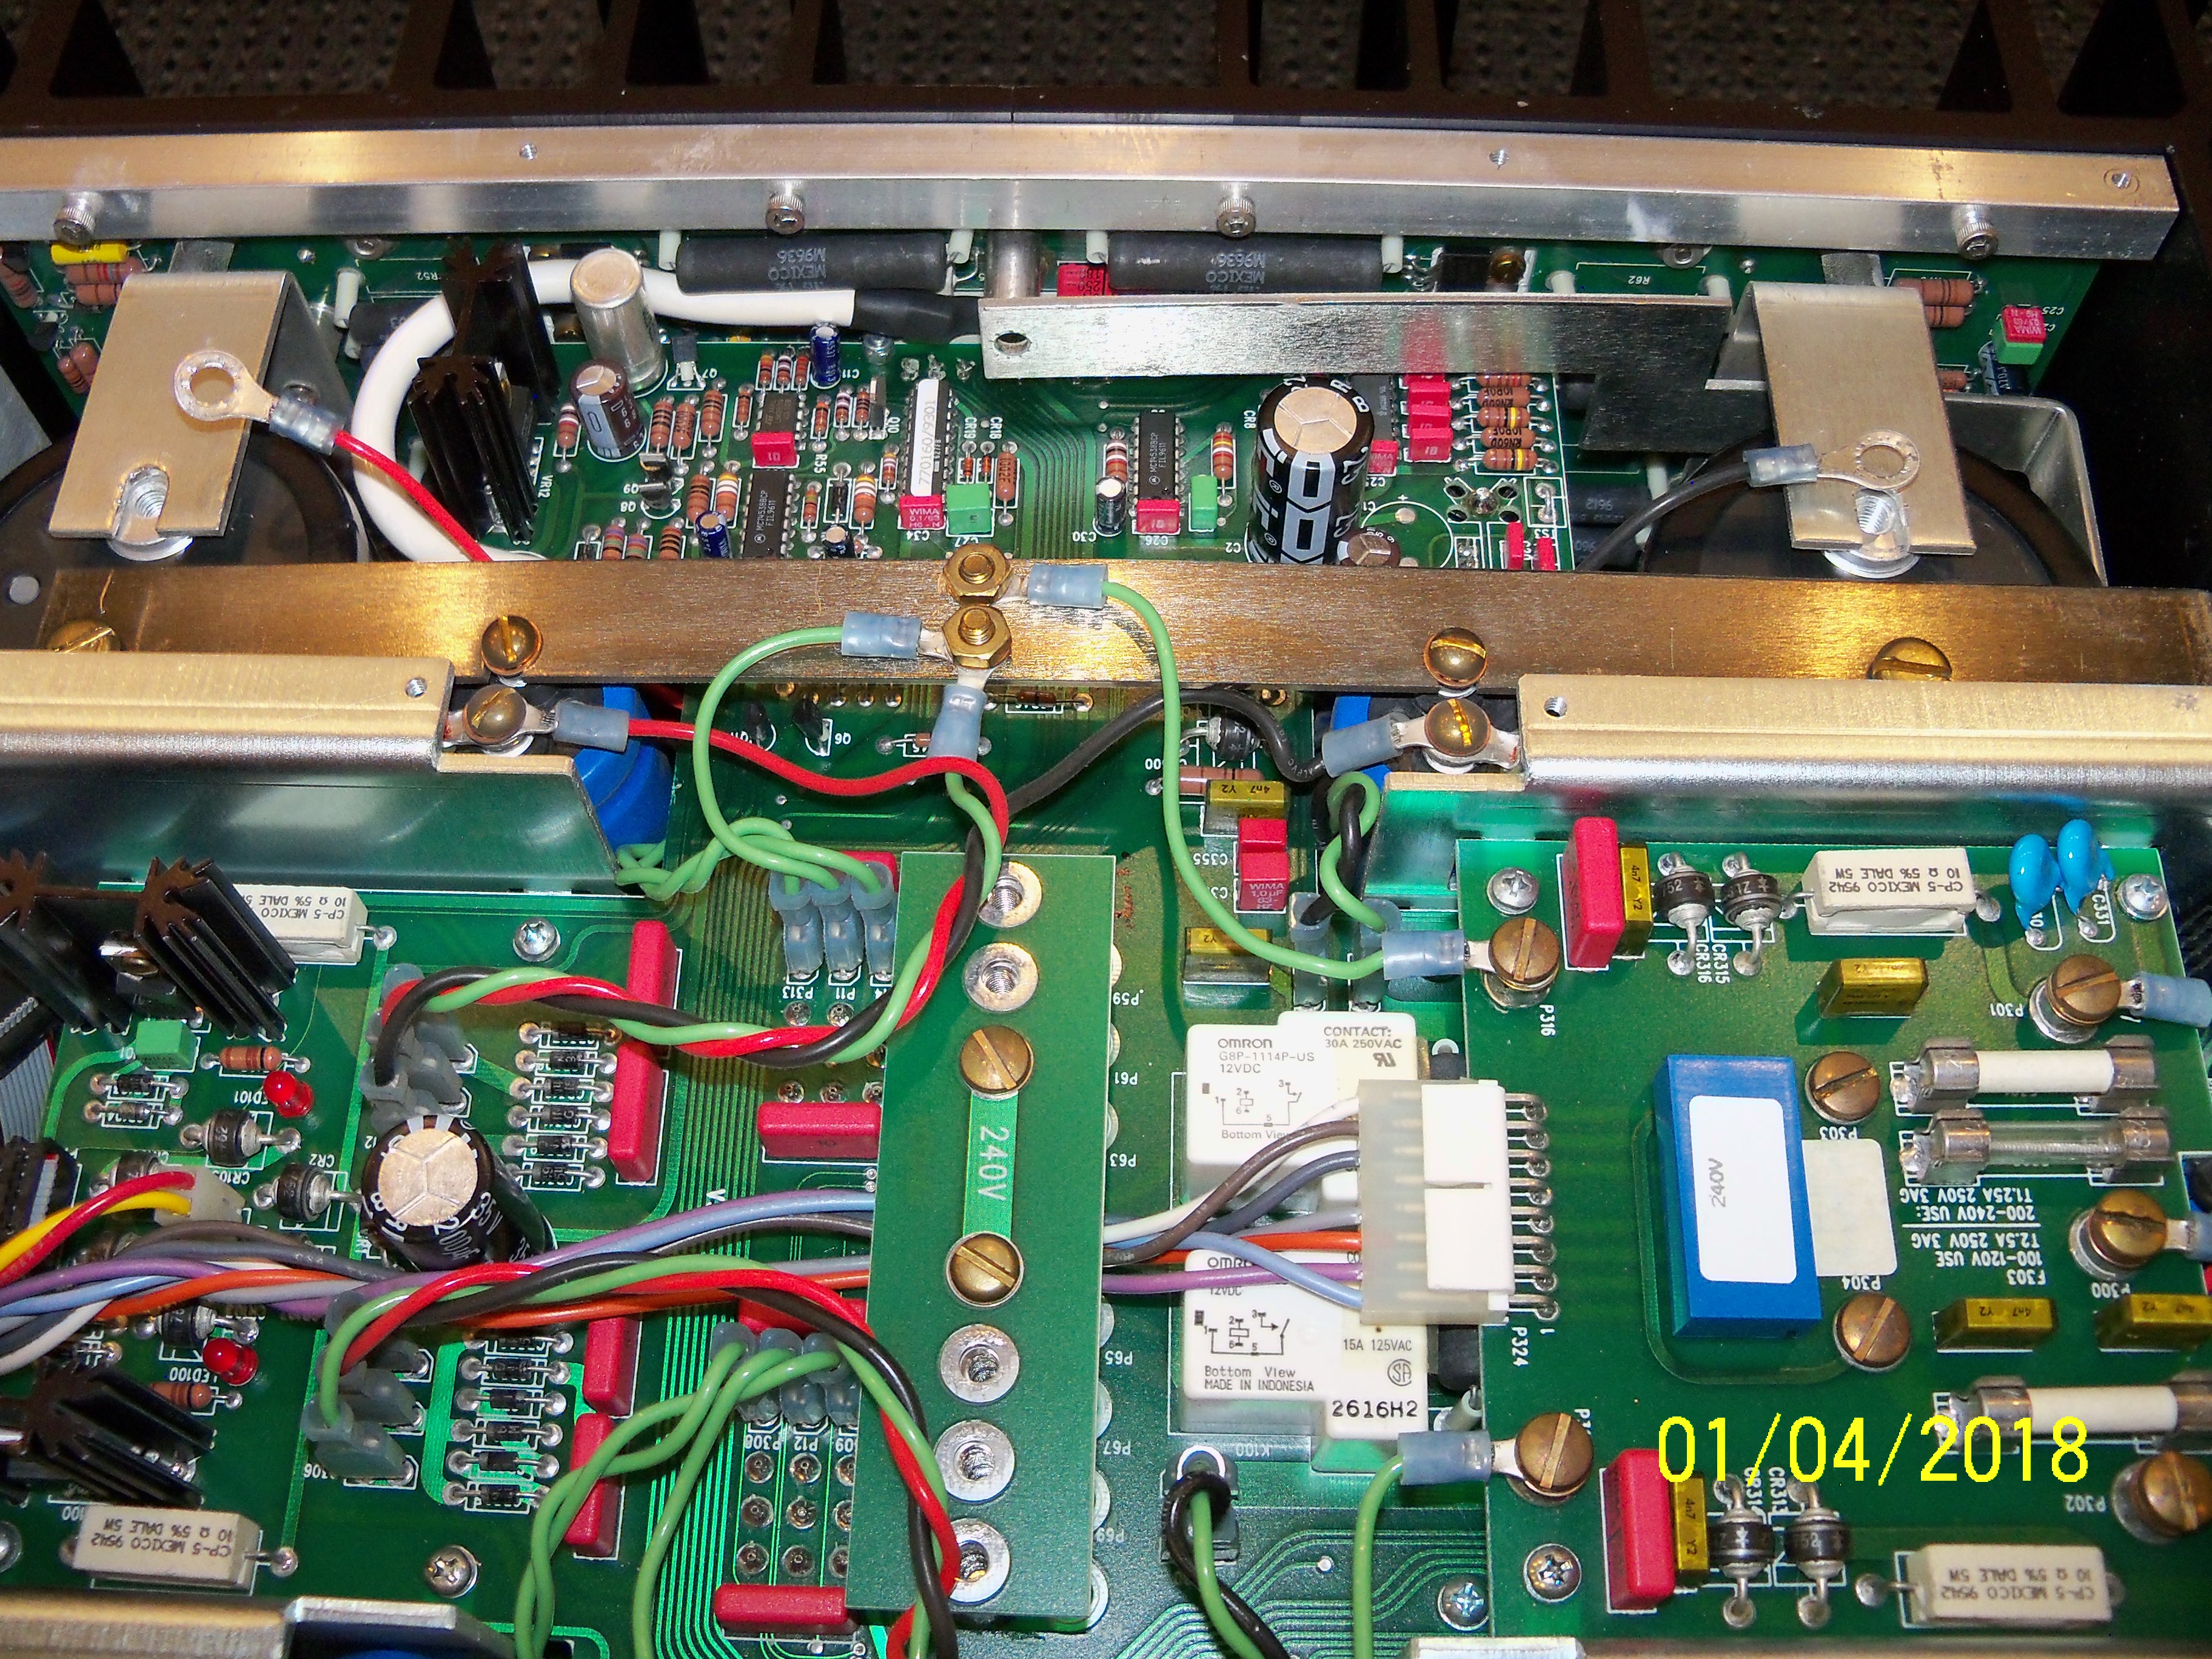
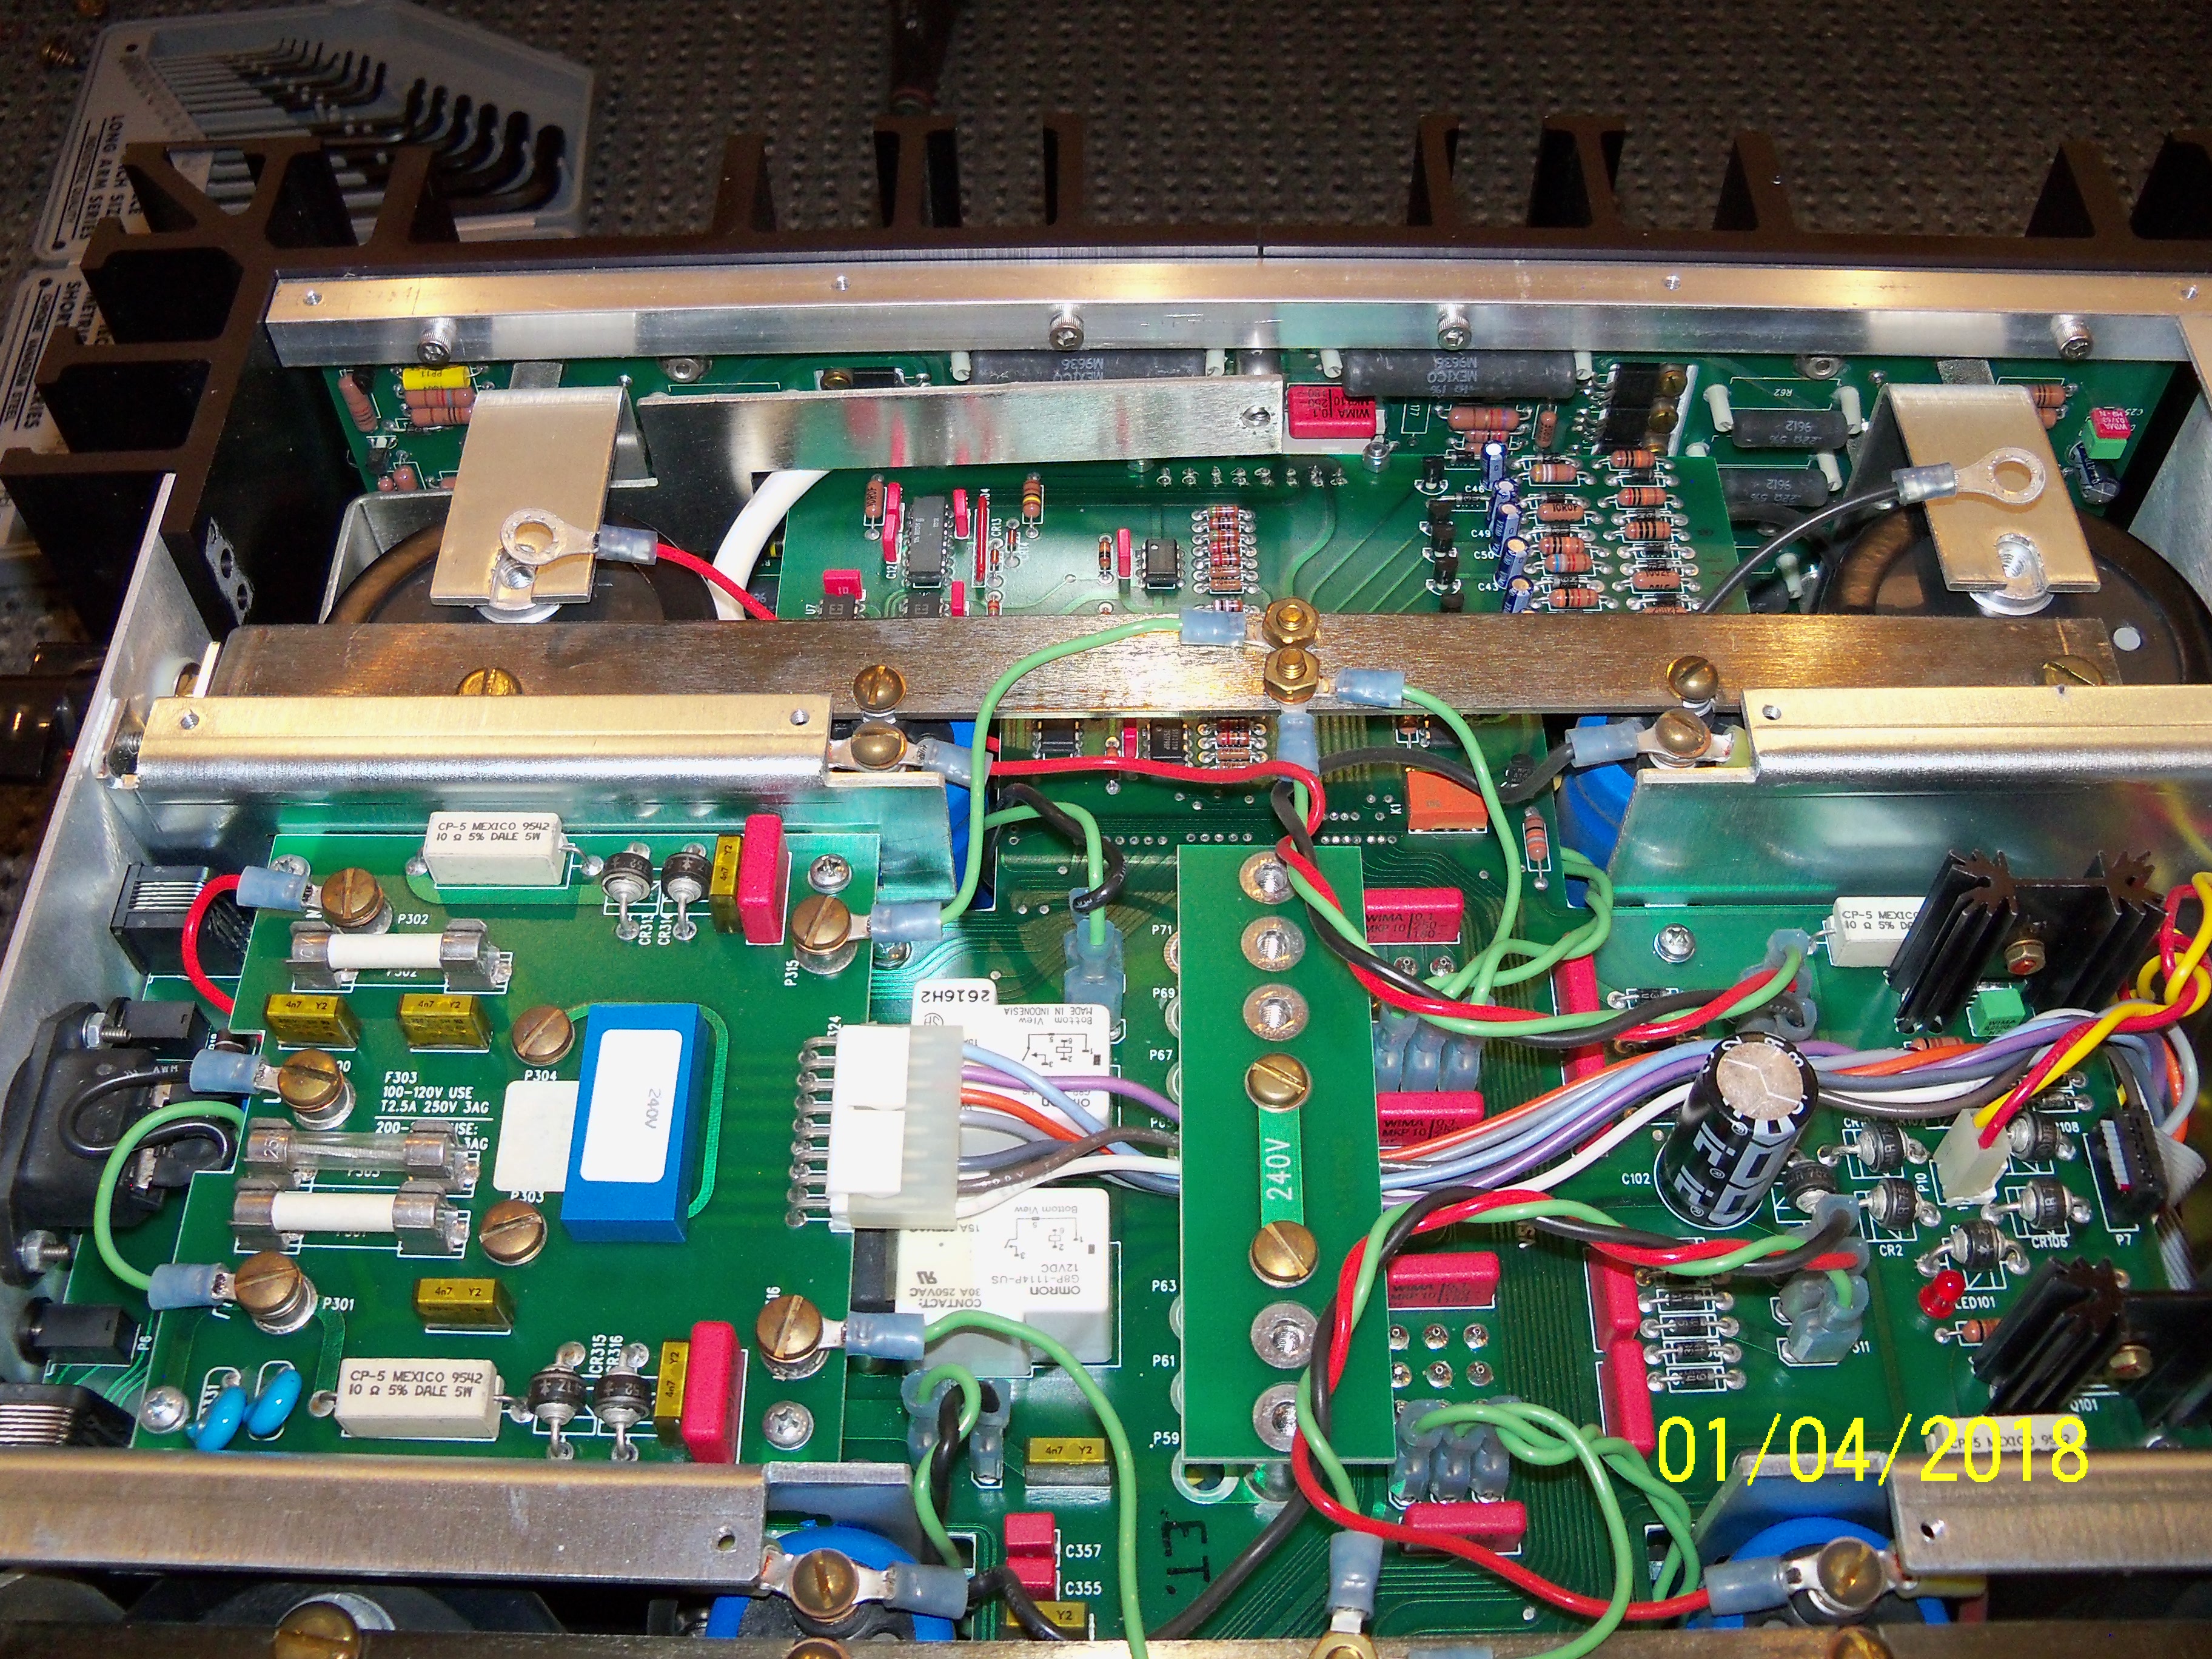
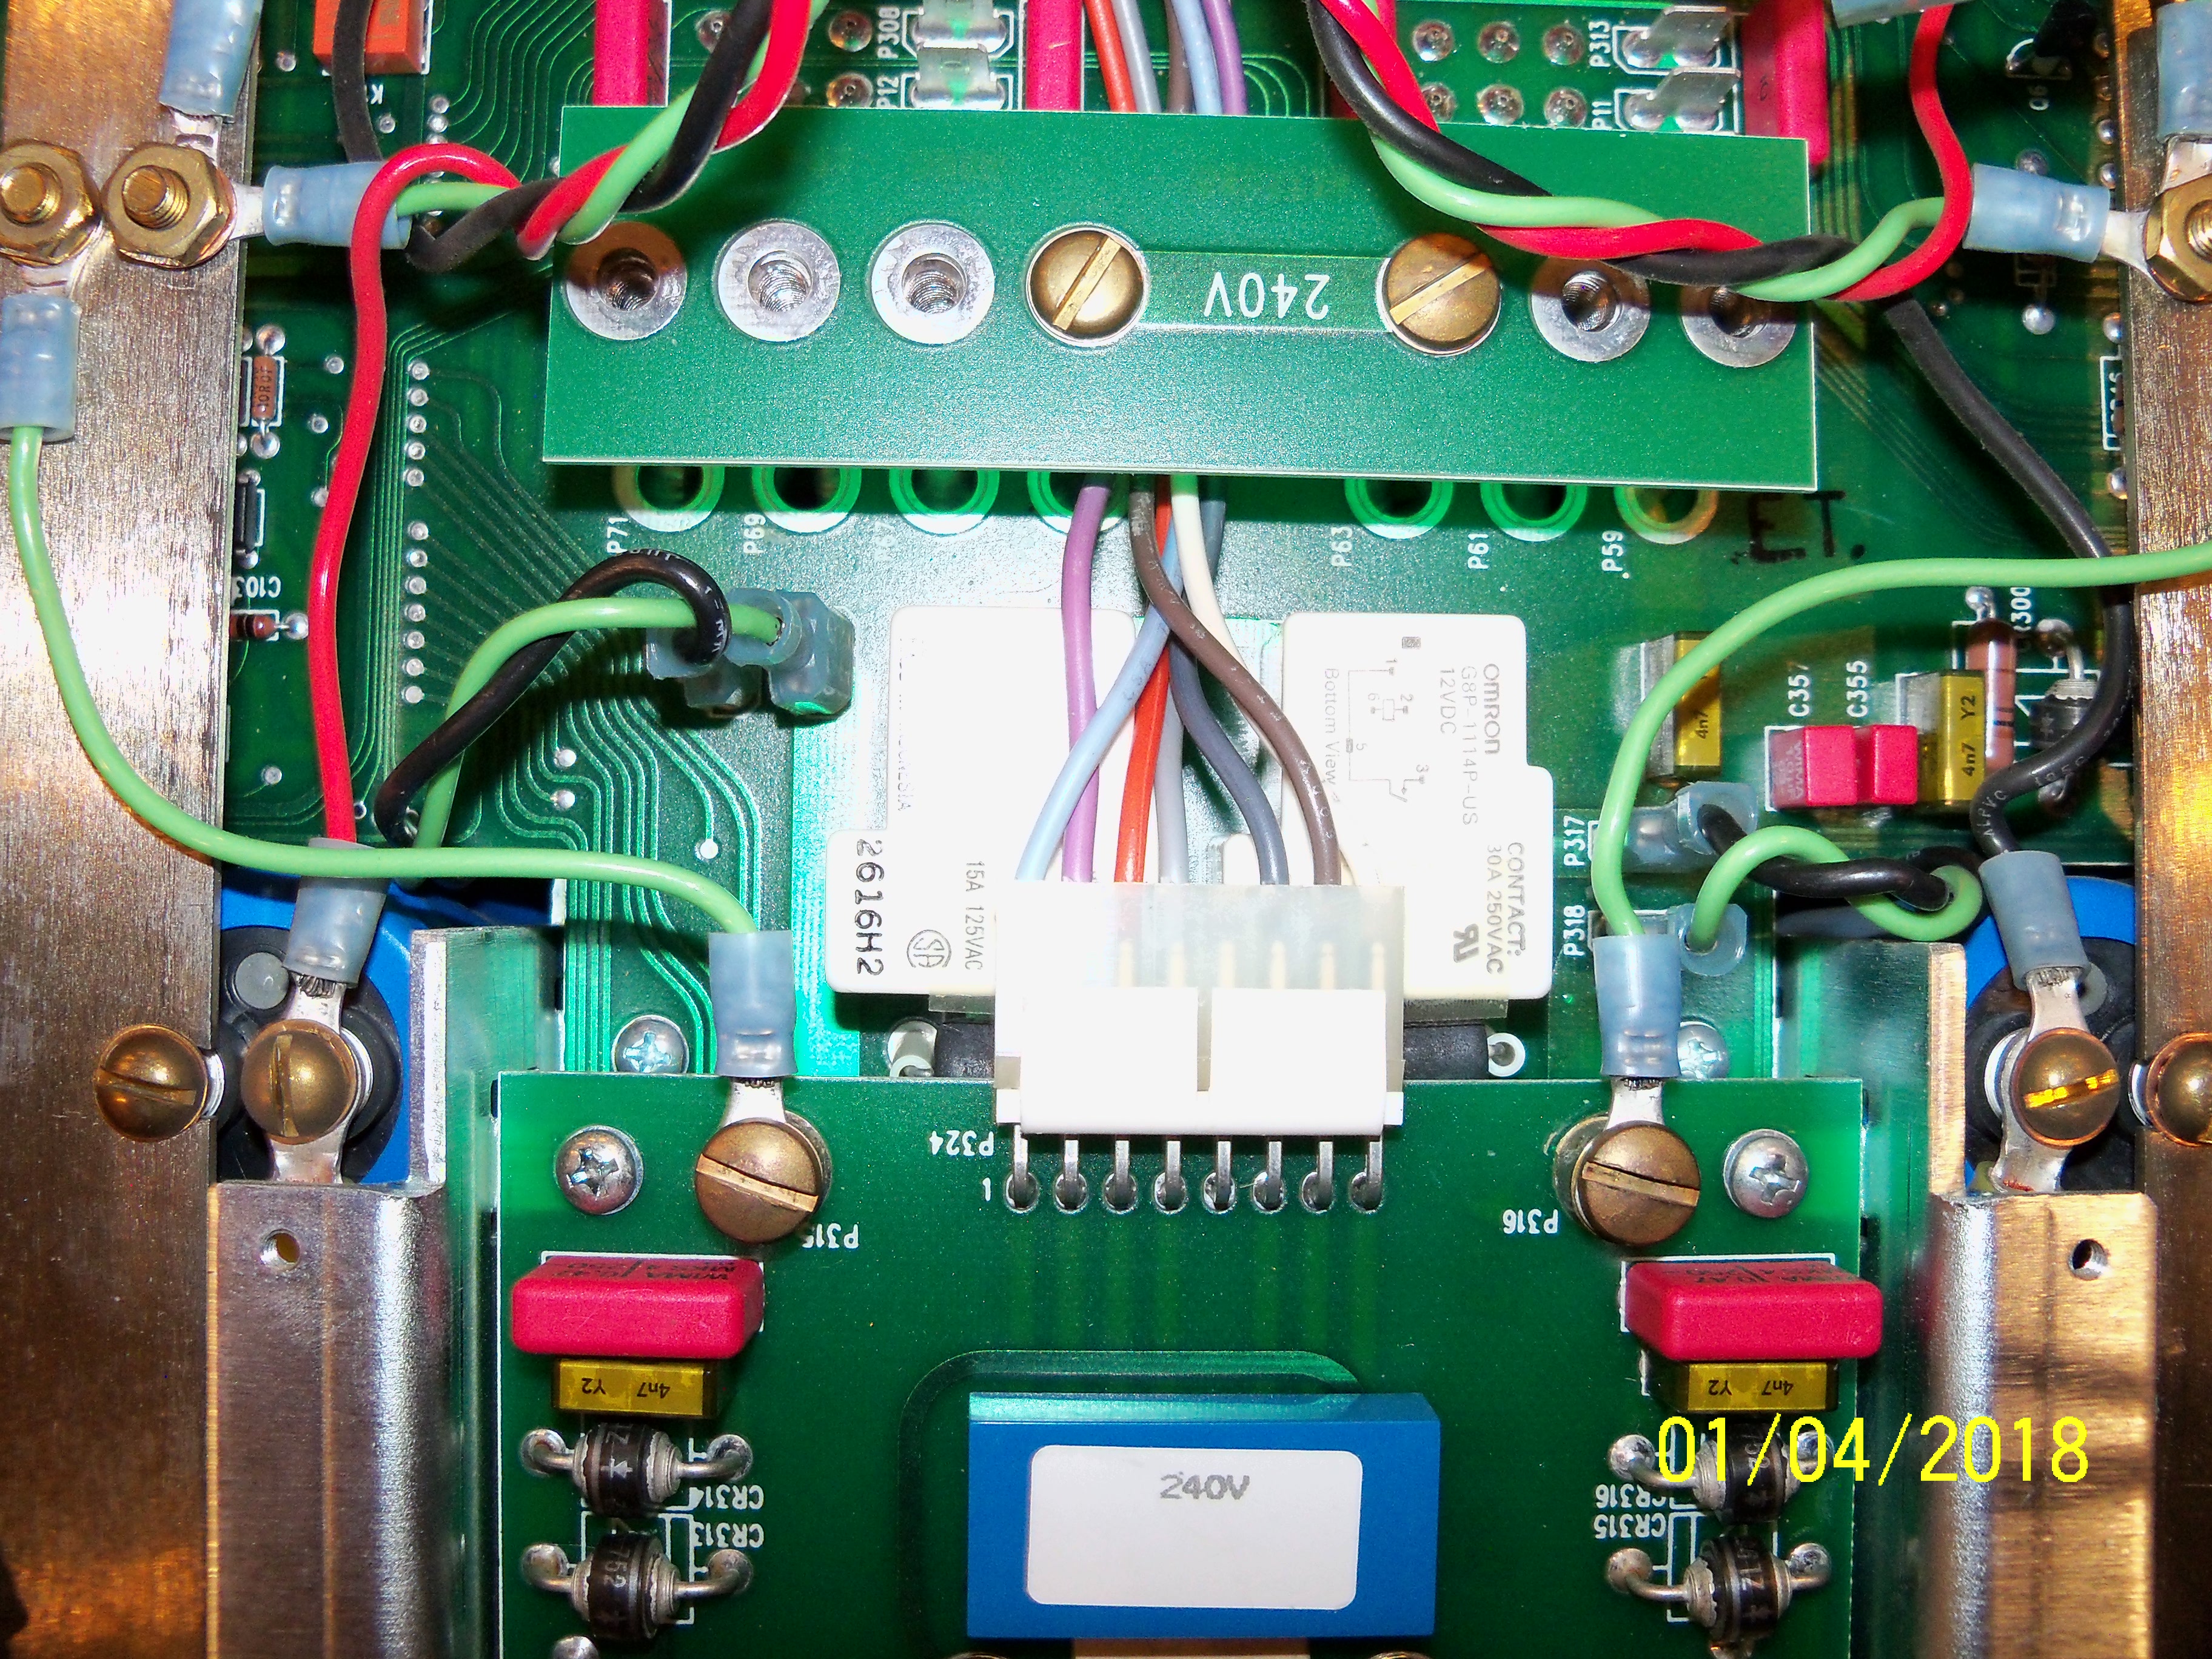
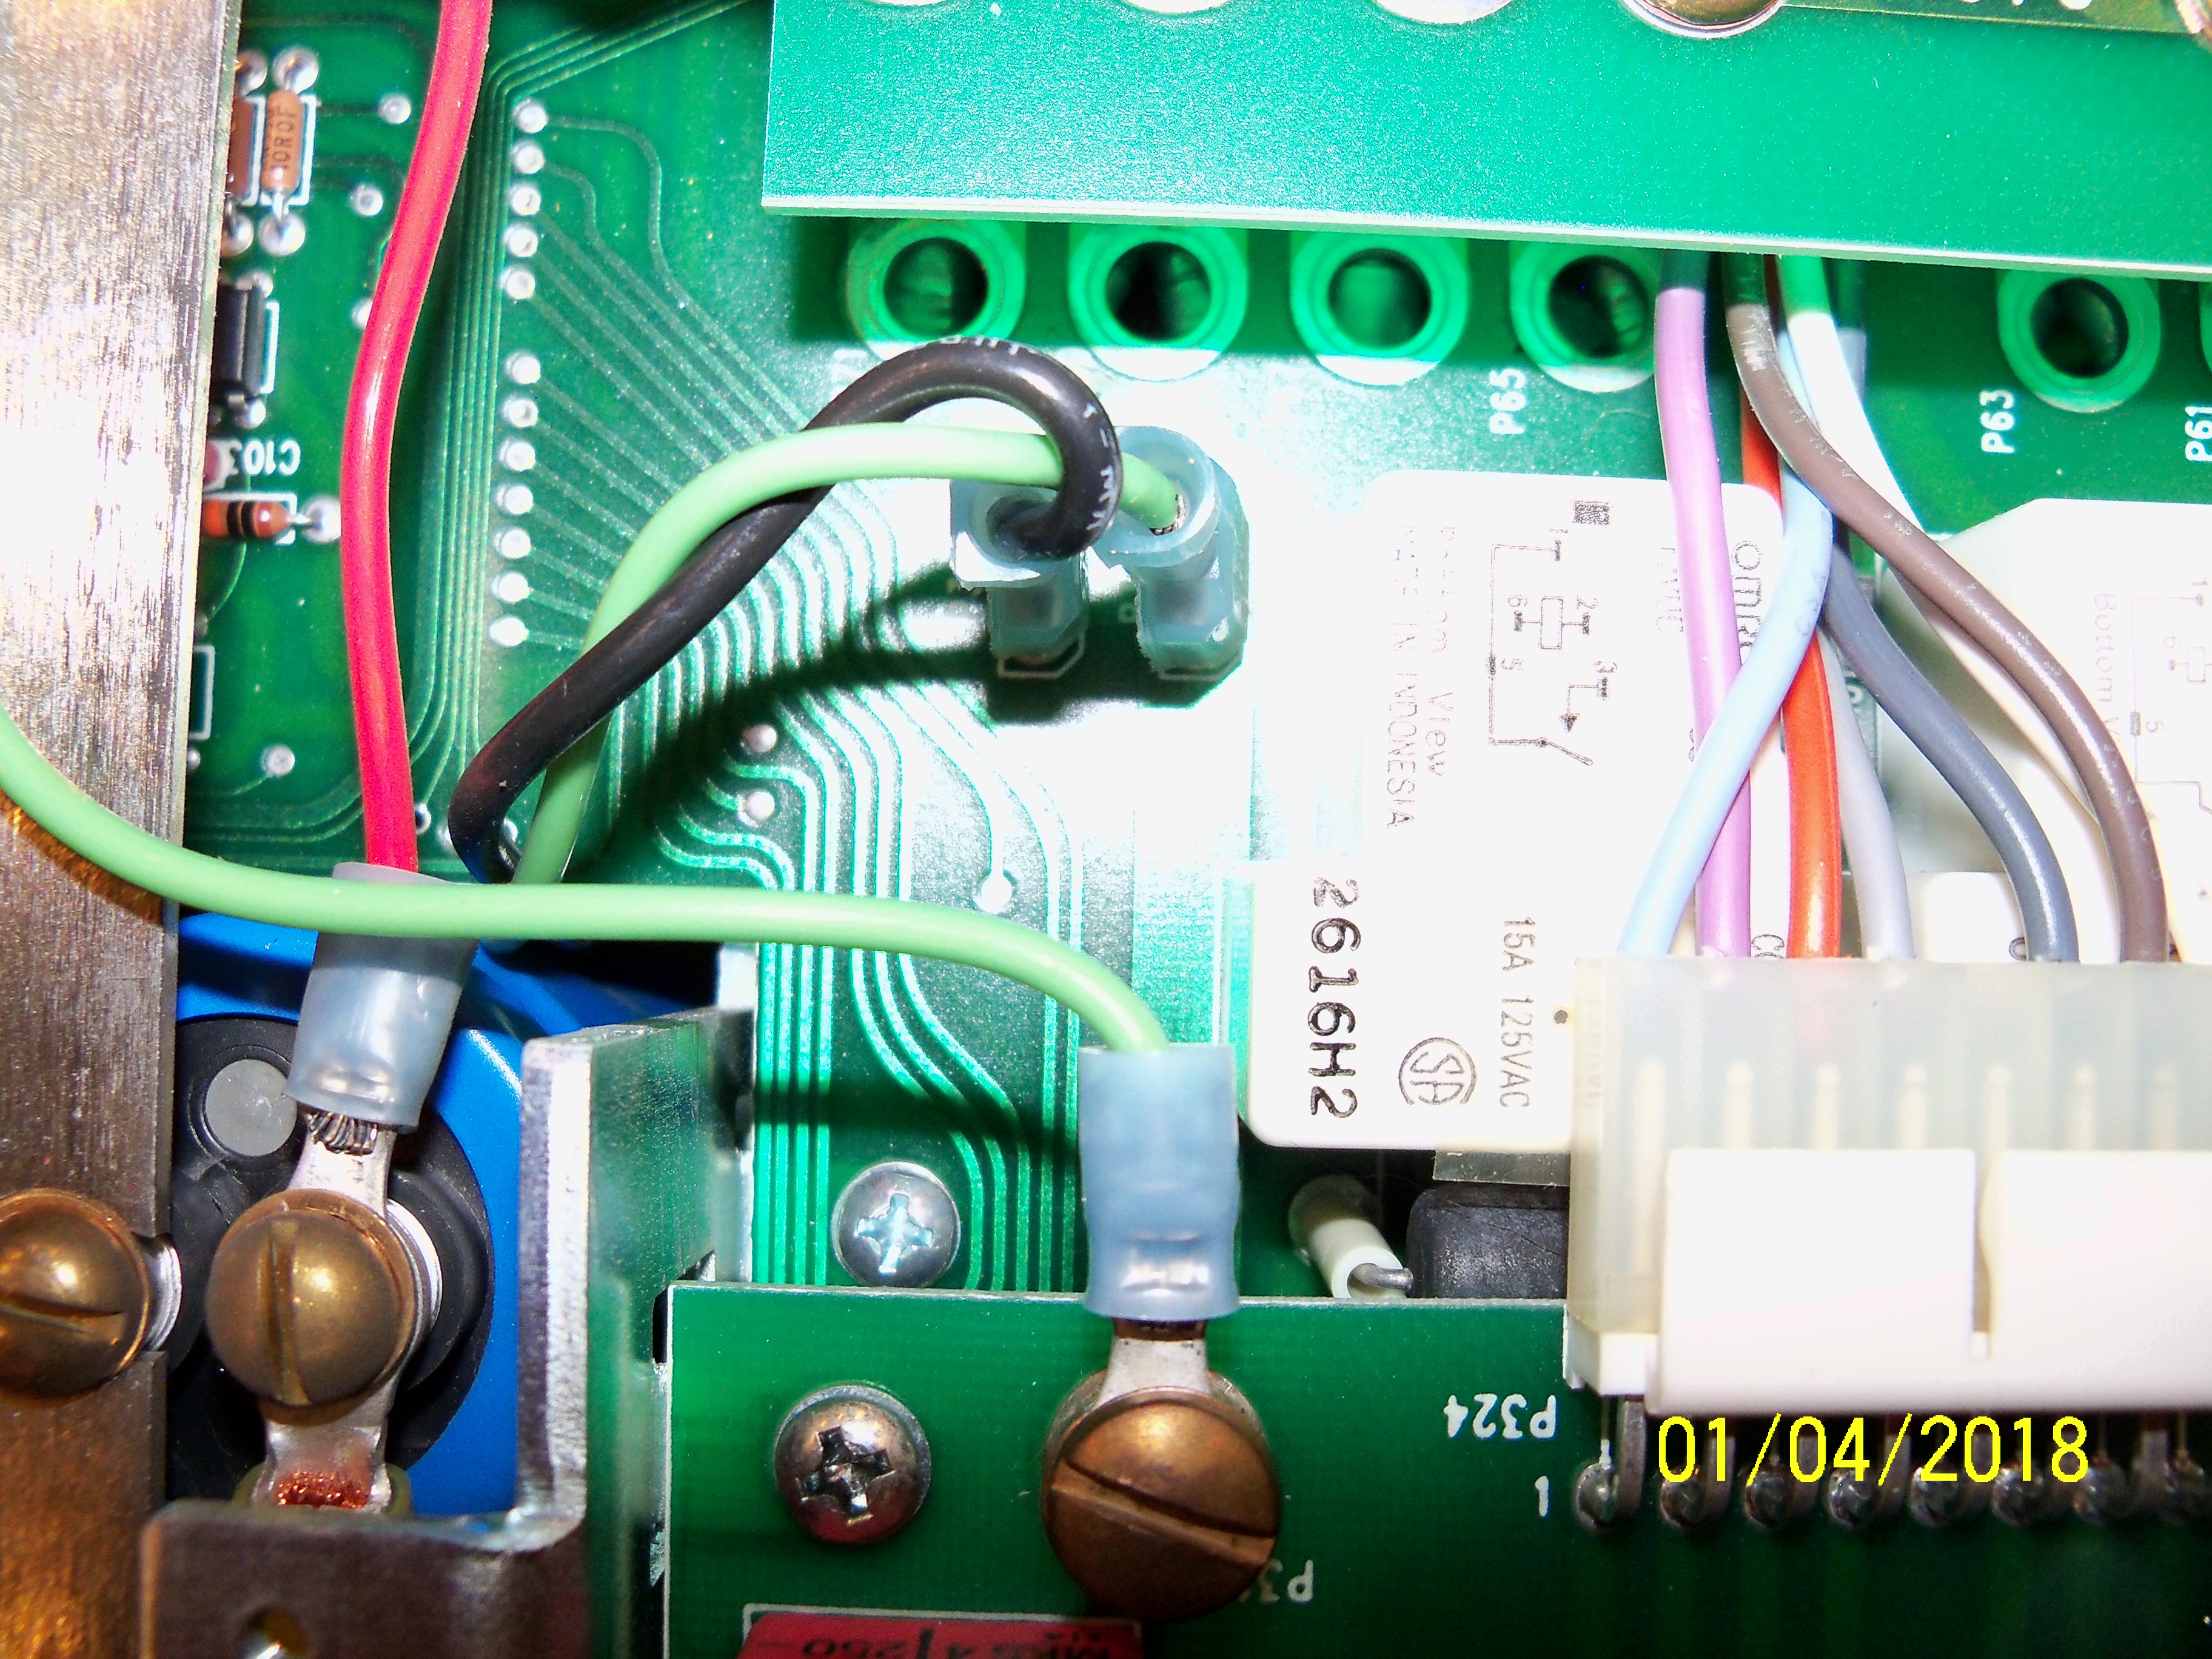
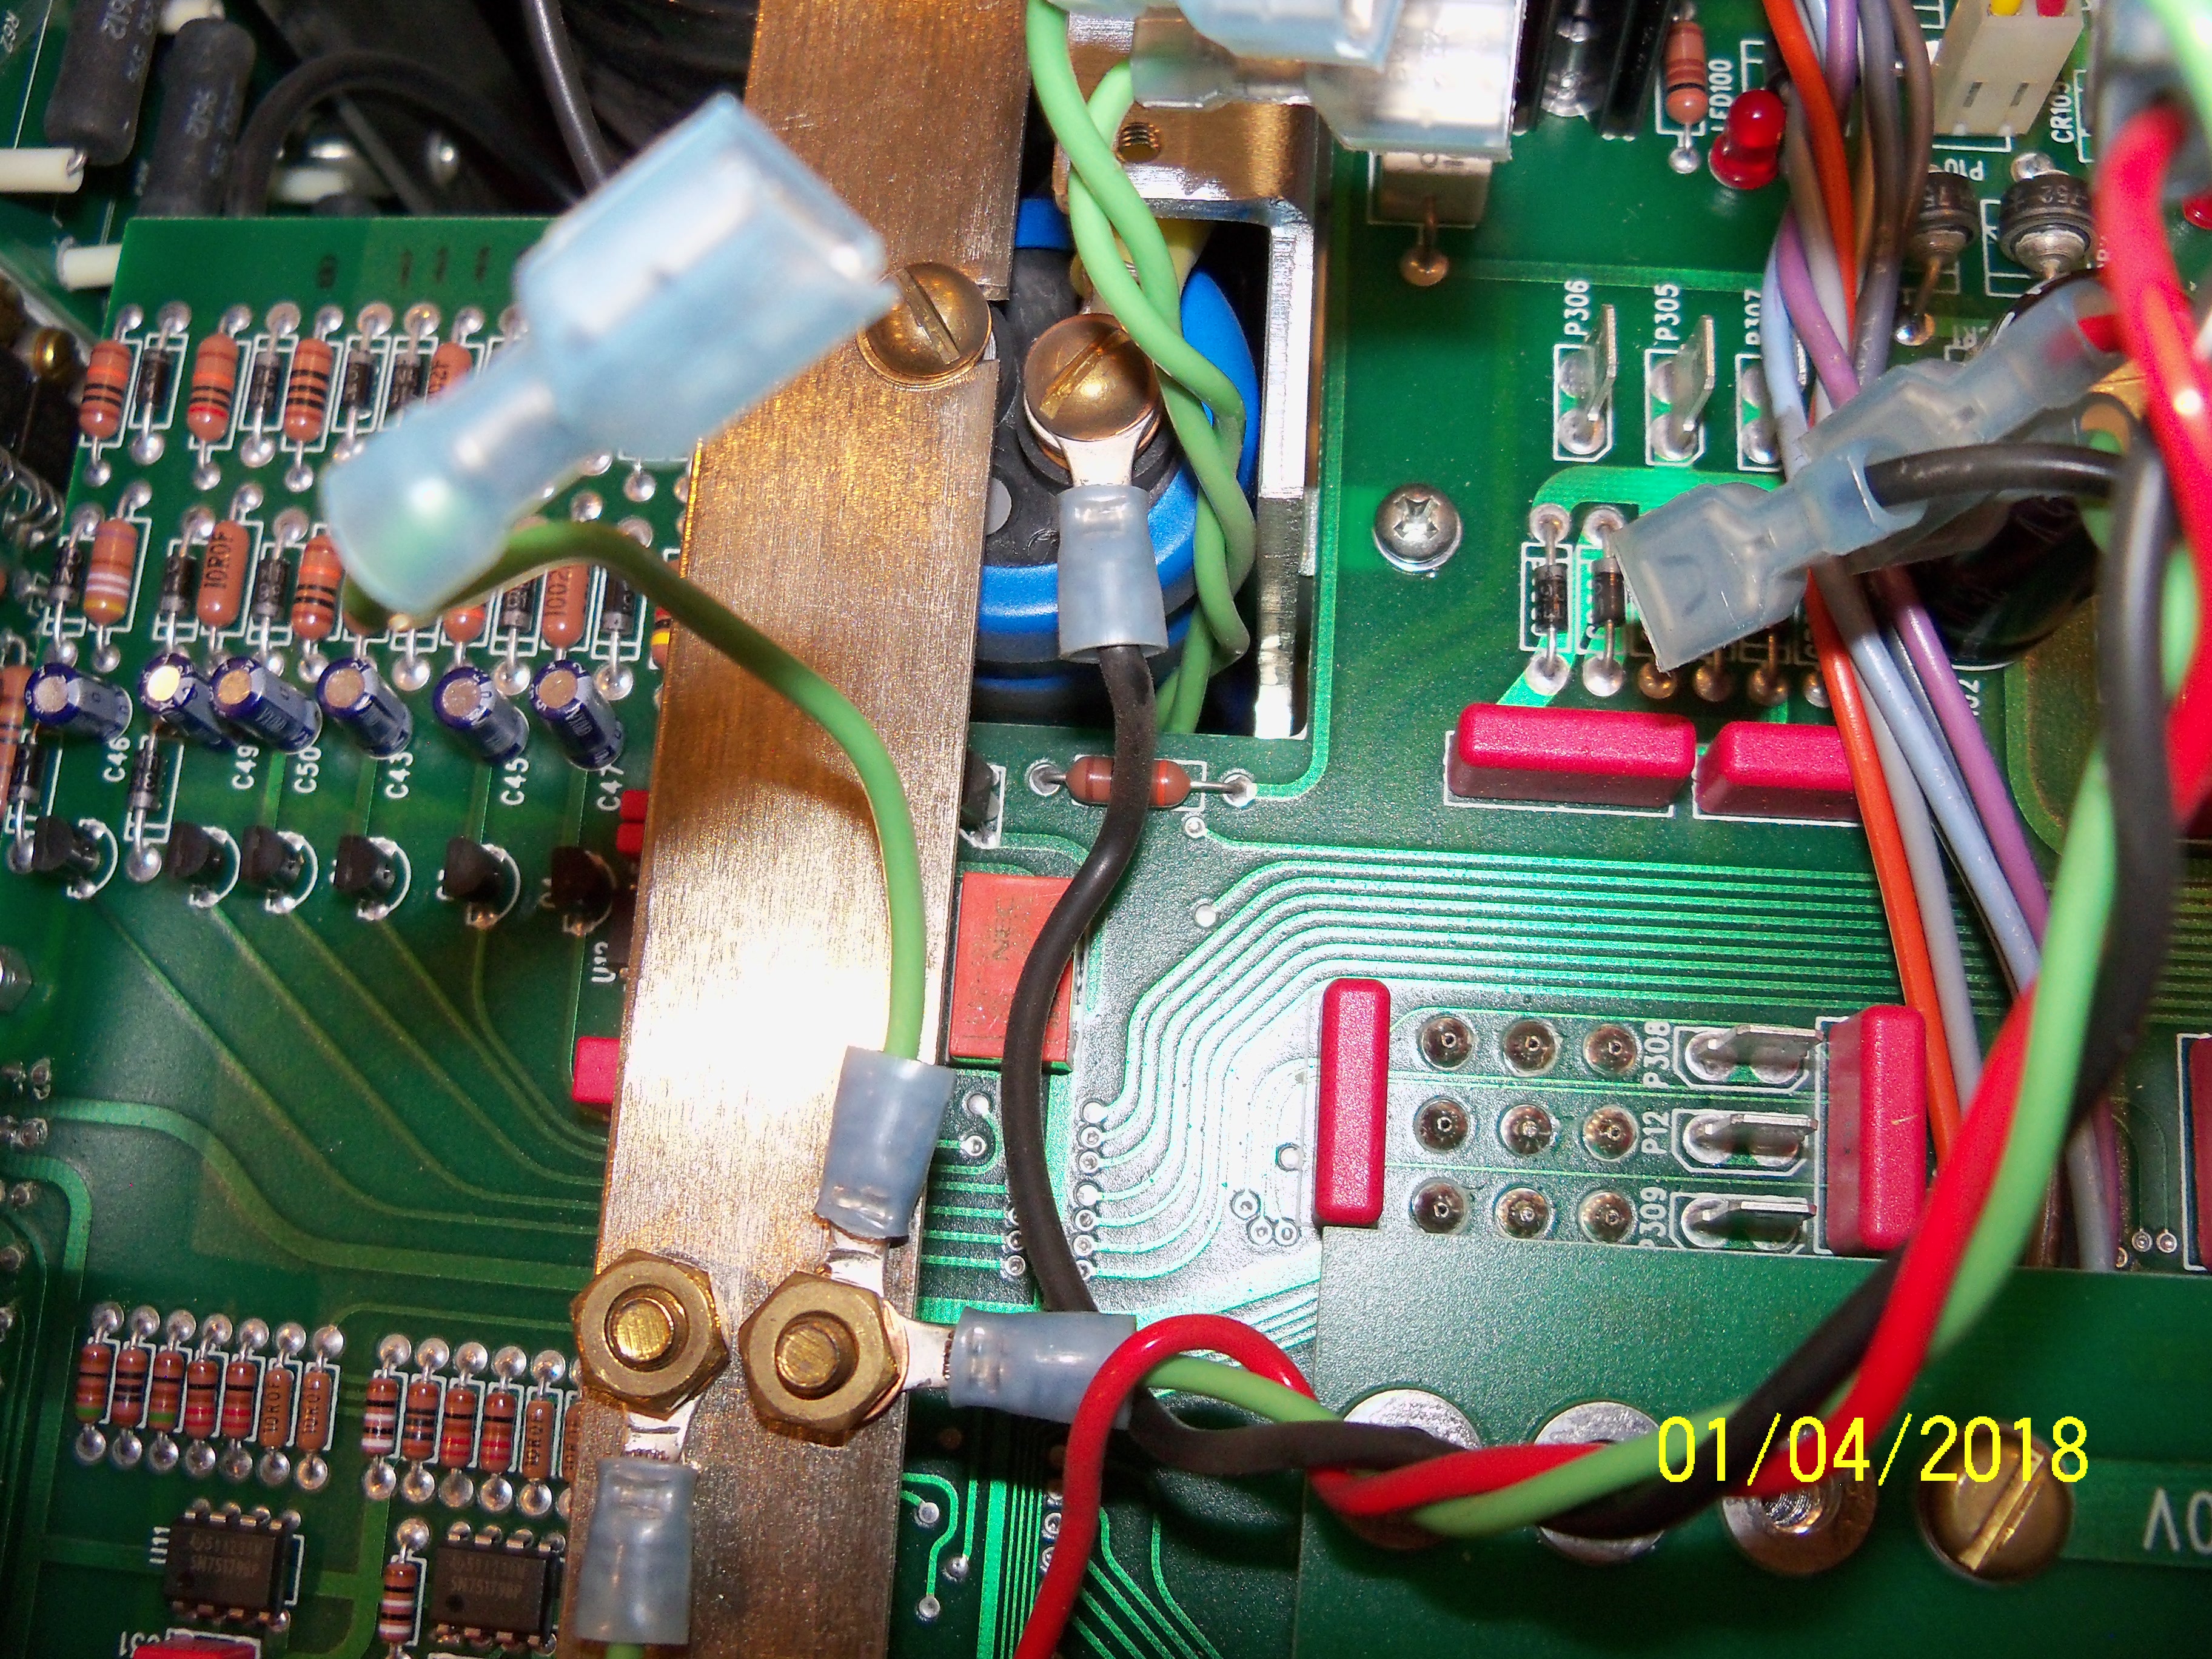
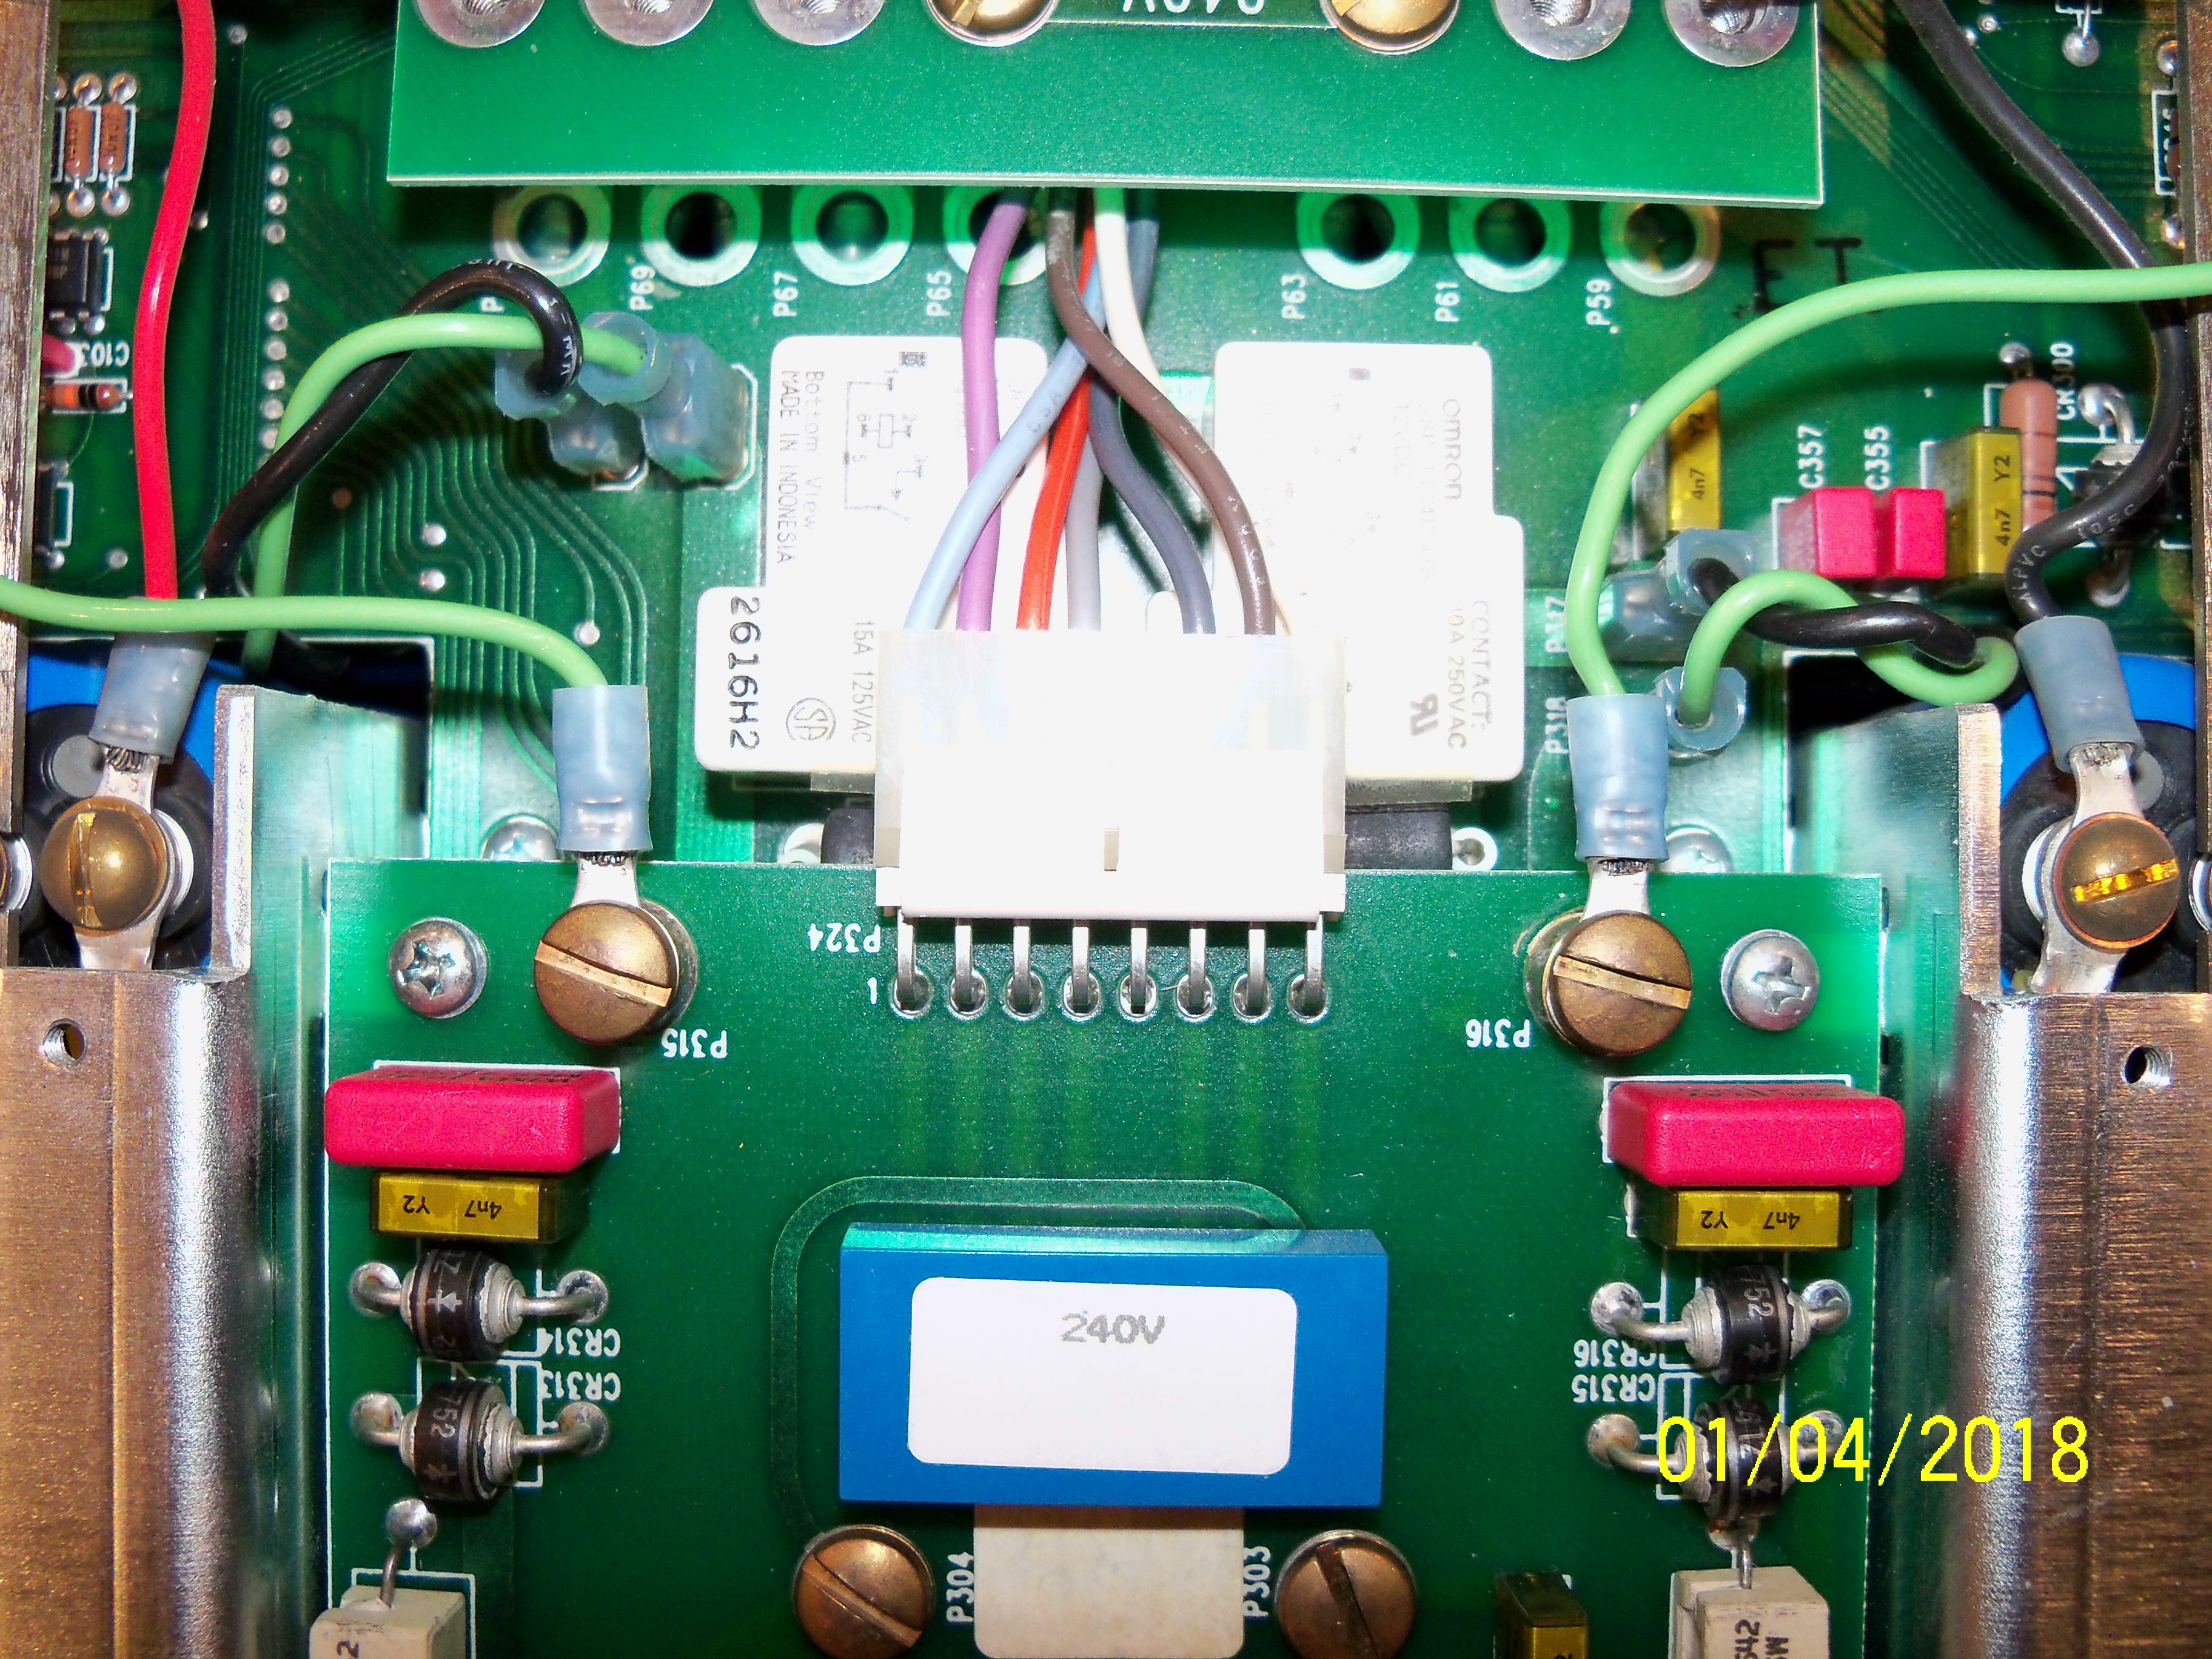
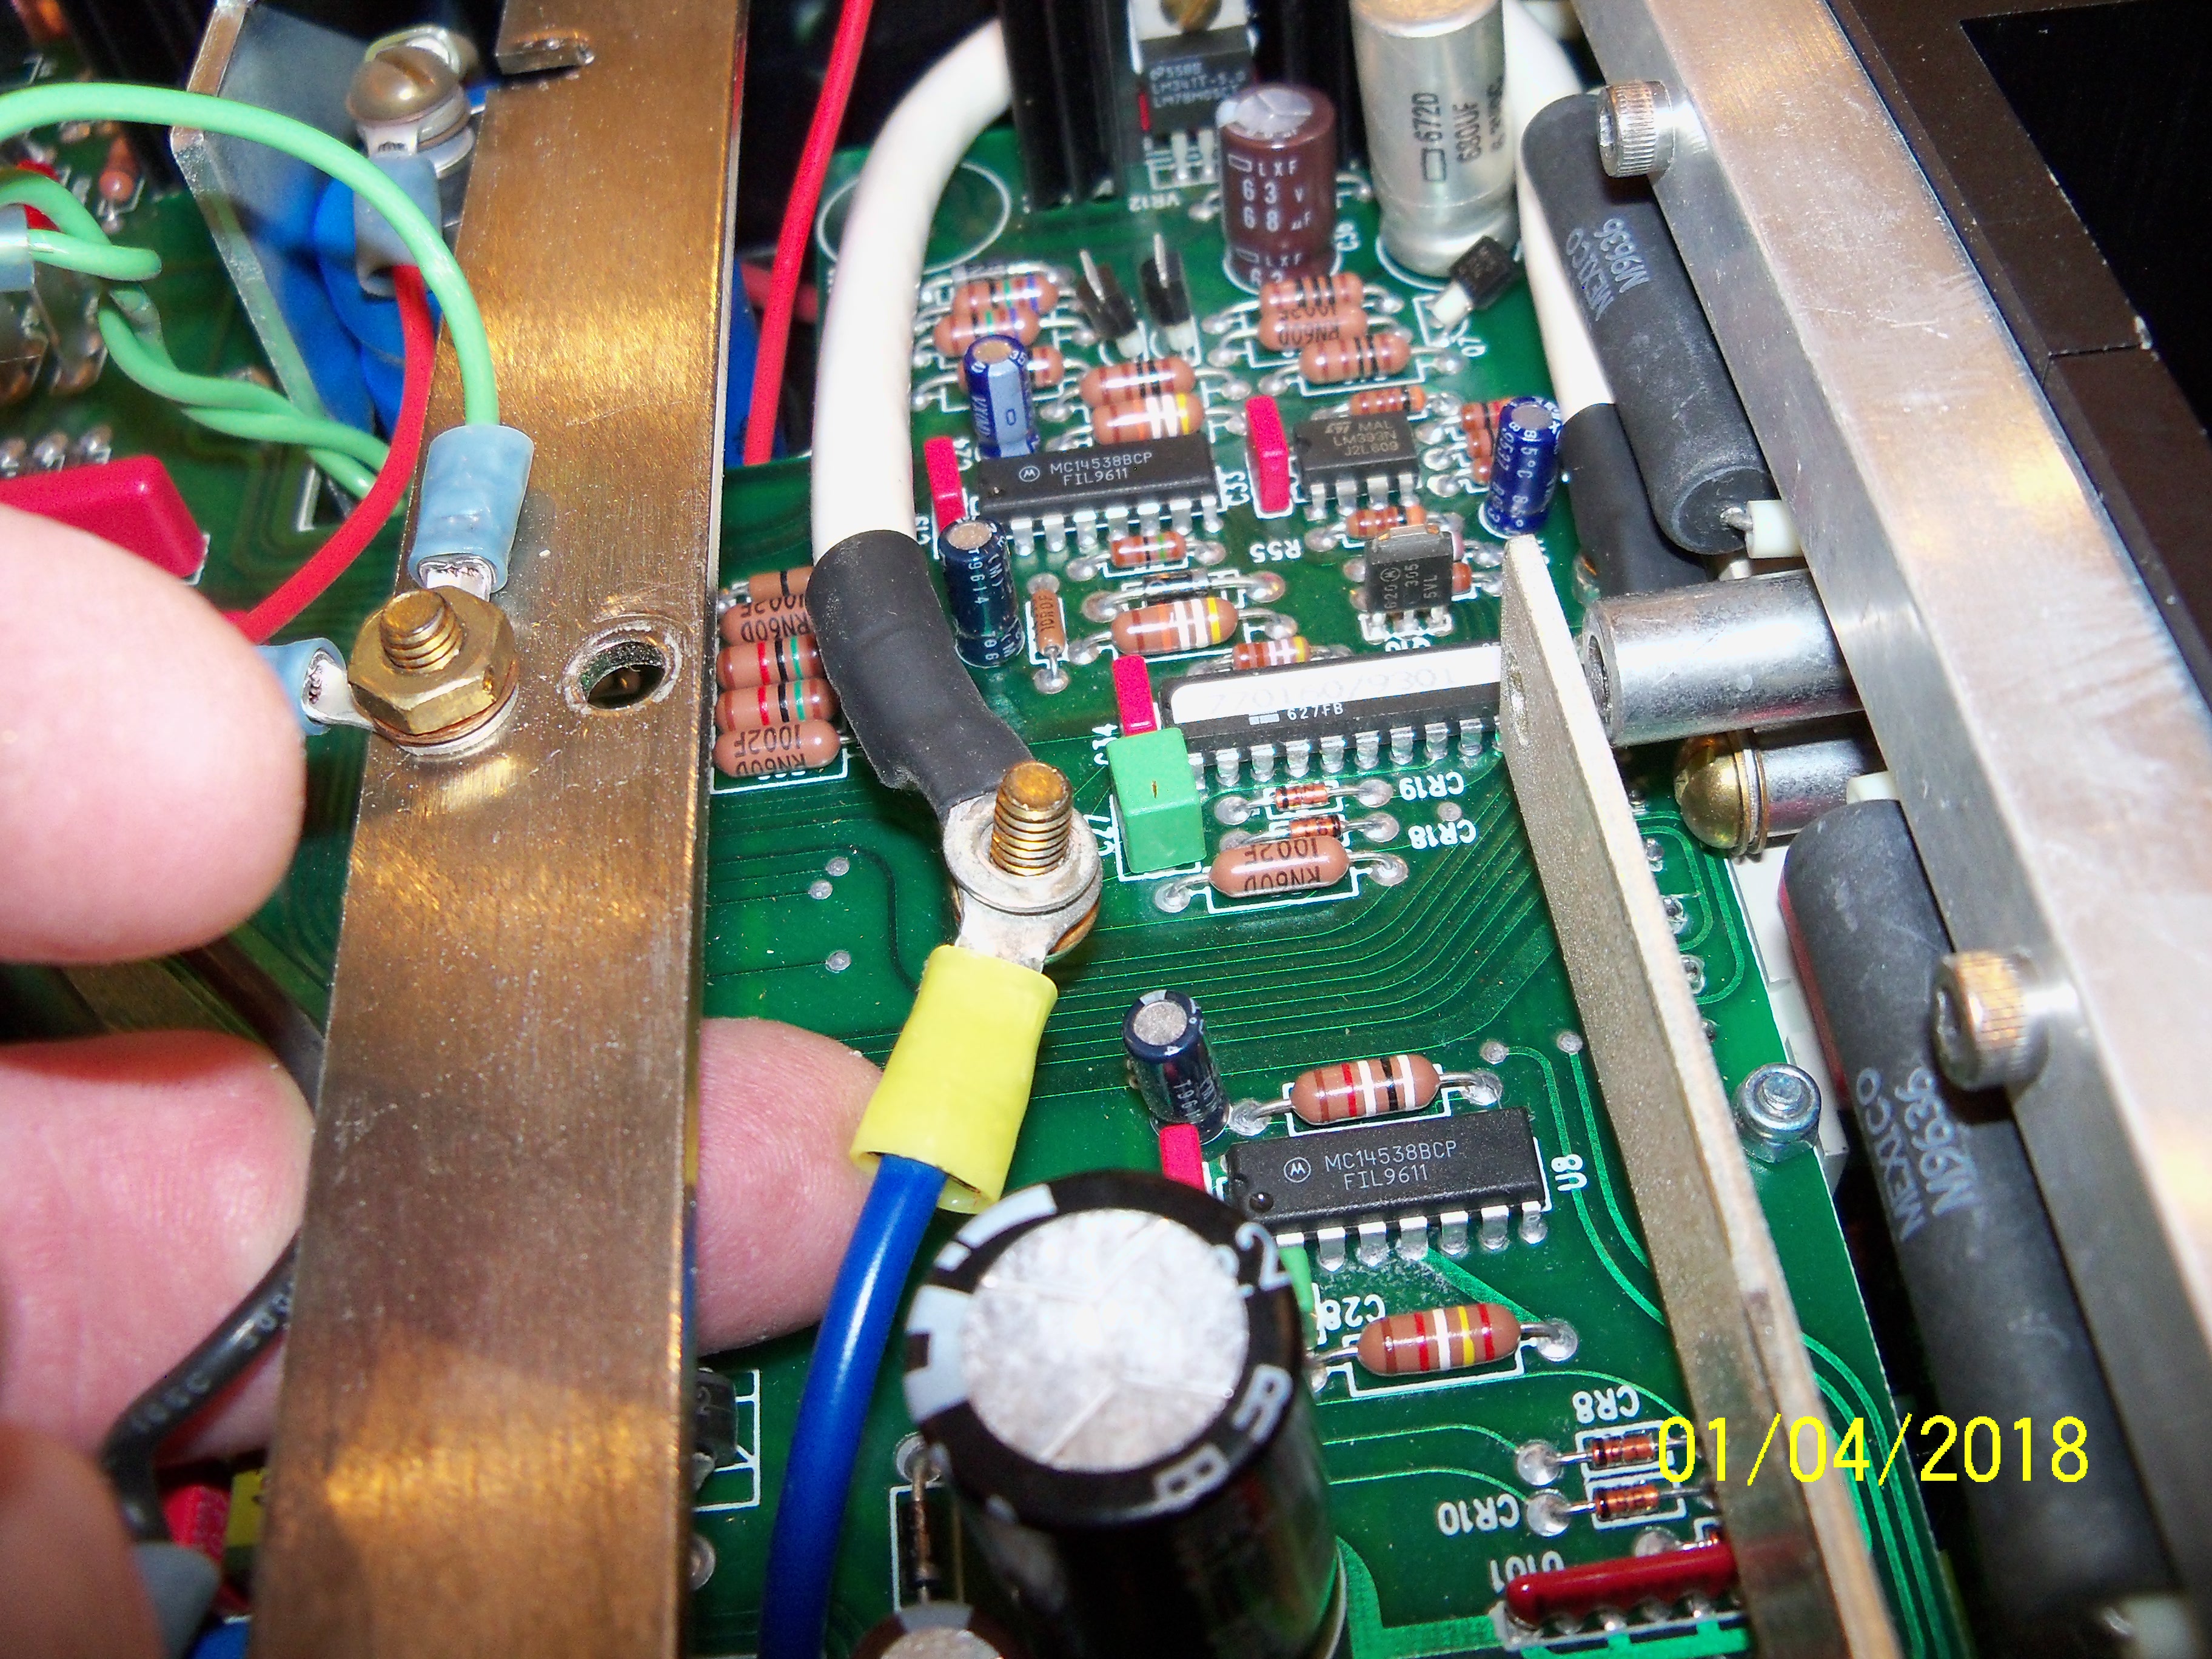
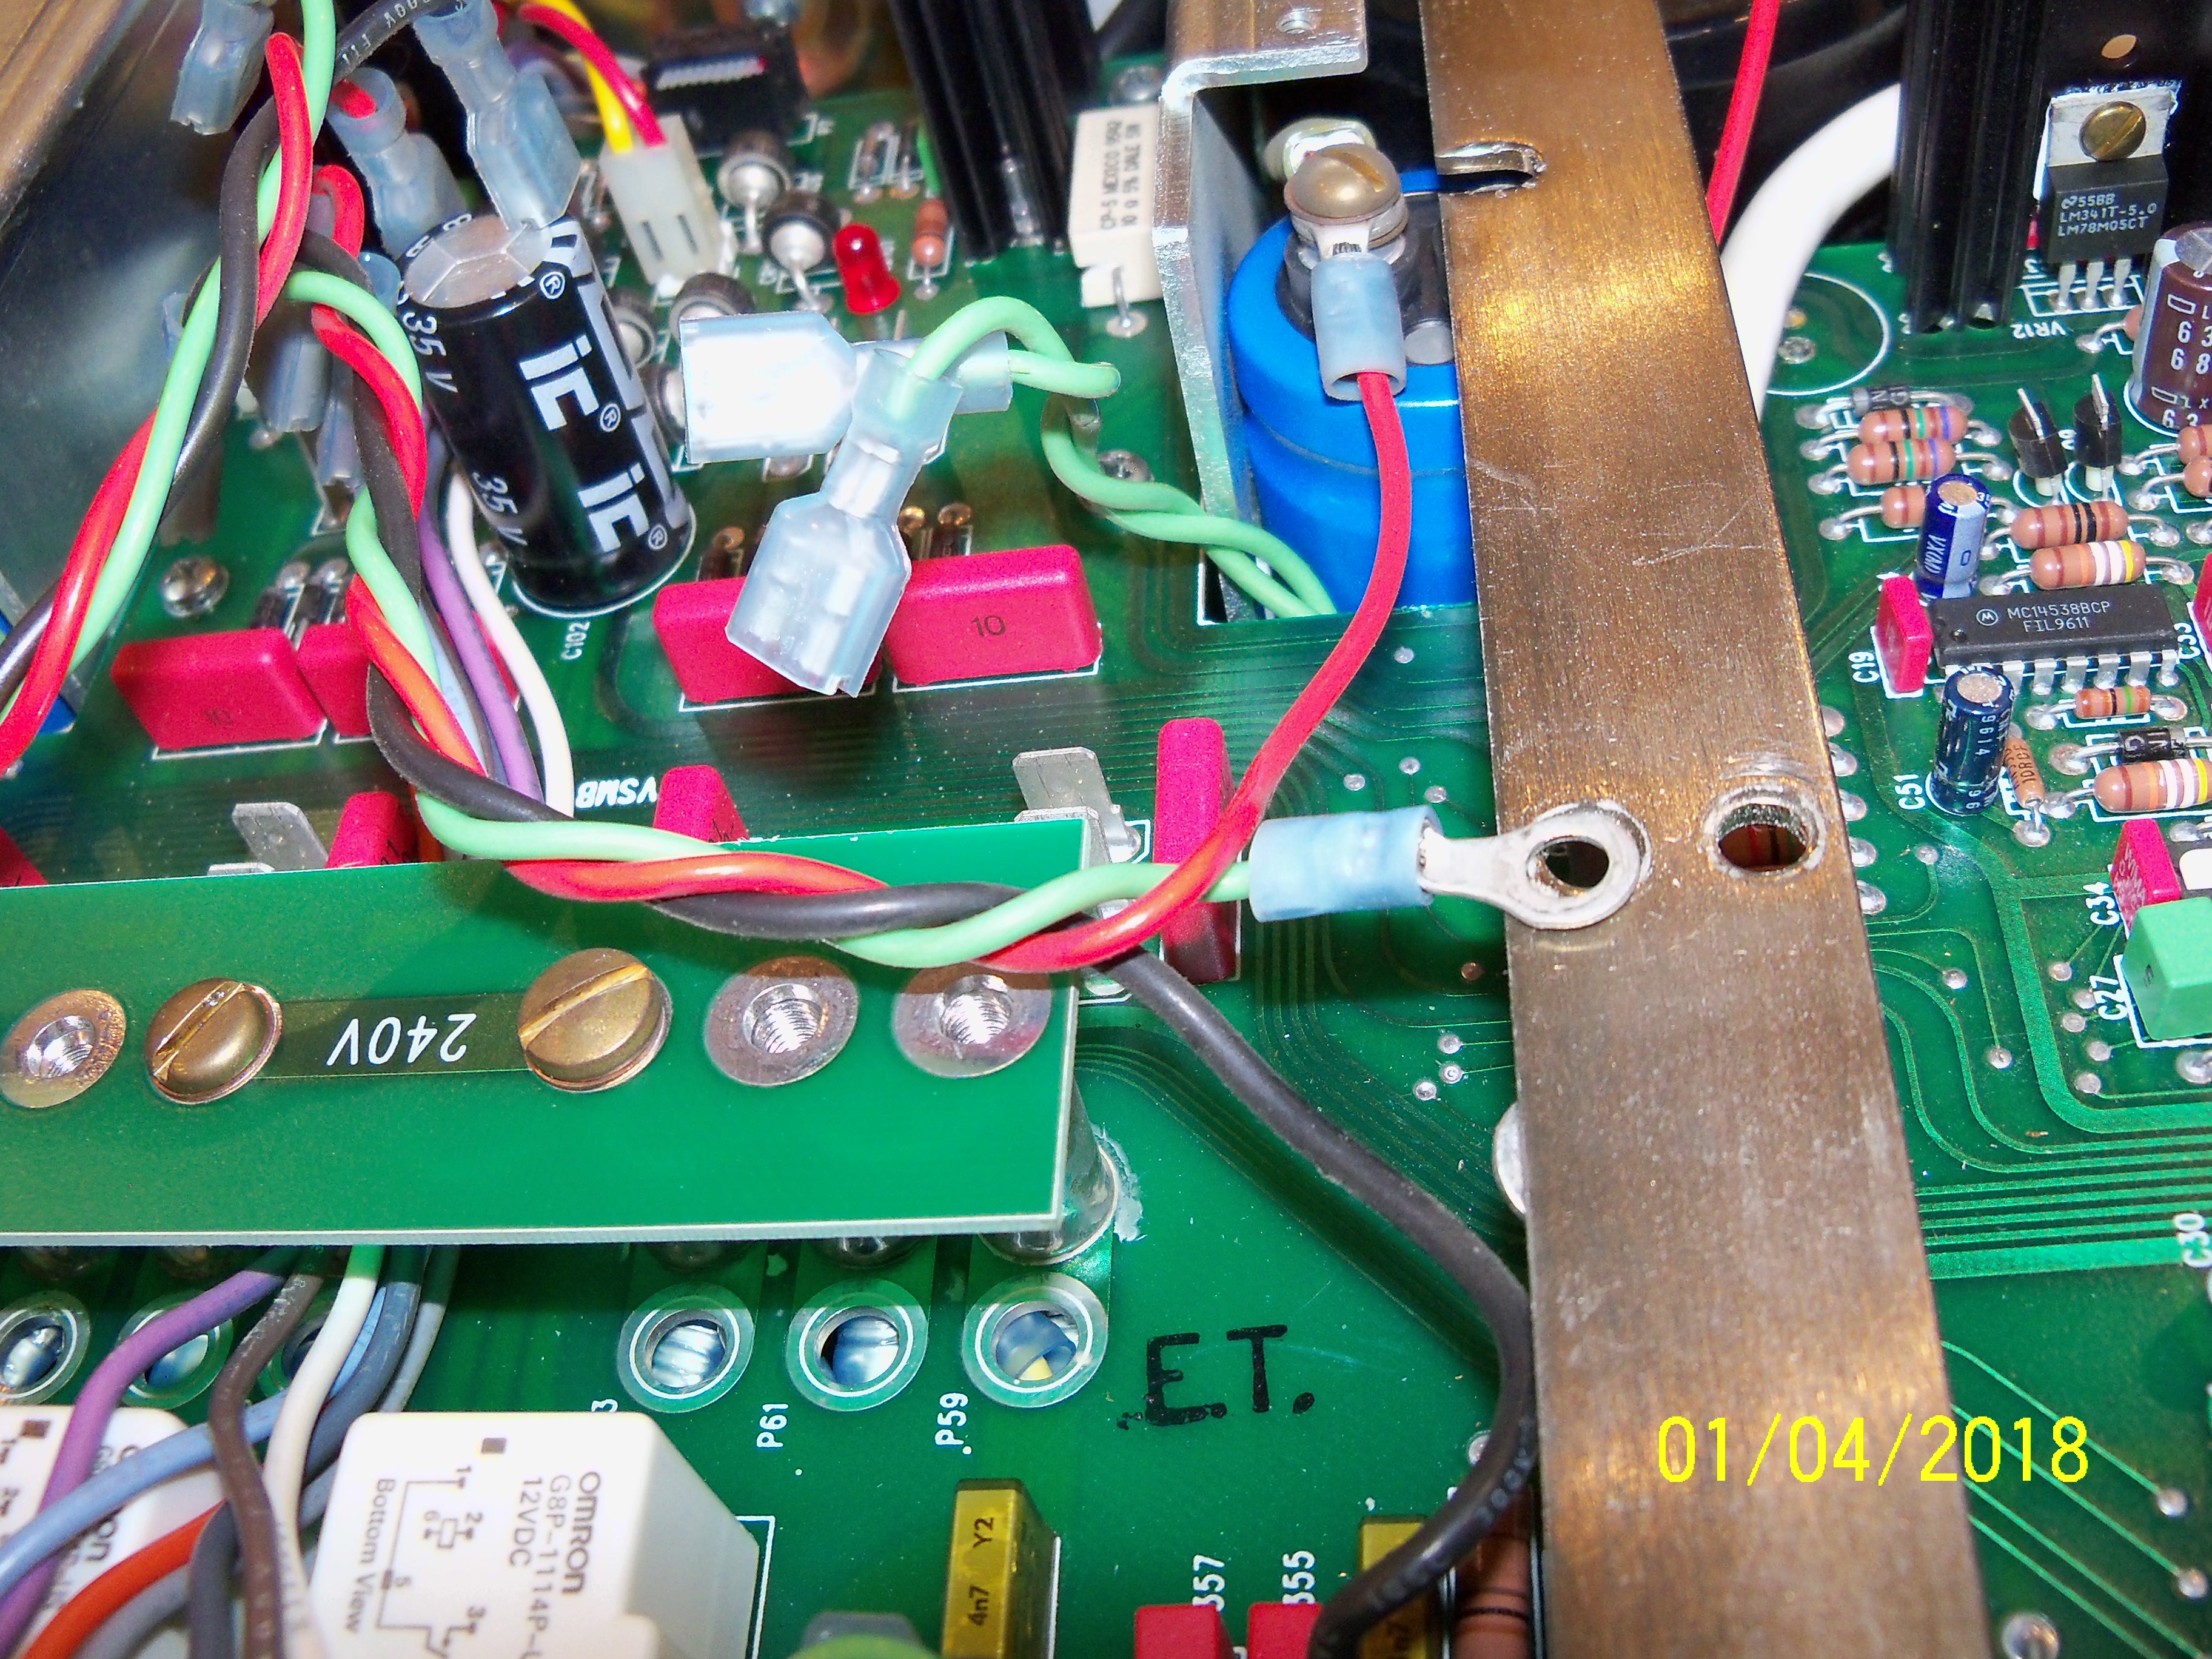
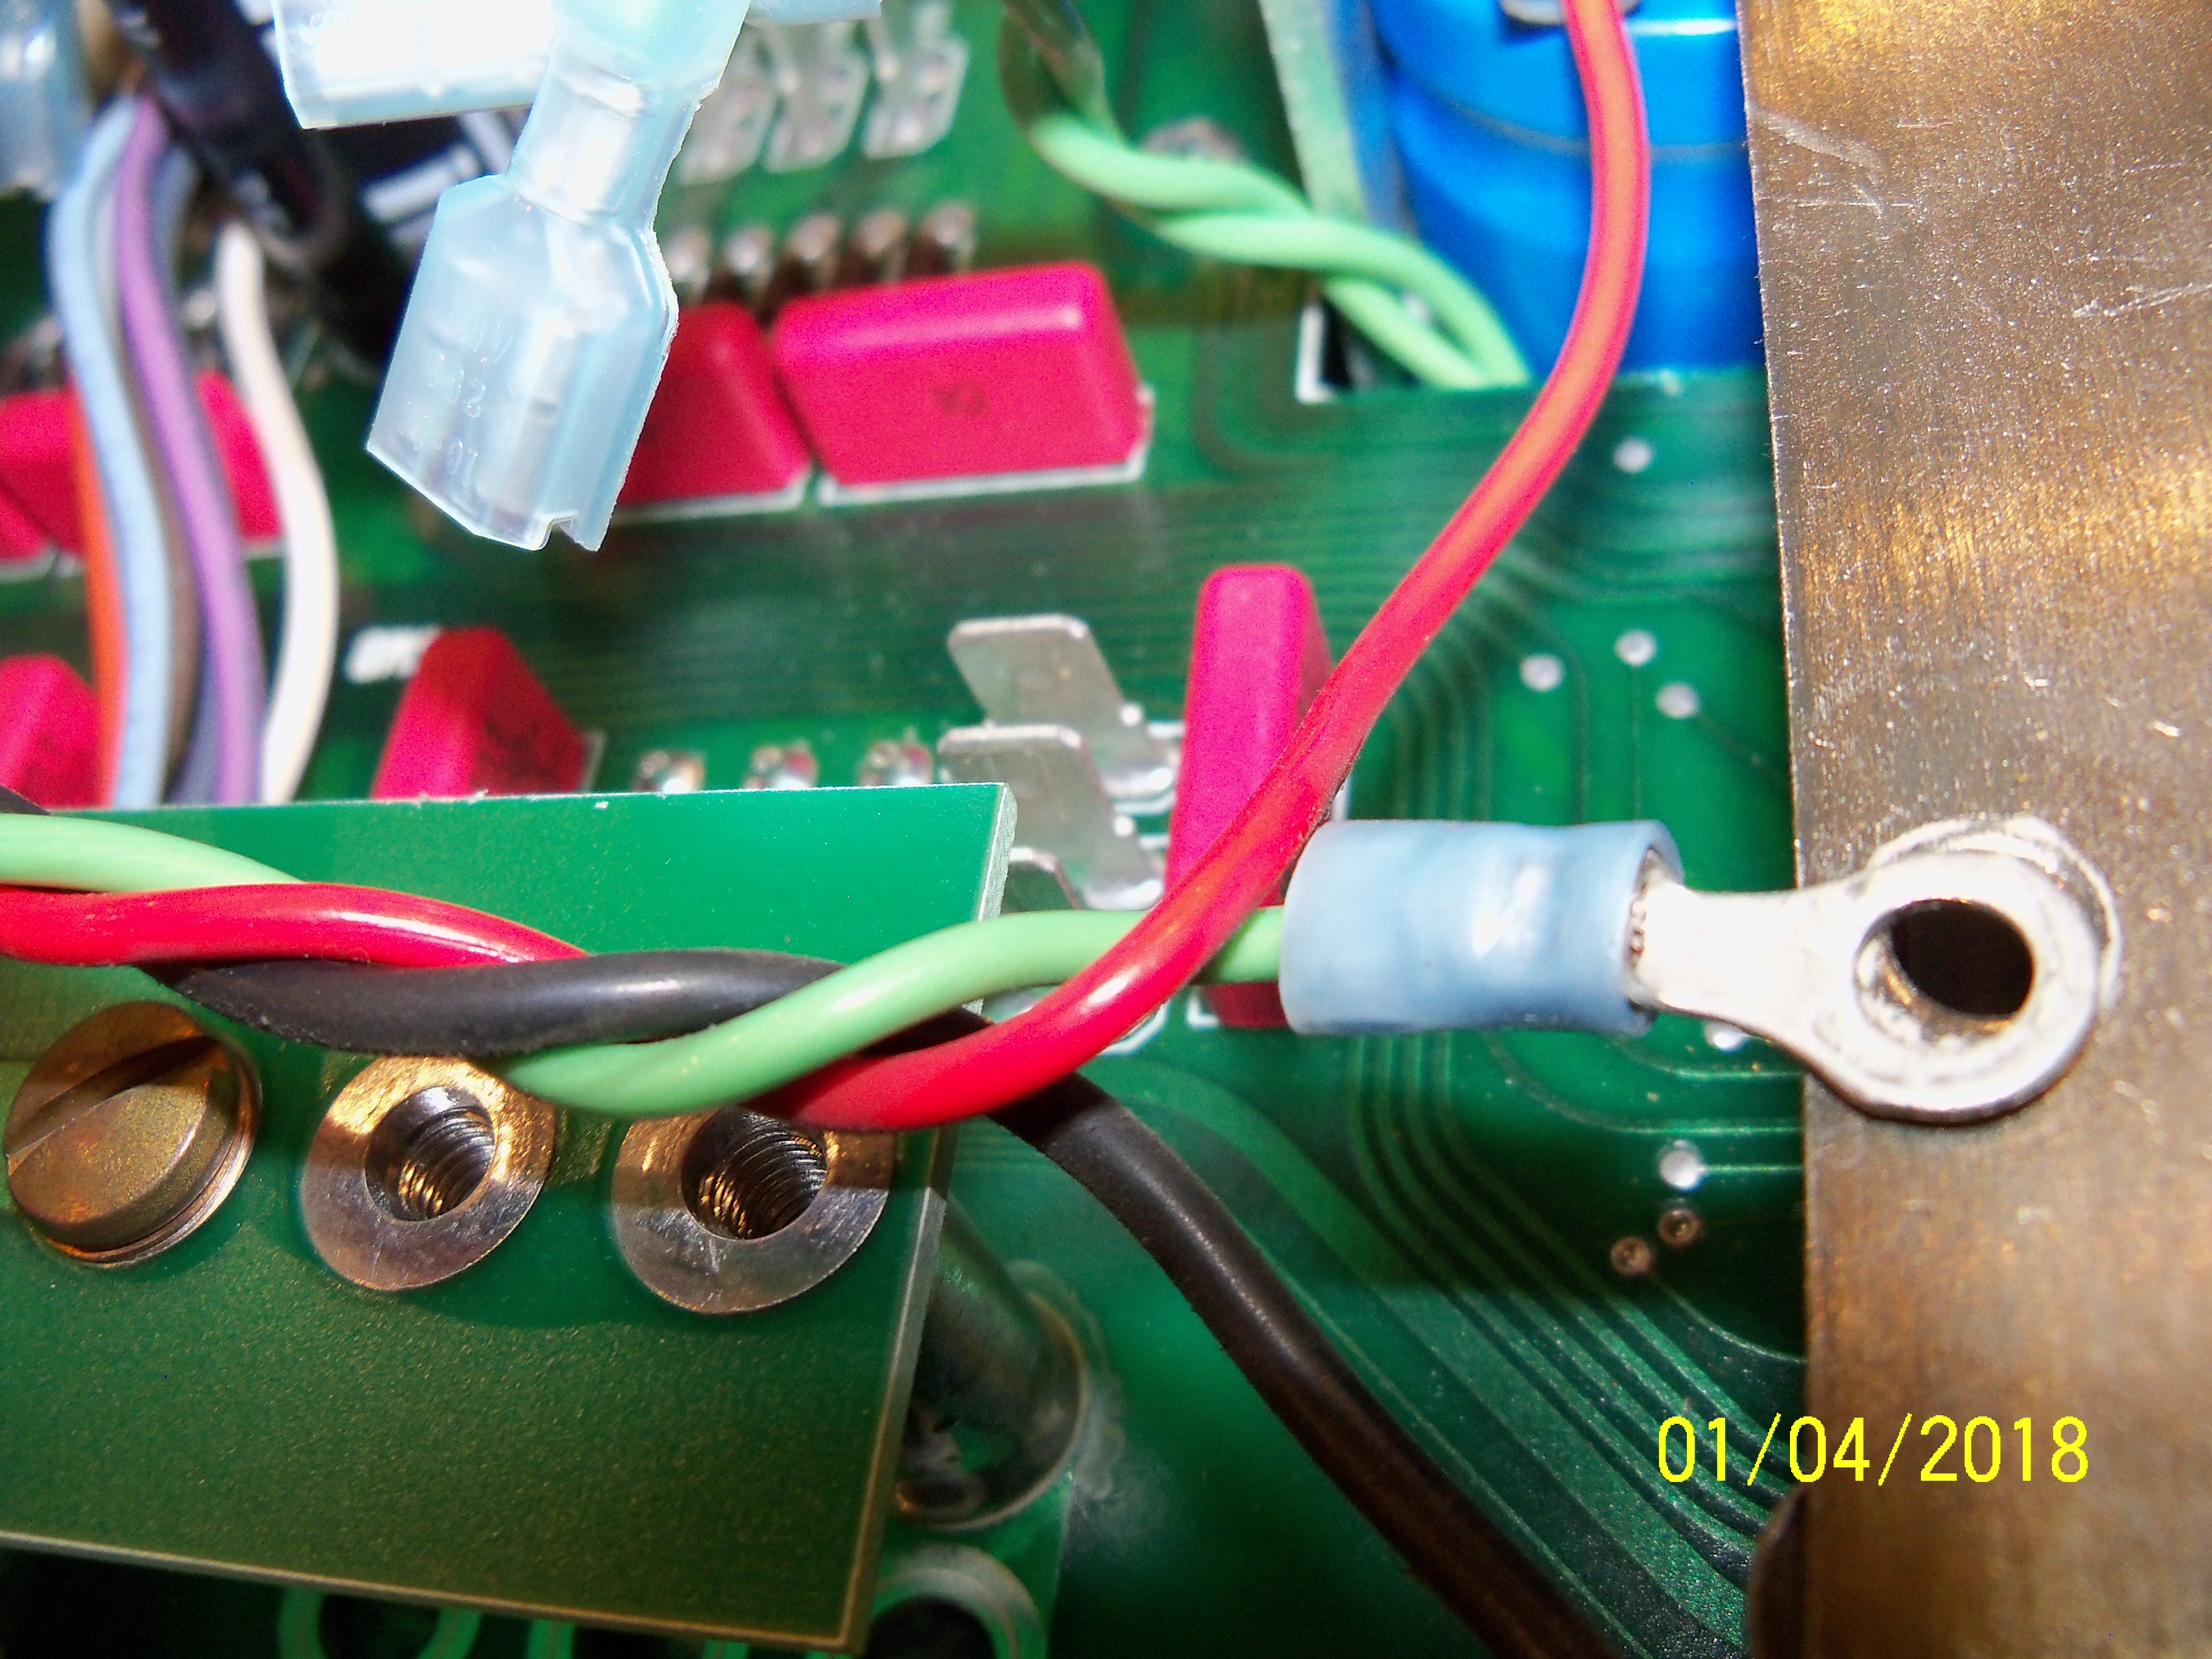
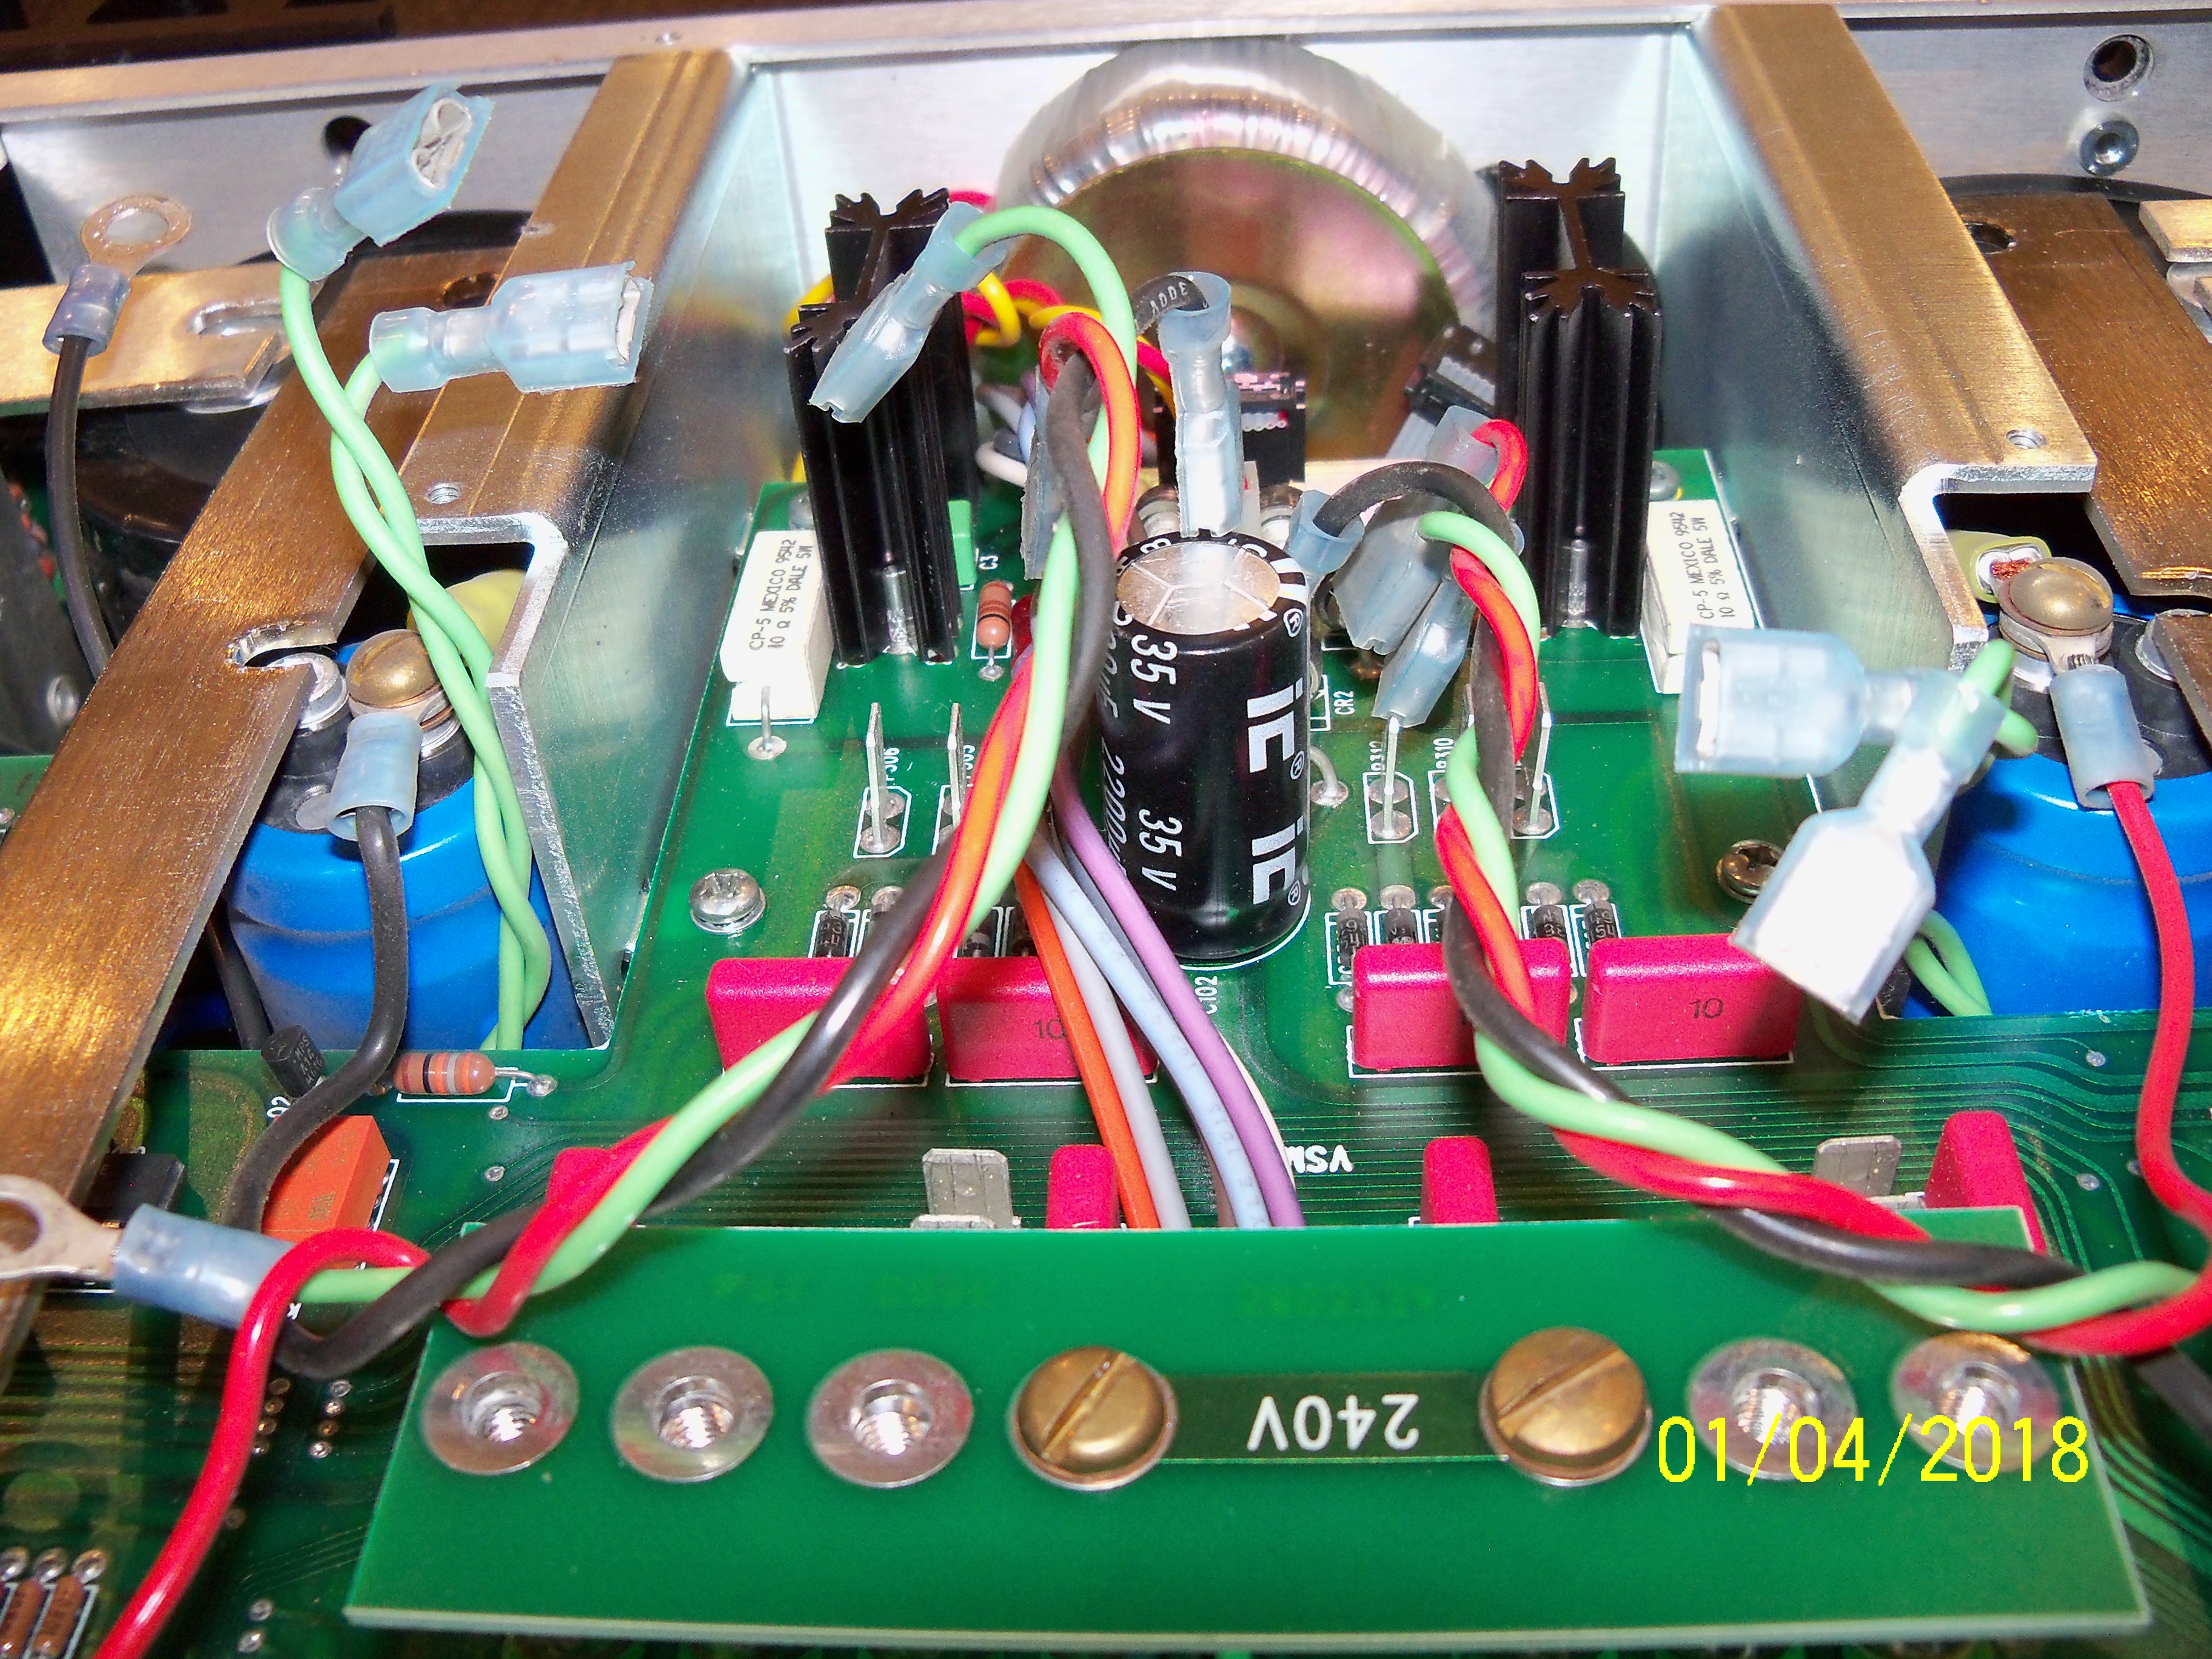
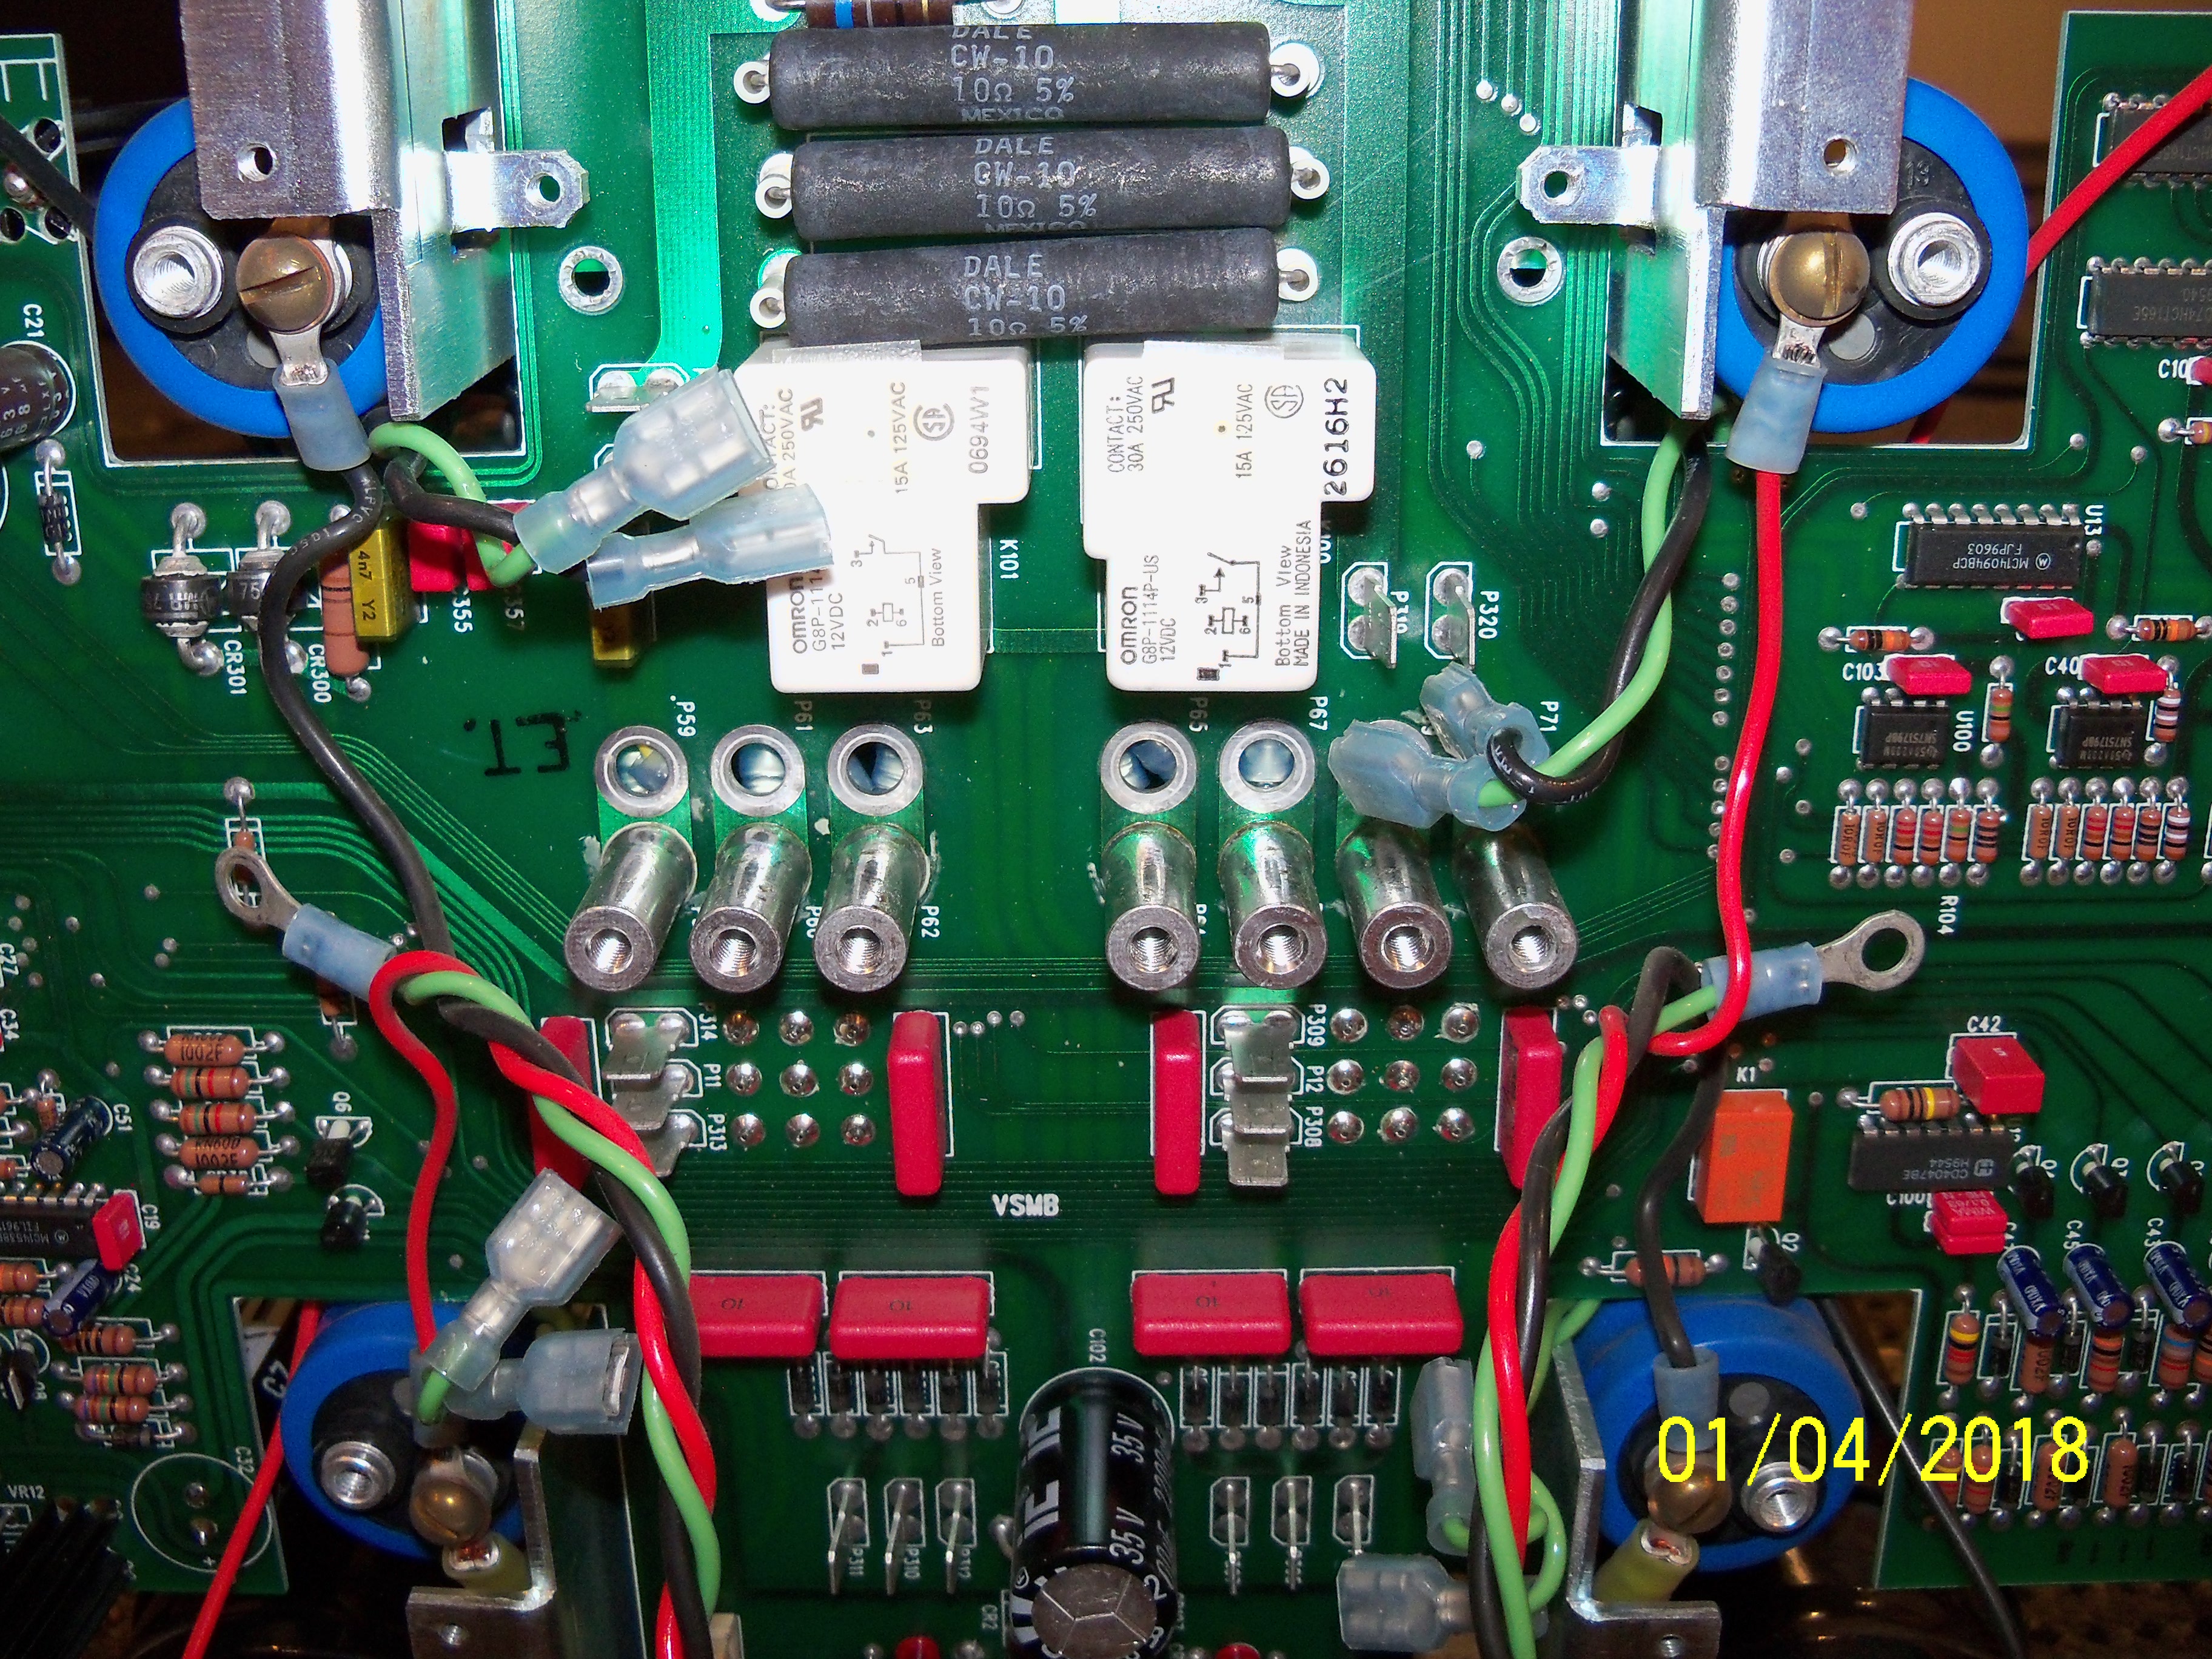
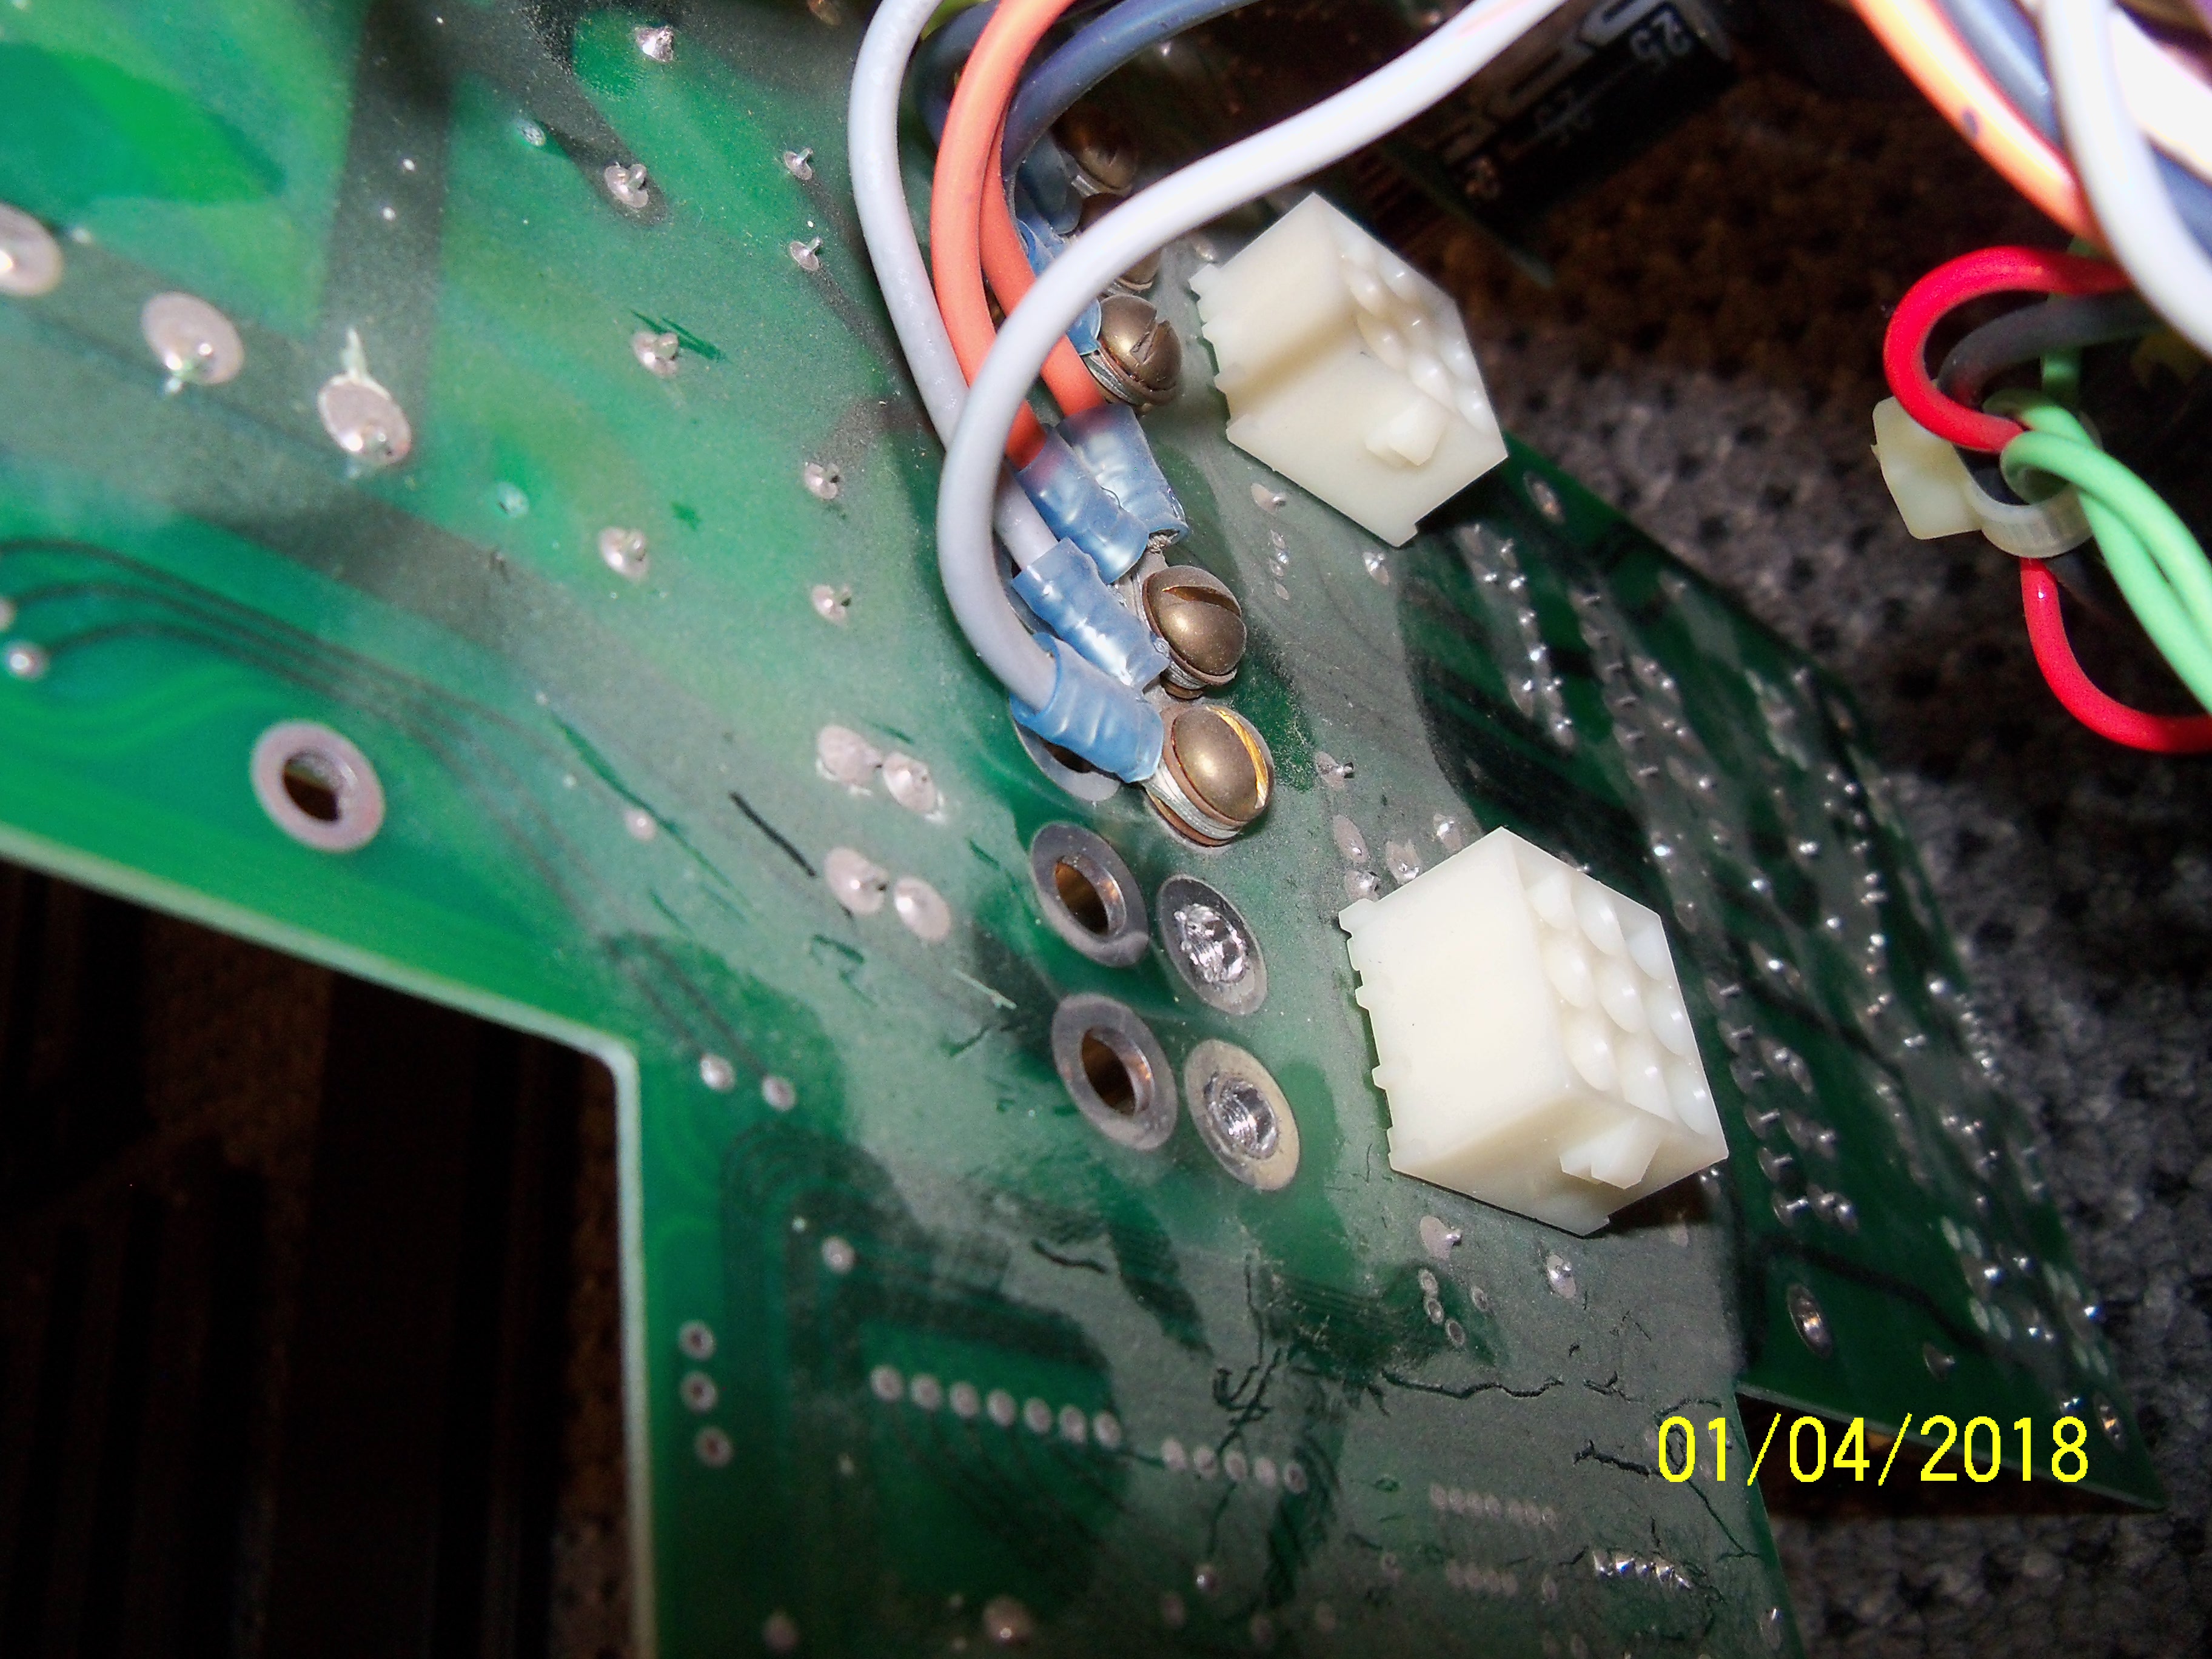
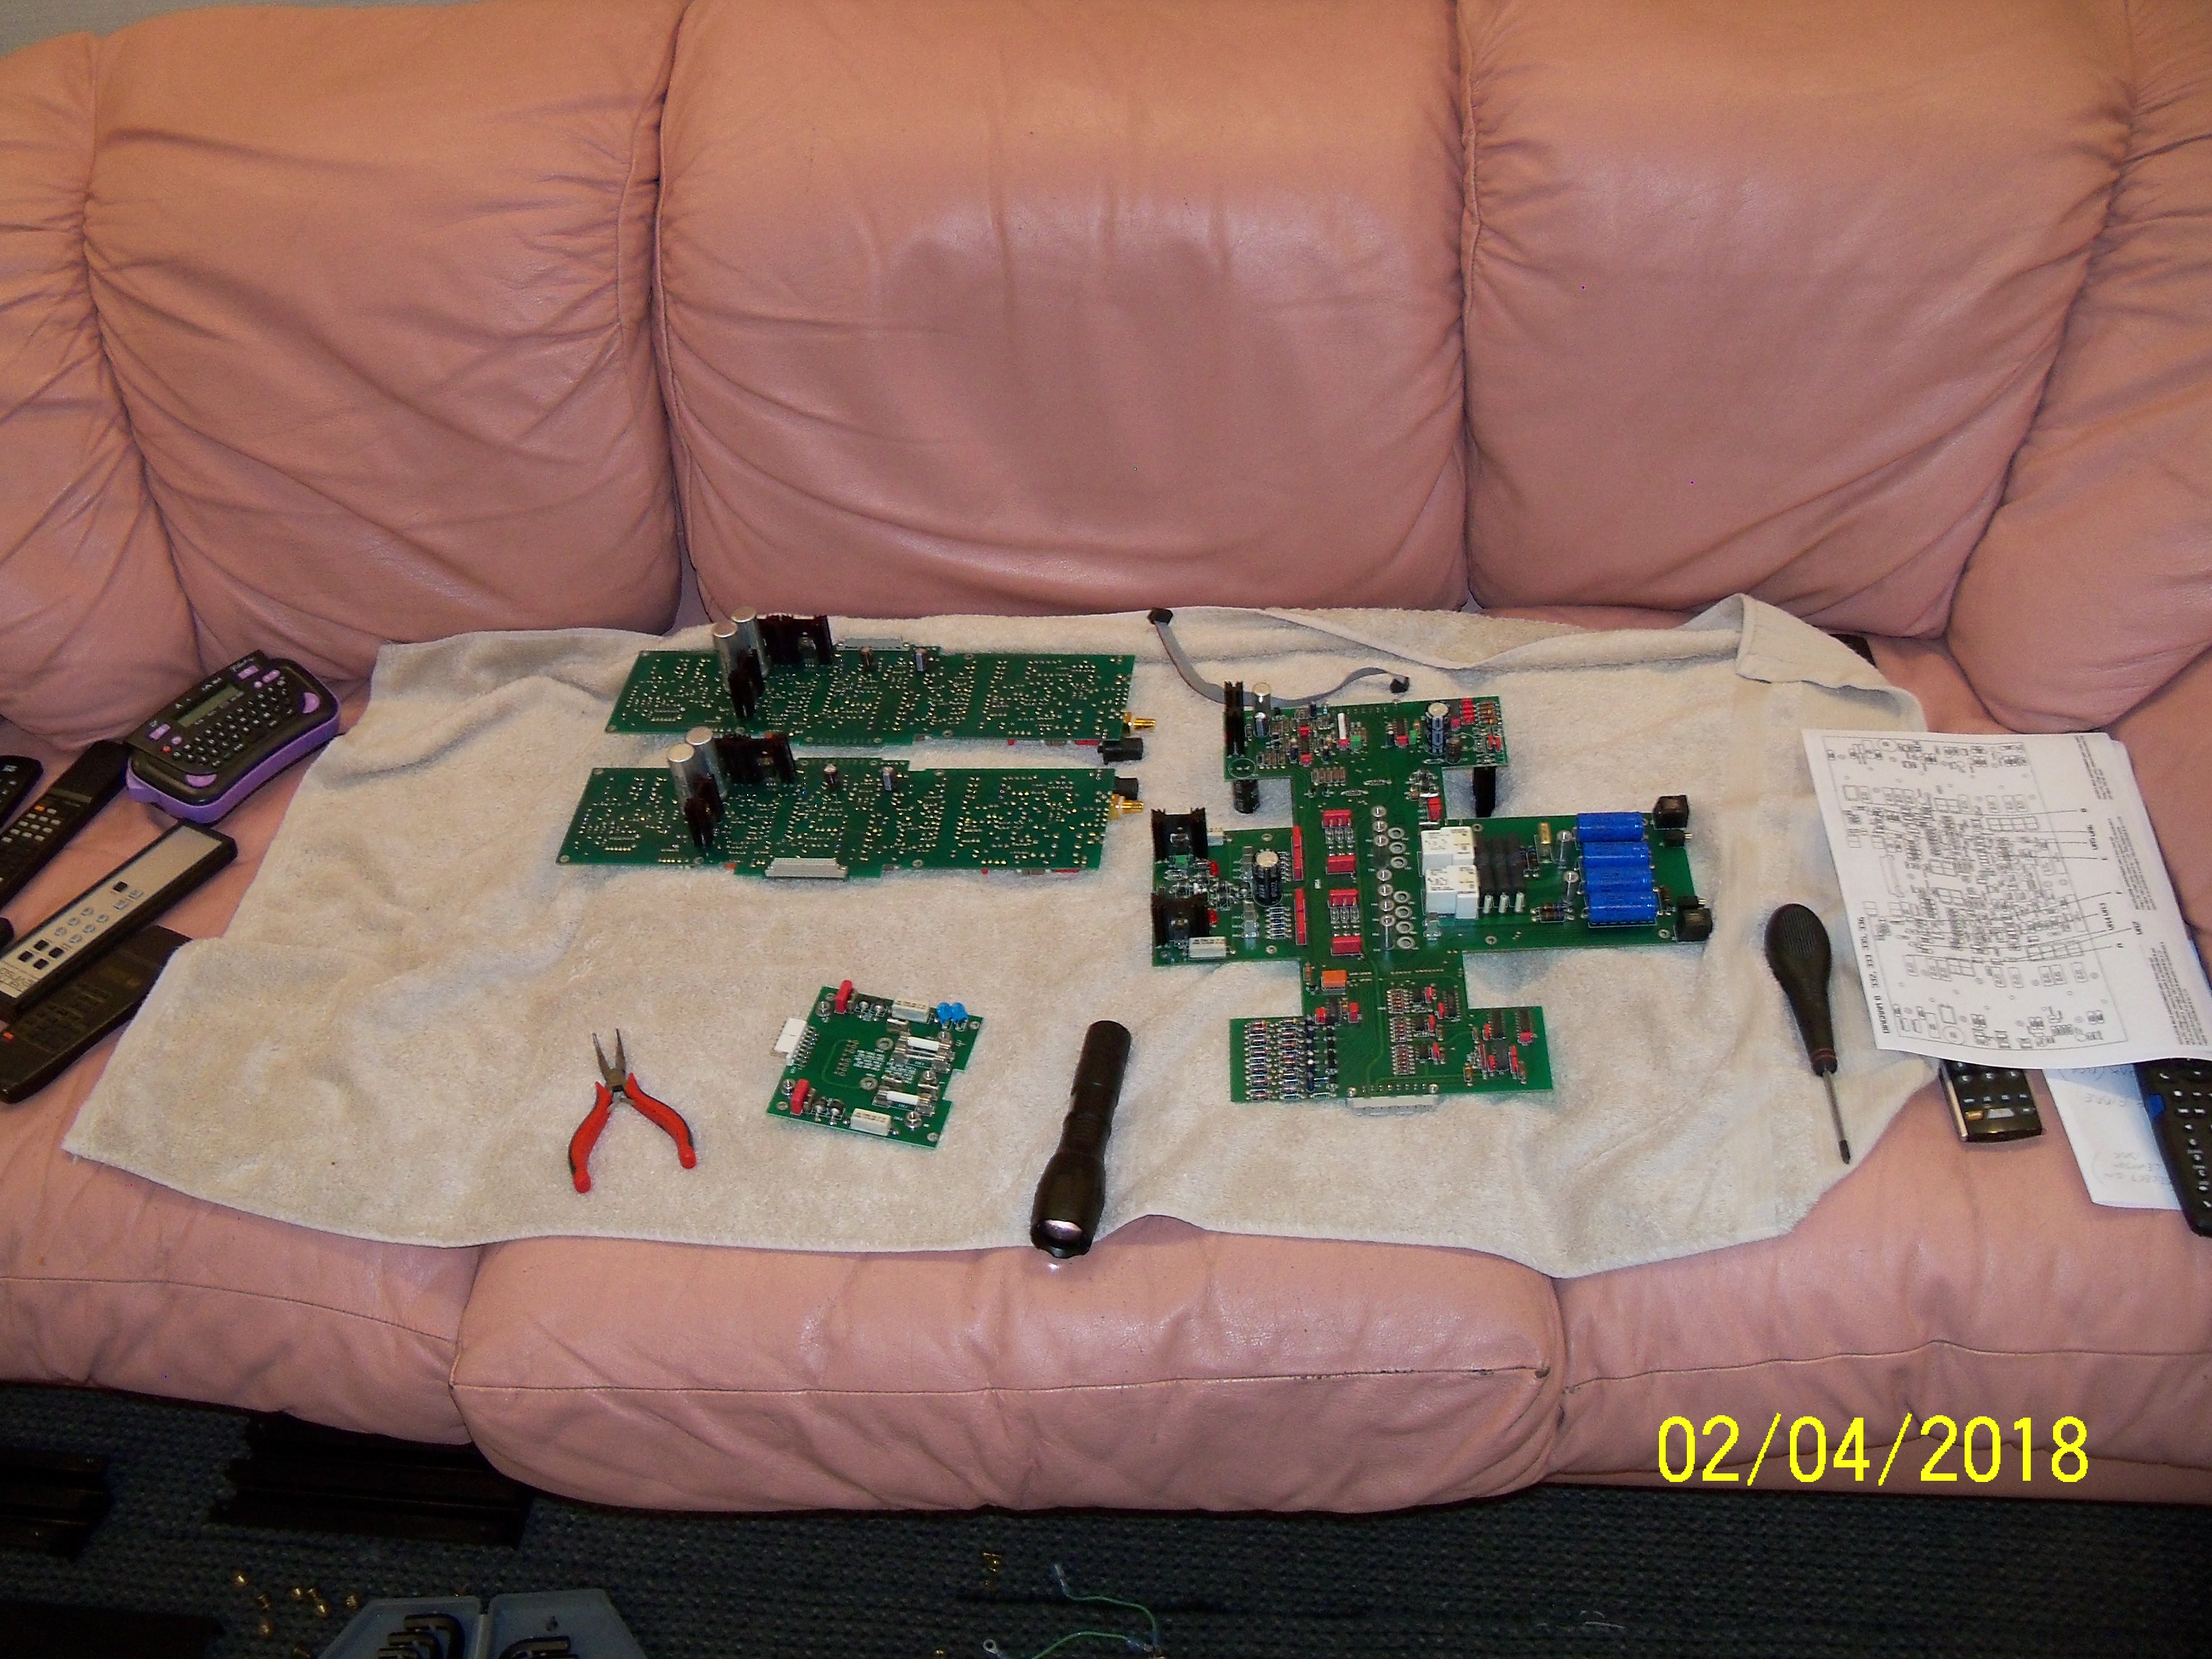
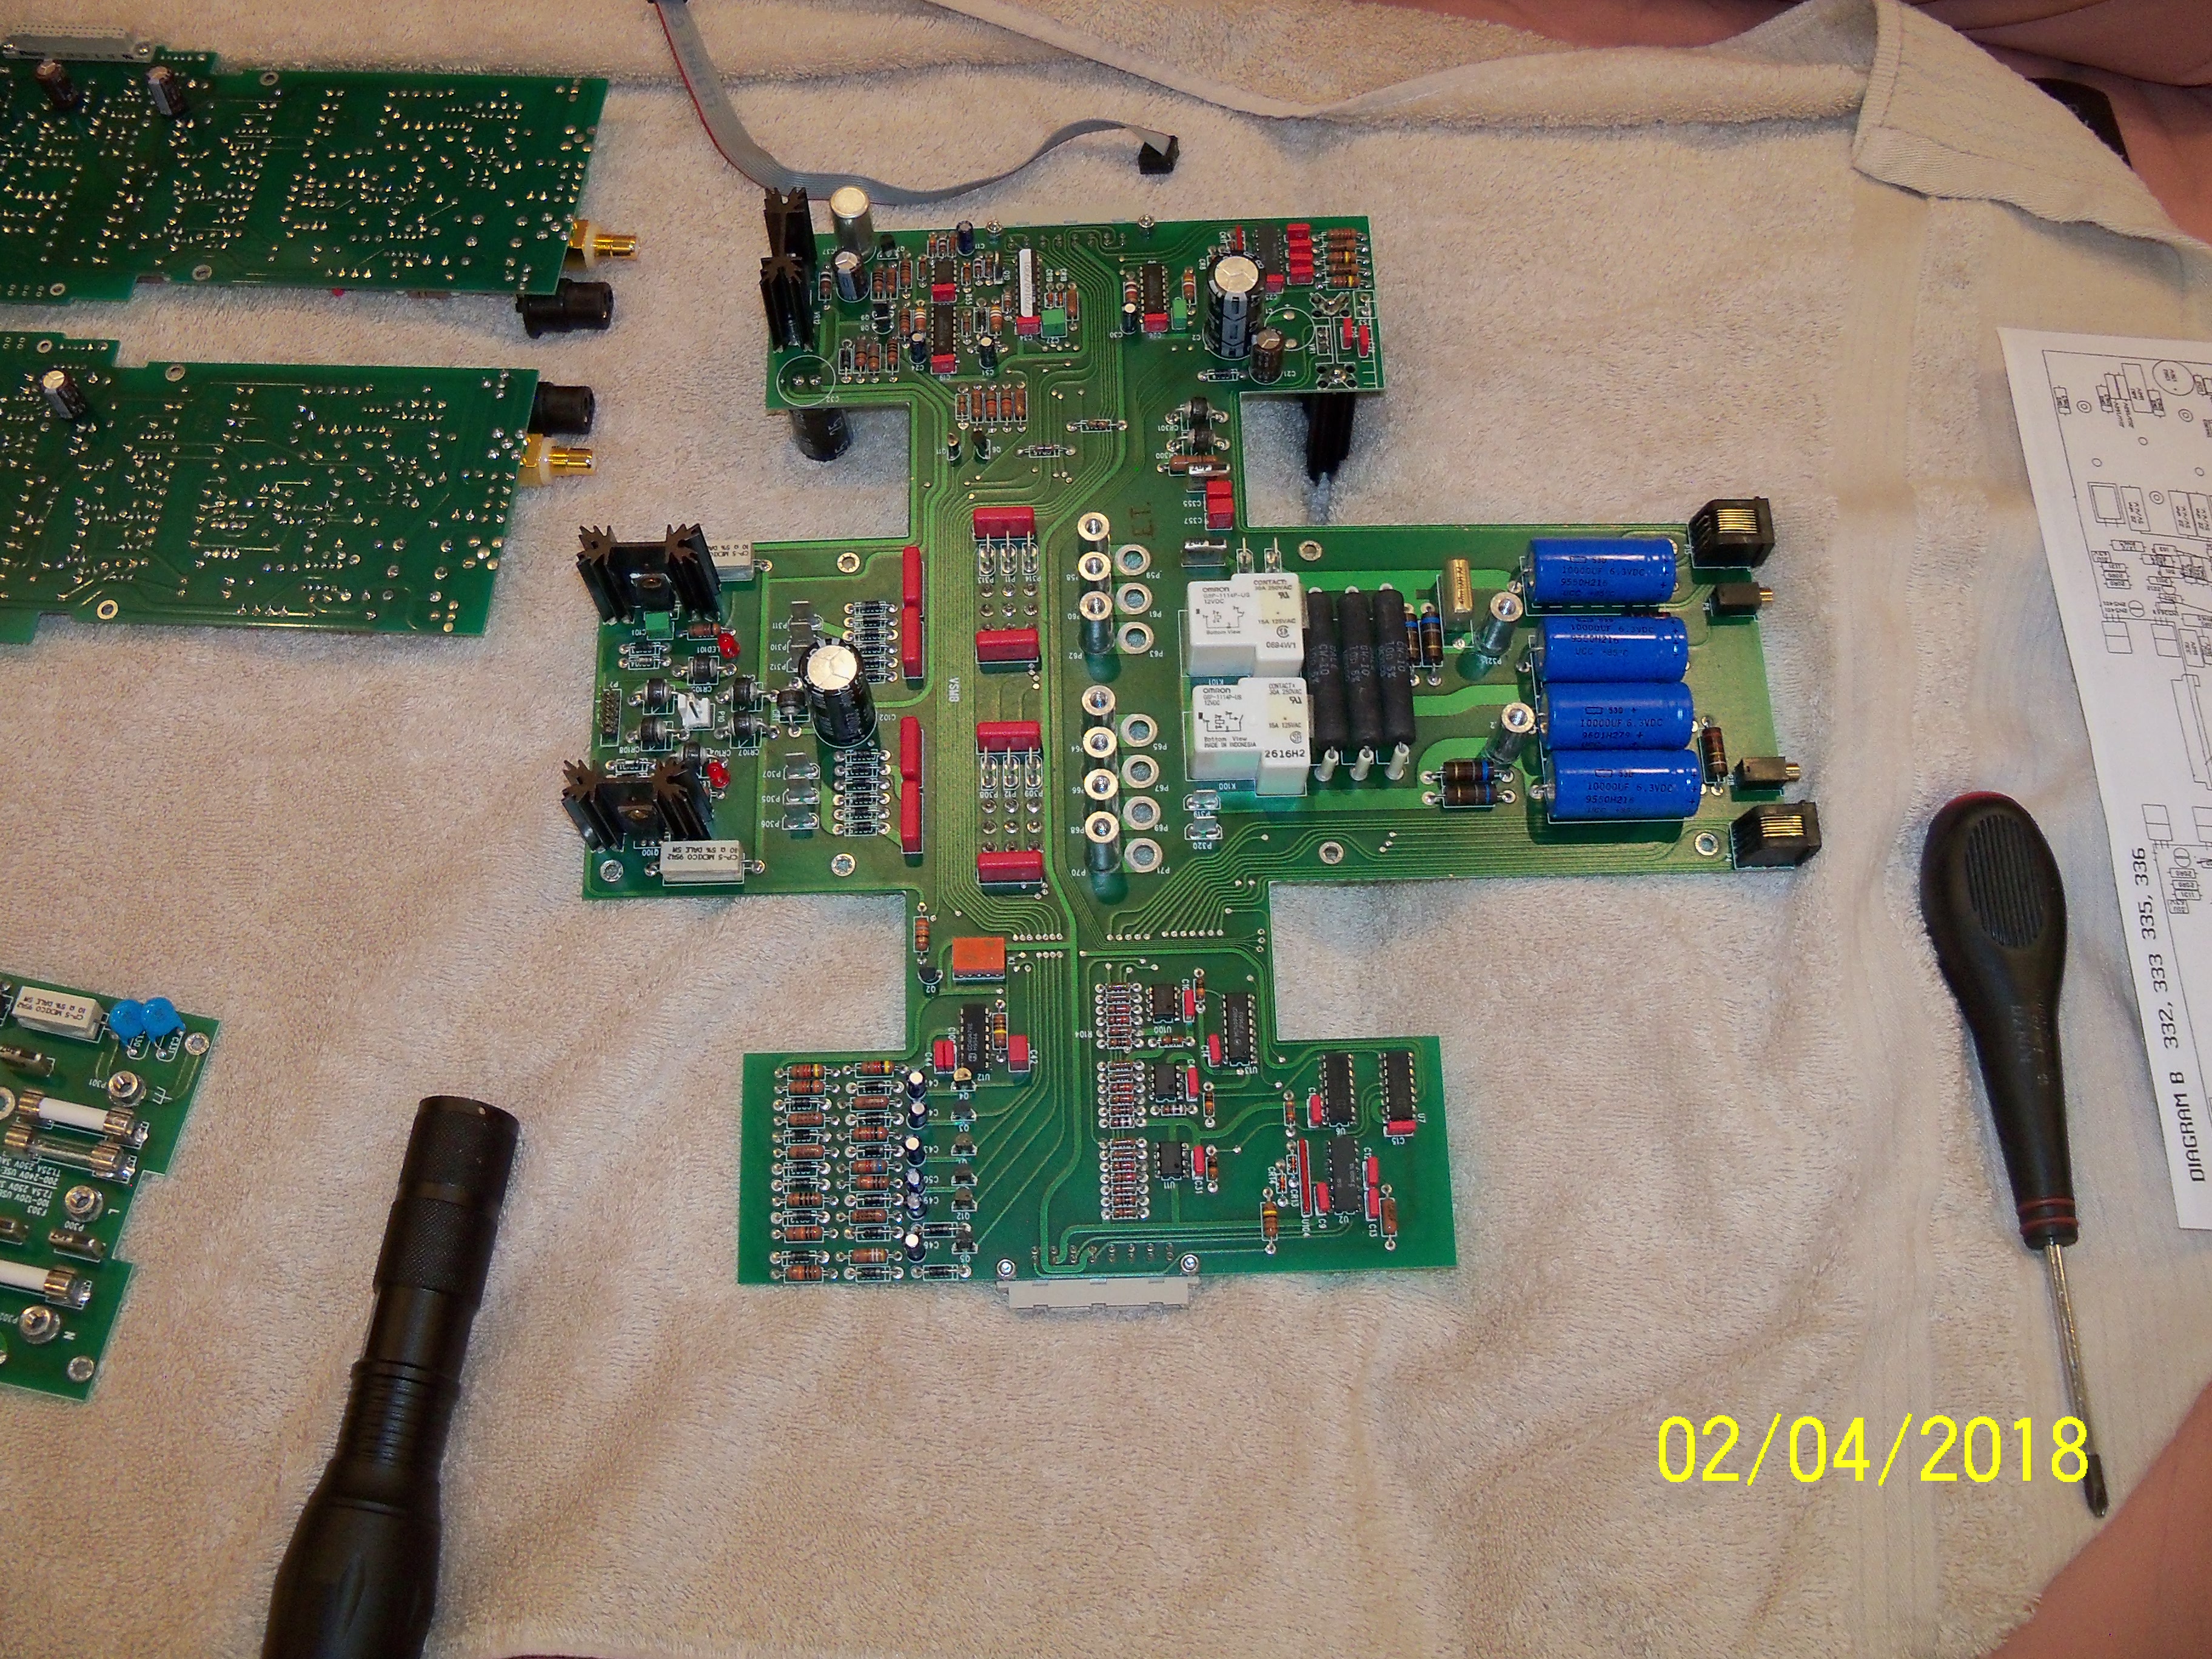
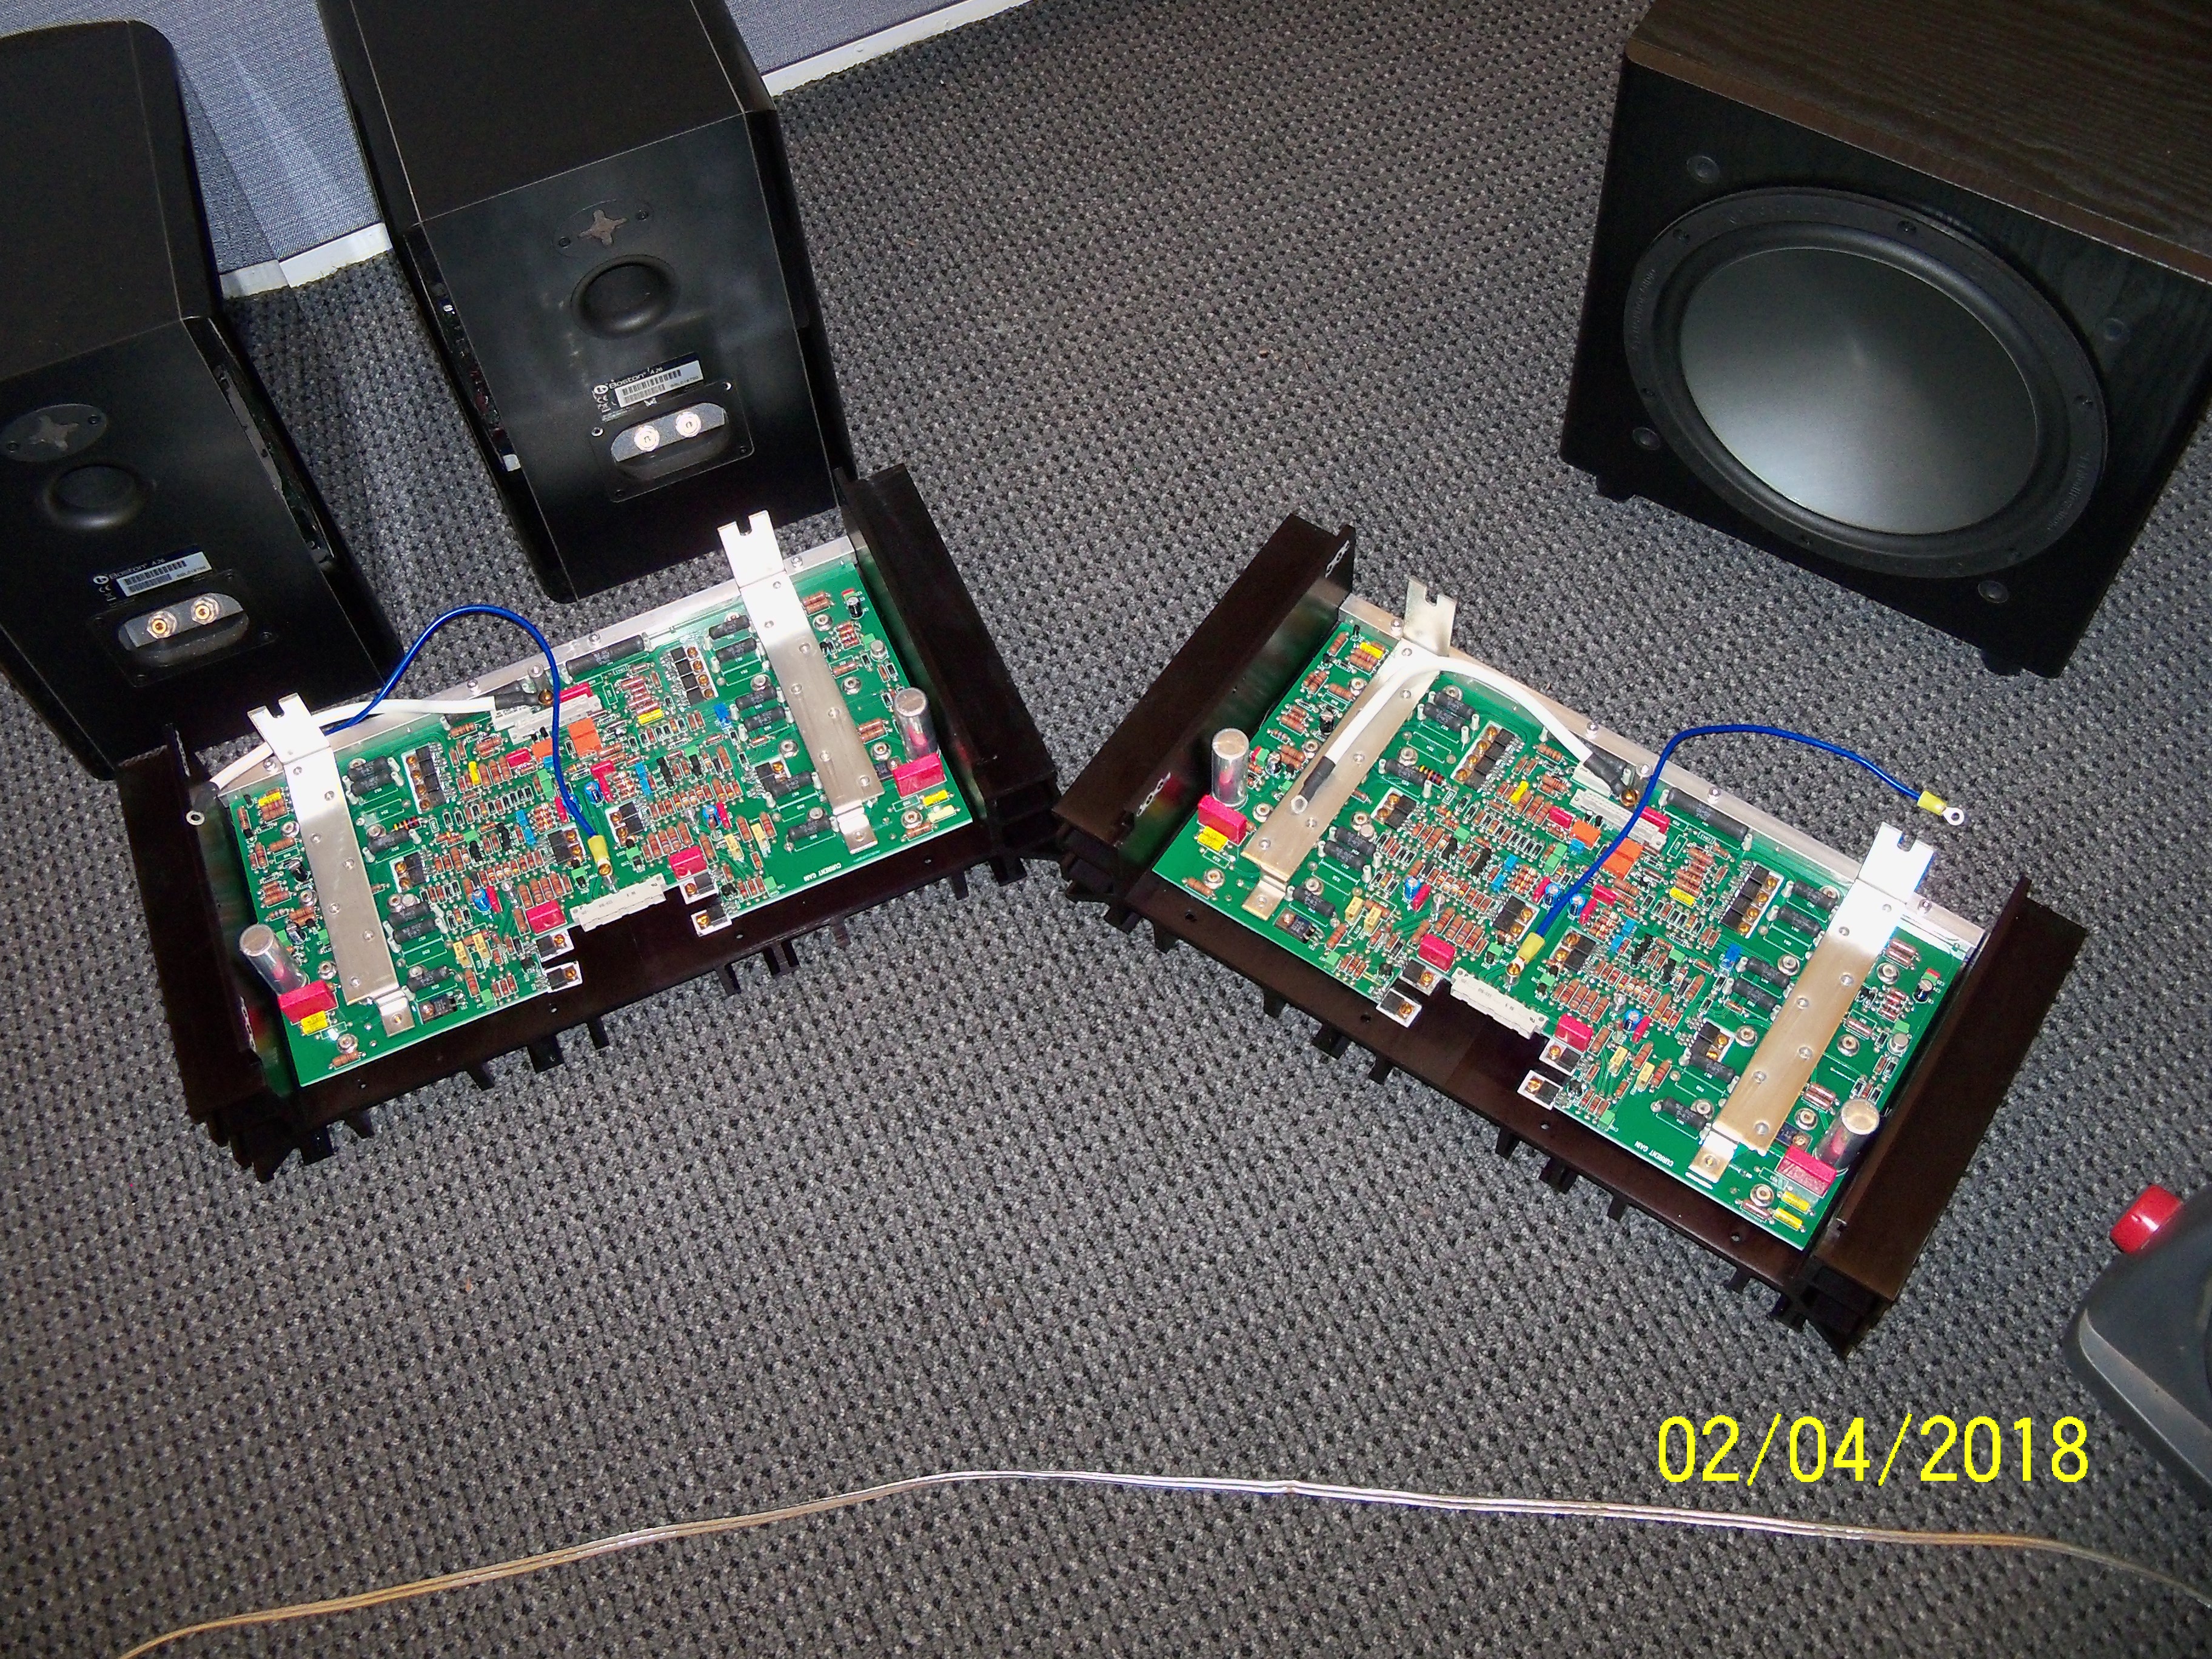
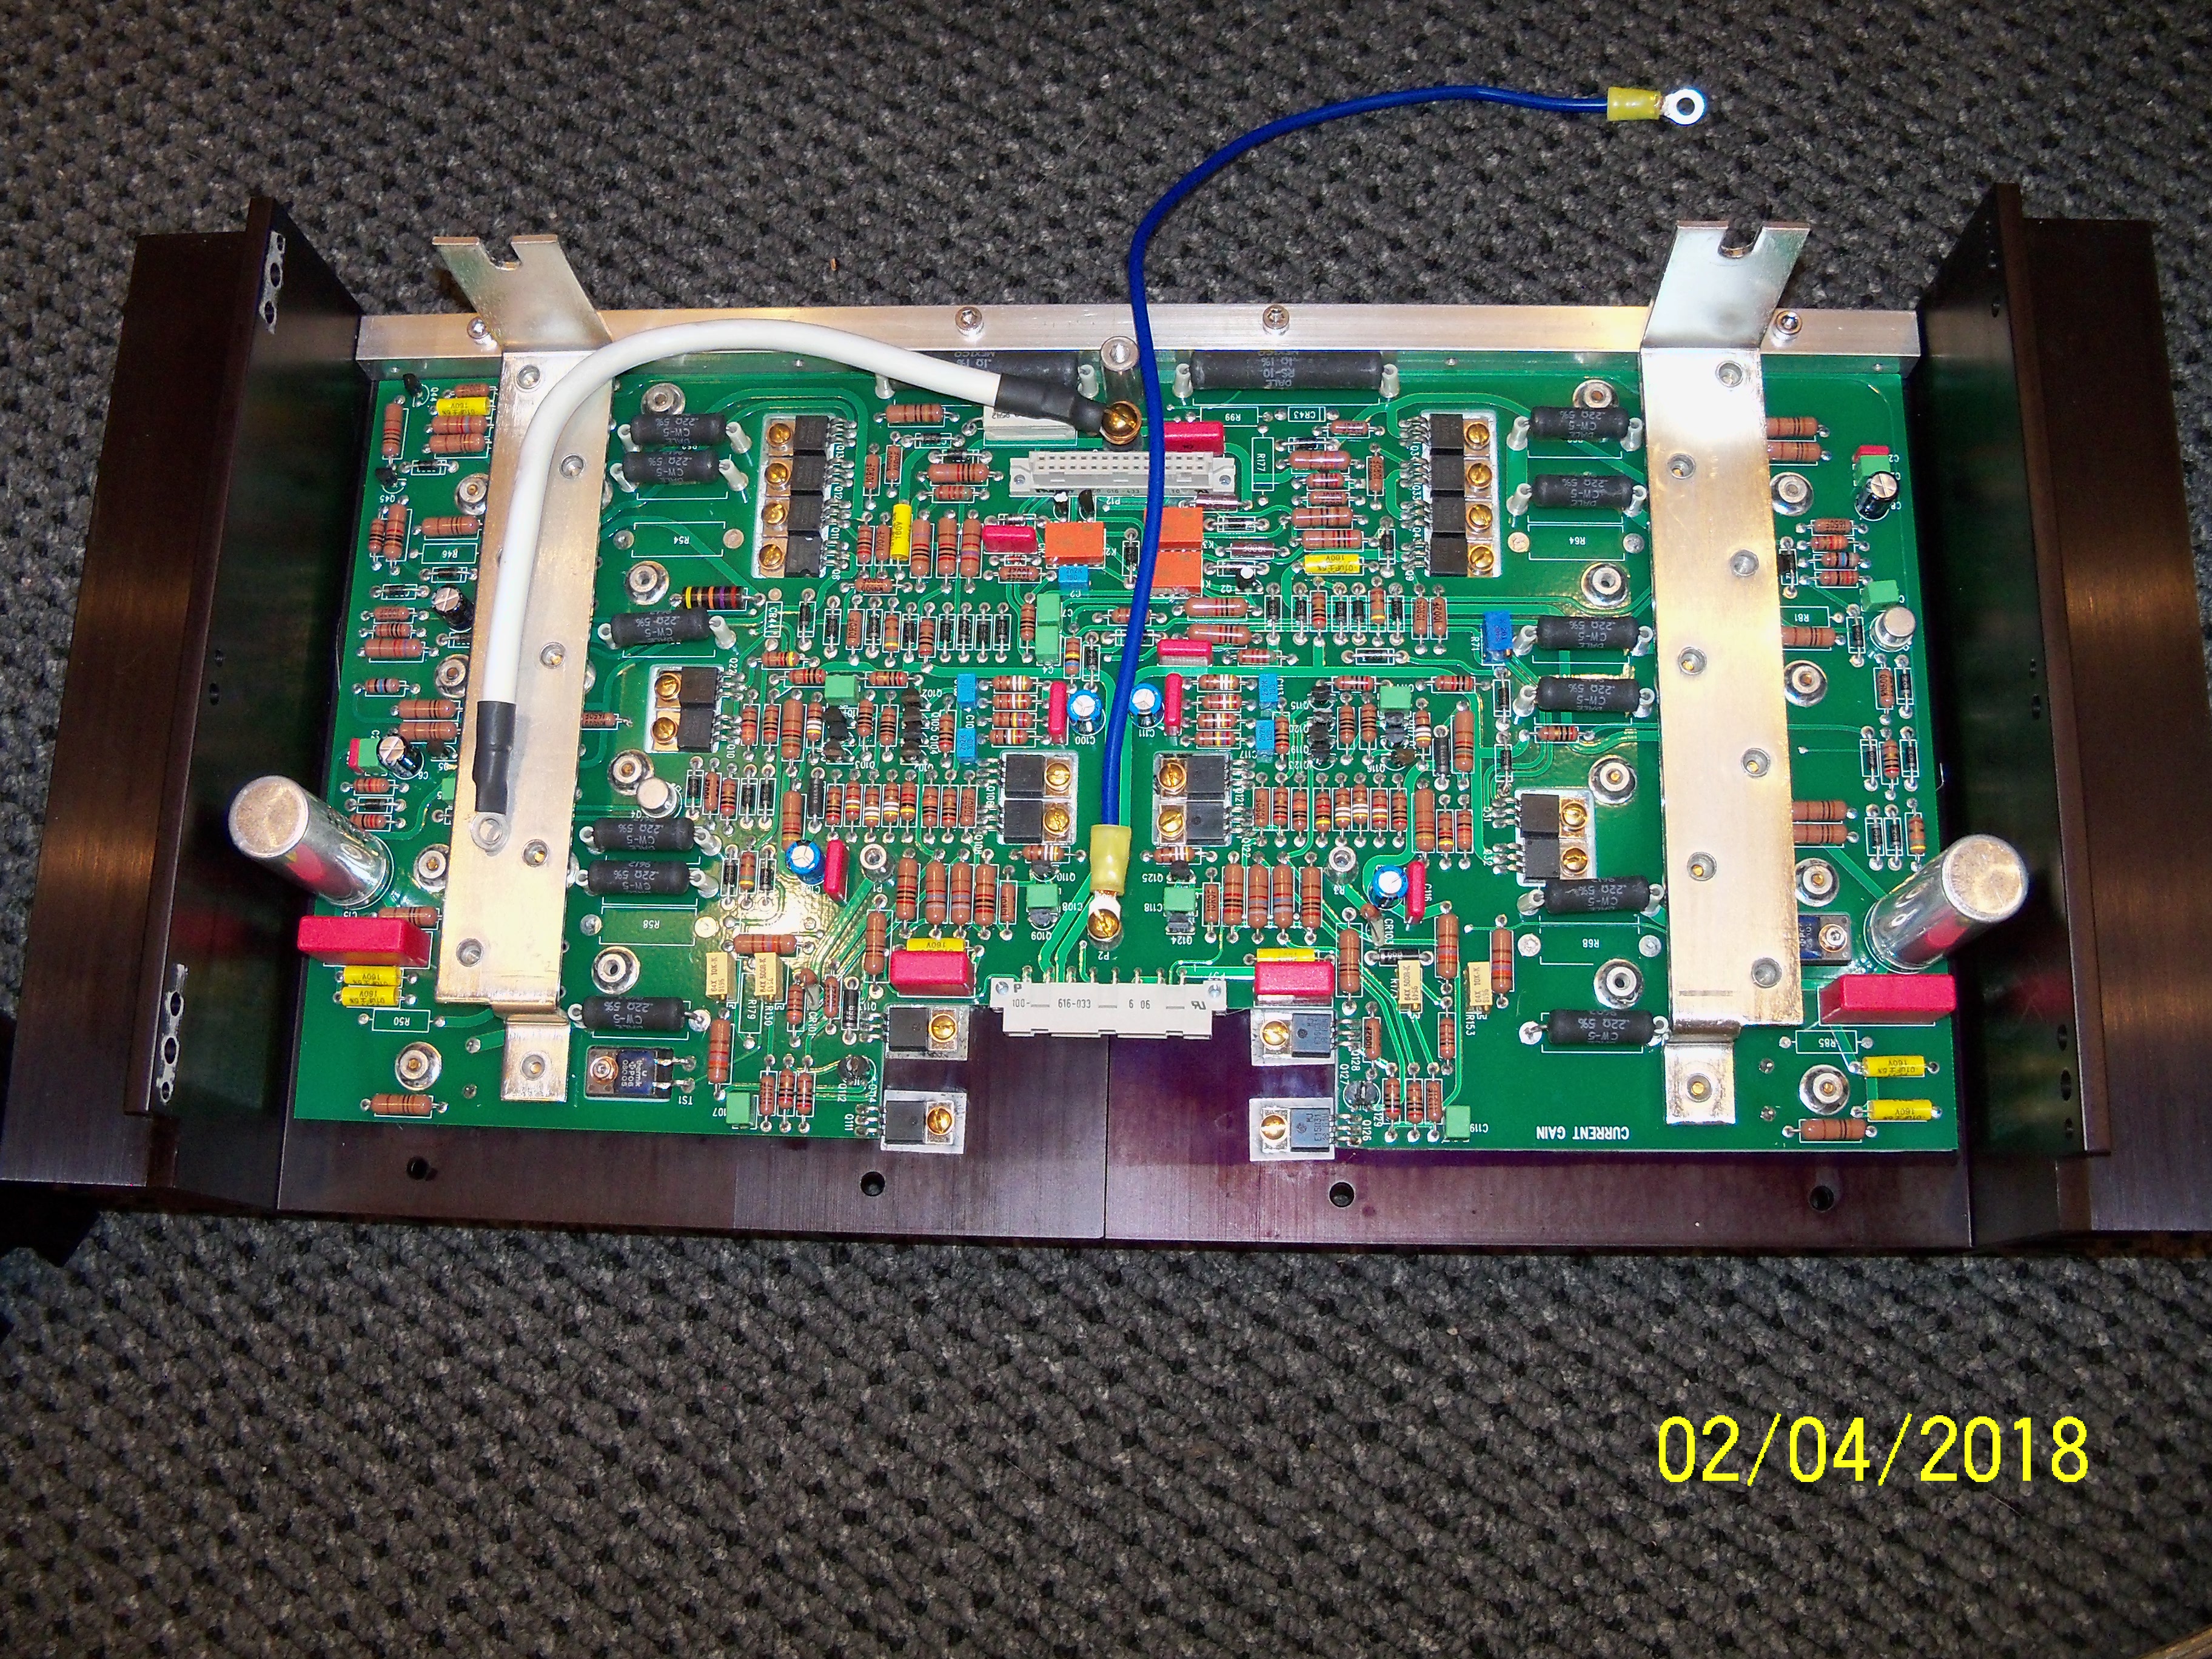
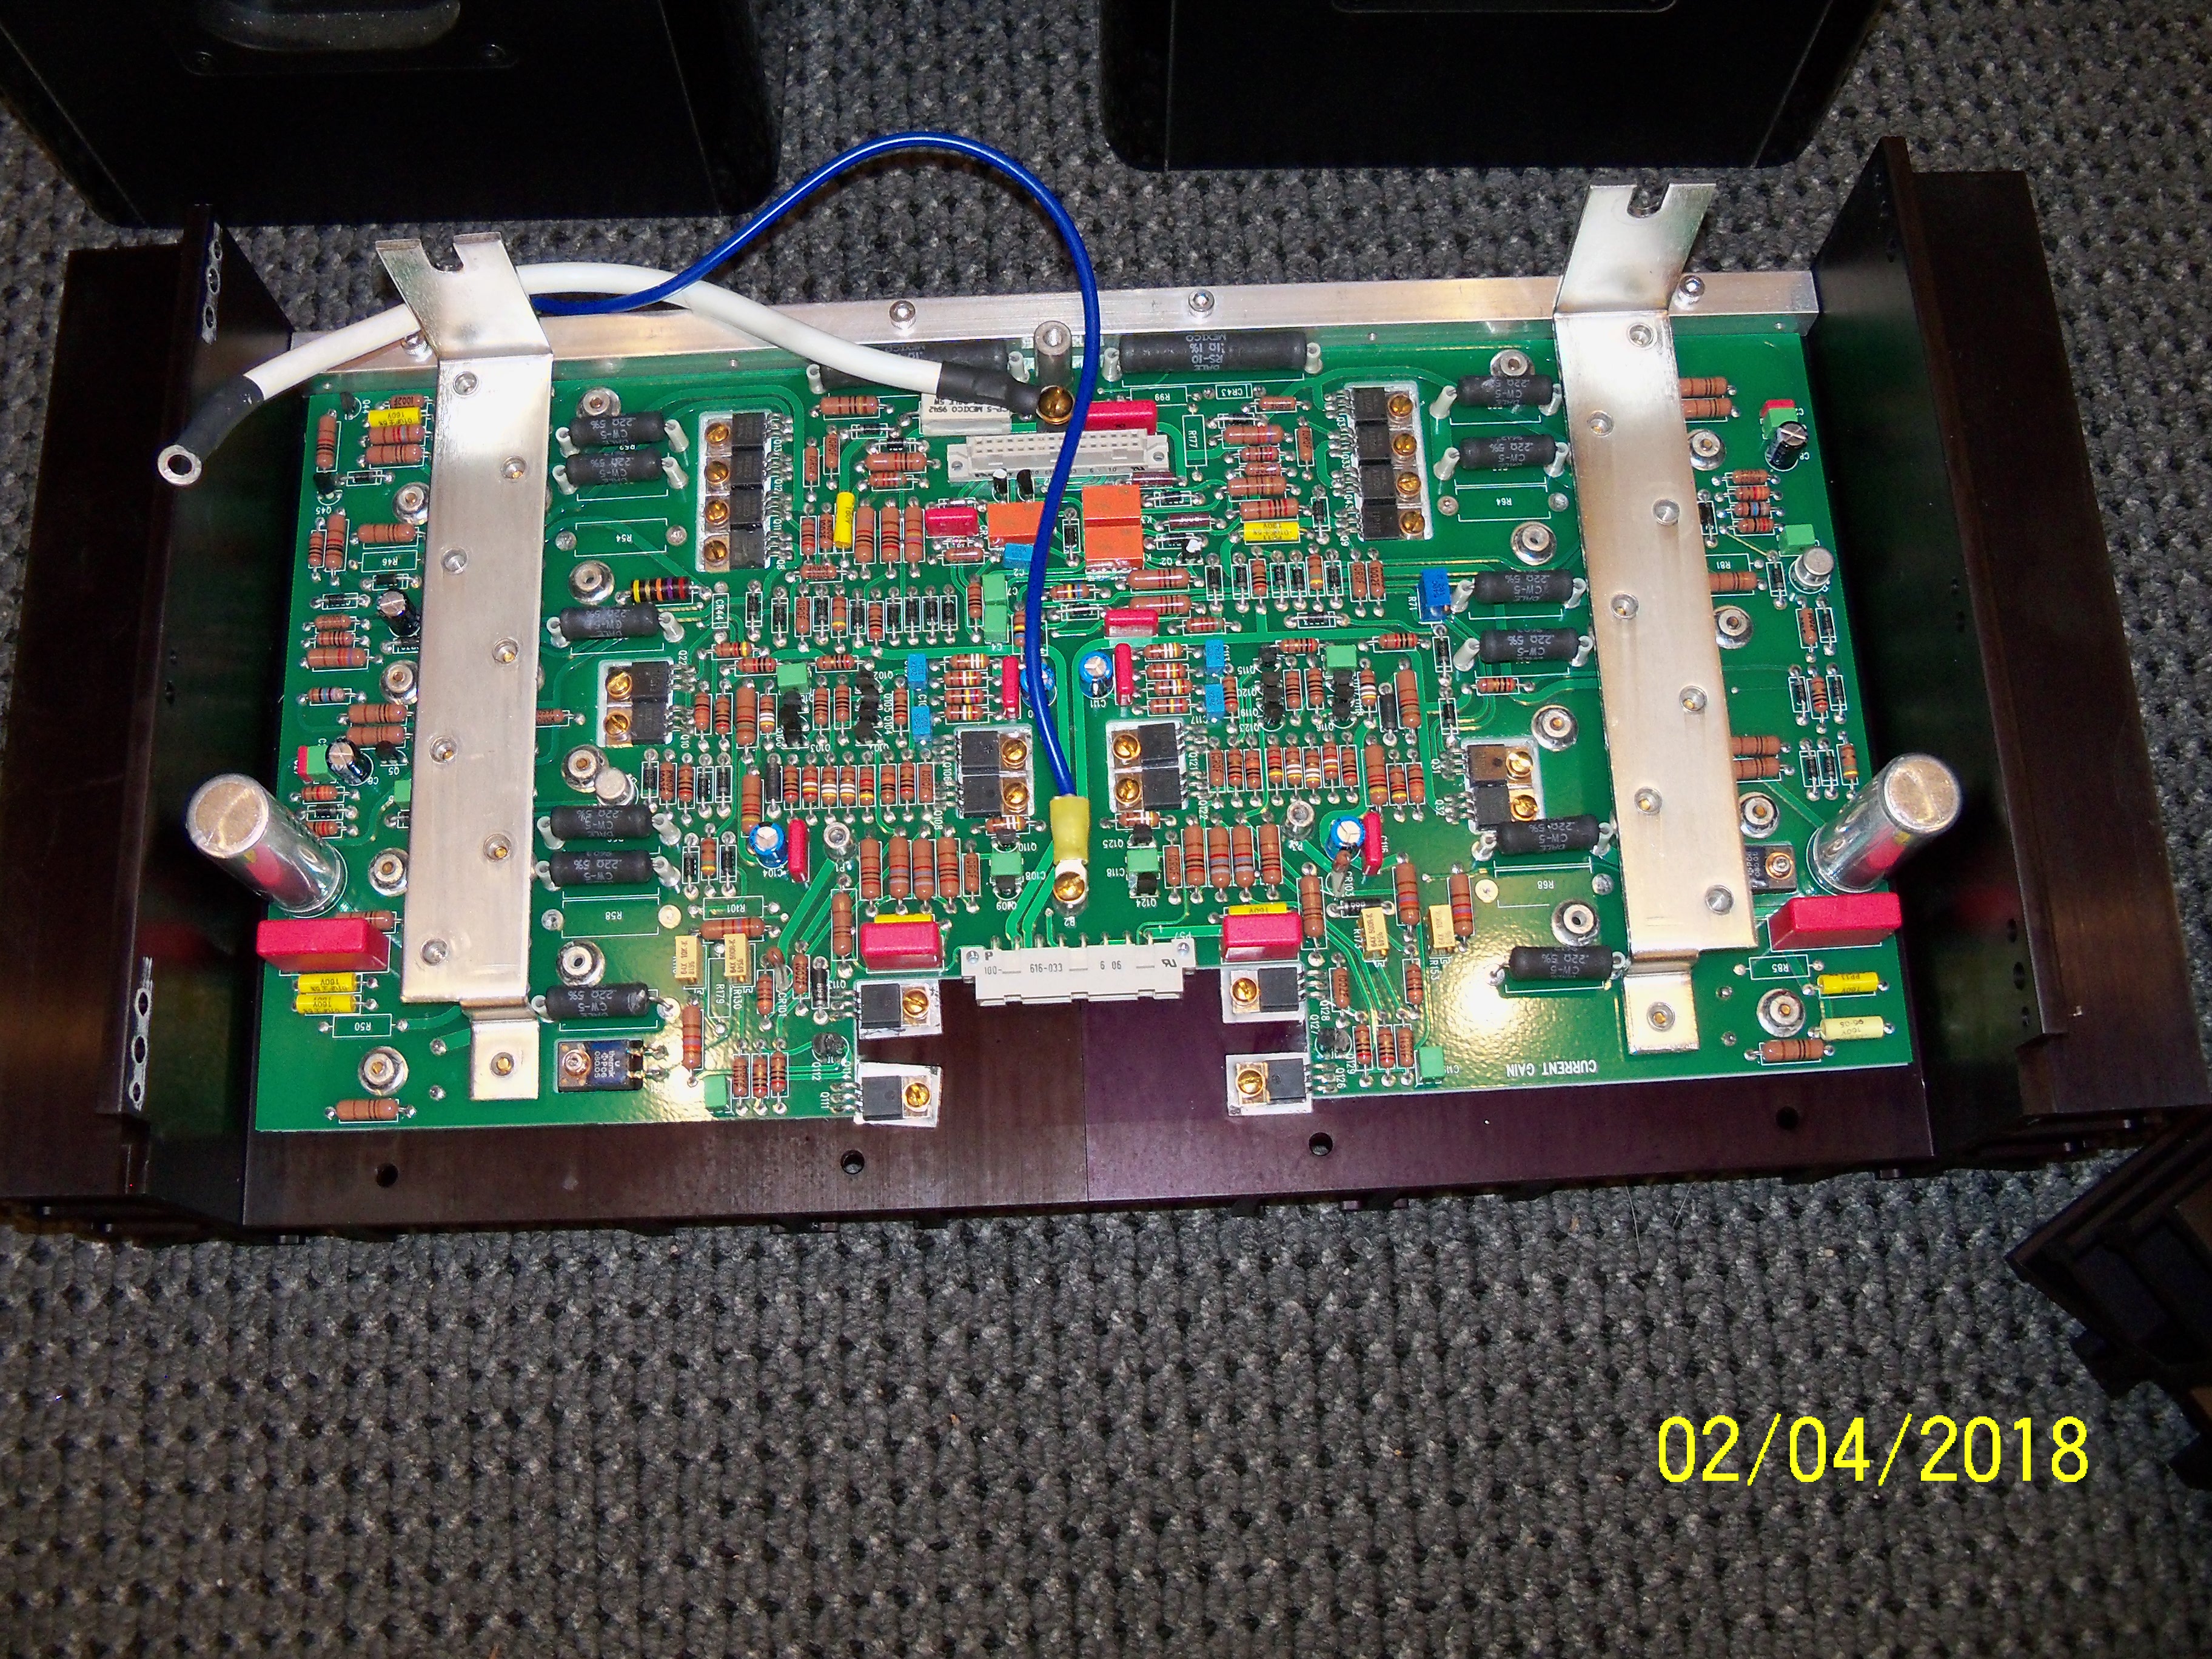
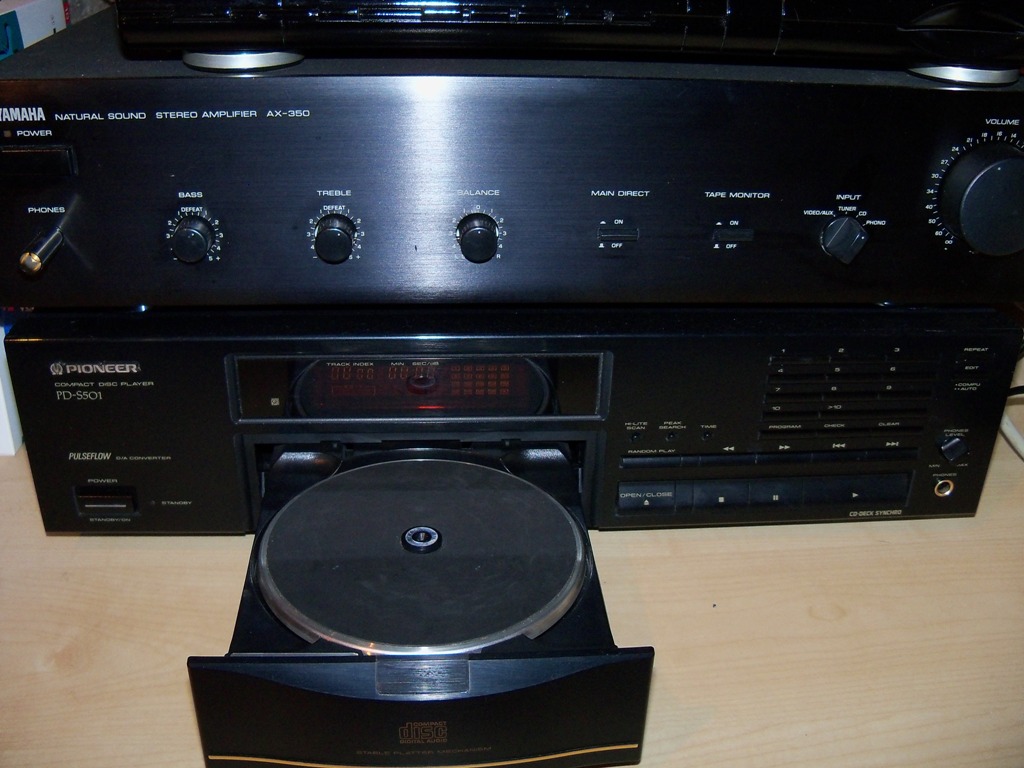
Mark Levinson No 332 Power Amplifier Interior Shots Photos by Richard Smuts 2018 9 May 2013 I Use your granddads' electronics, it sounds incredible! I love thrift shops or second hand shops. I love digging around in other peoples' old stuff. Especially electronics. The reason is that I can often buy gear that when it was new would have cost thousands of rands for a fraction of the price. Some really high end stuff can be found for next to nothing. One recent find is a Pioneer PD-S501 CD Player with the so called "stable platter mechanism". Partnered with my Yamaha AX-350 amplifier it makes for a pretty high-end little system. Both items were bought from a pawn shop for next to nothing. Score! The Pioneer PD-S501 has a Pulseflow DAC which is Pioneers' name for a 1-bit or bitstream DAC. Their implementation is the best I've heard so far. It's incredibly detailed allowing me to hear background detail in many recordings I never noticed before. Beware though, I do find it very bright on certain CDs and it can be tiring to listen to. It depends on how the disc was mastered.
14 April 2012
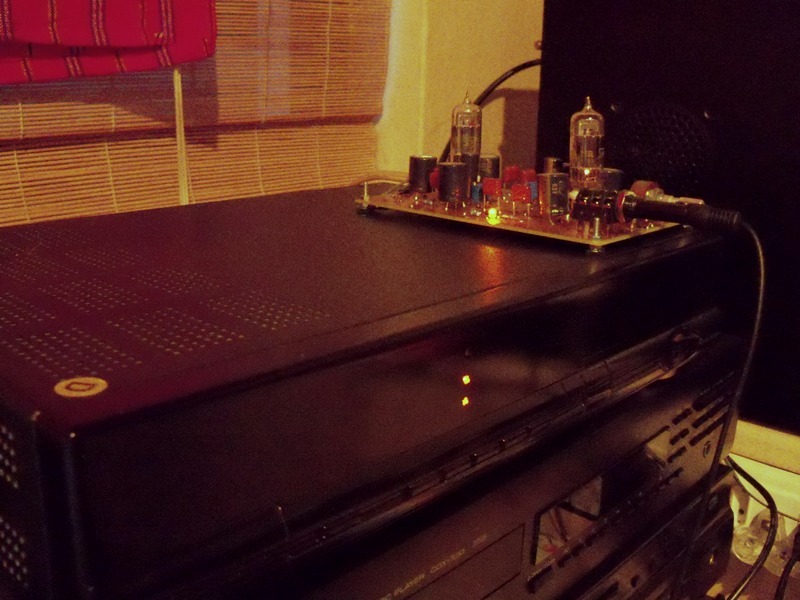
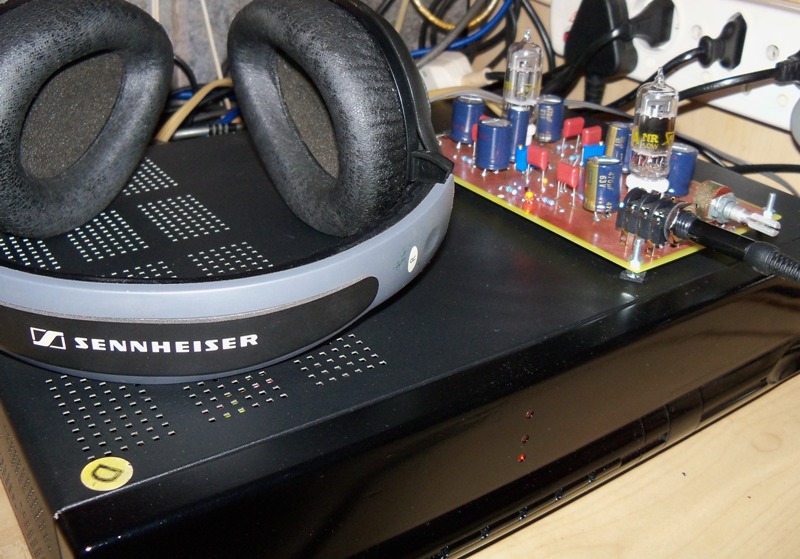
MY RIG
I do most of my listening using the Monica DAC along with the tube headphone
amplifier. Audio is fed via TOSLINK interface from the PC running iTunes. I used
to compress CDs using AAC at 256kbps, but switched to Apple lossless format
recently.
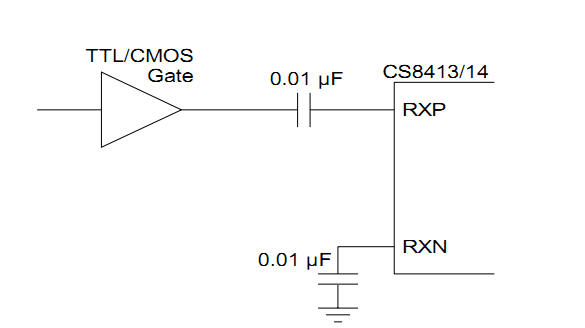
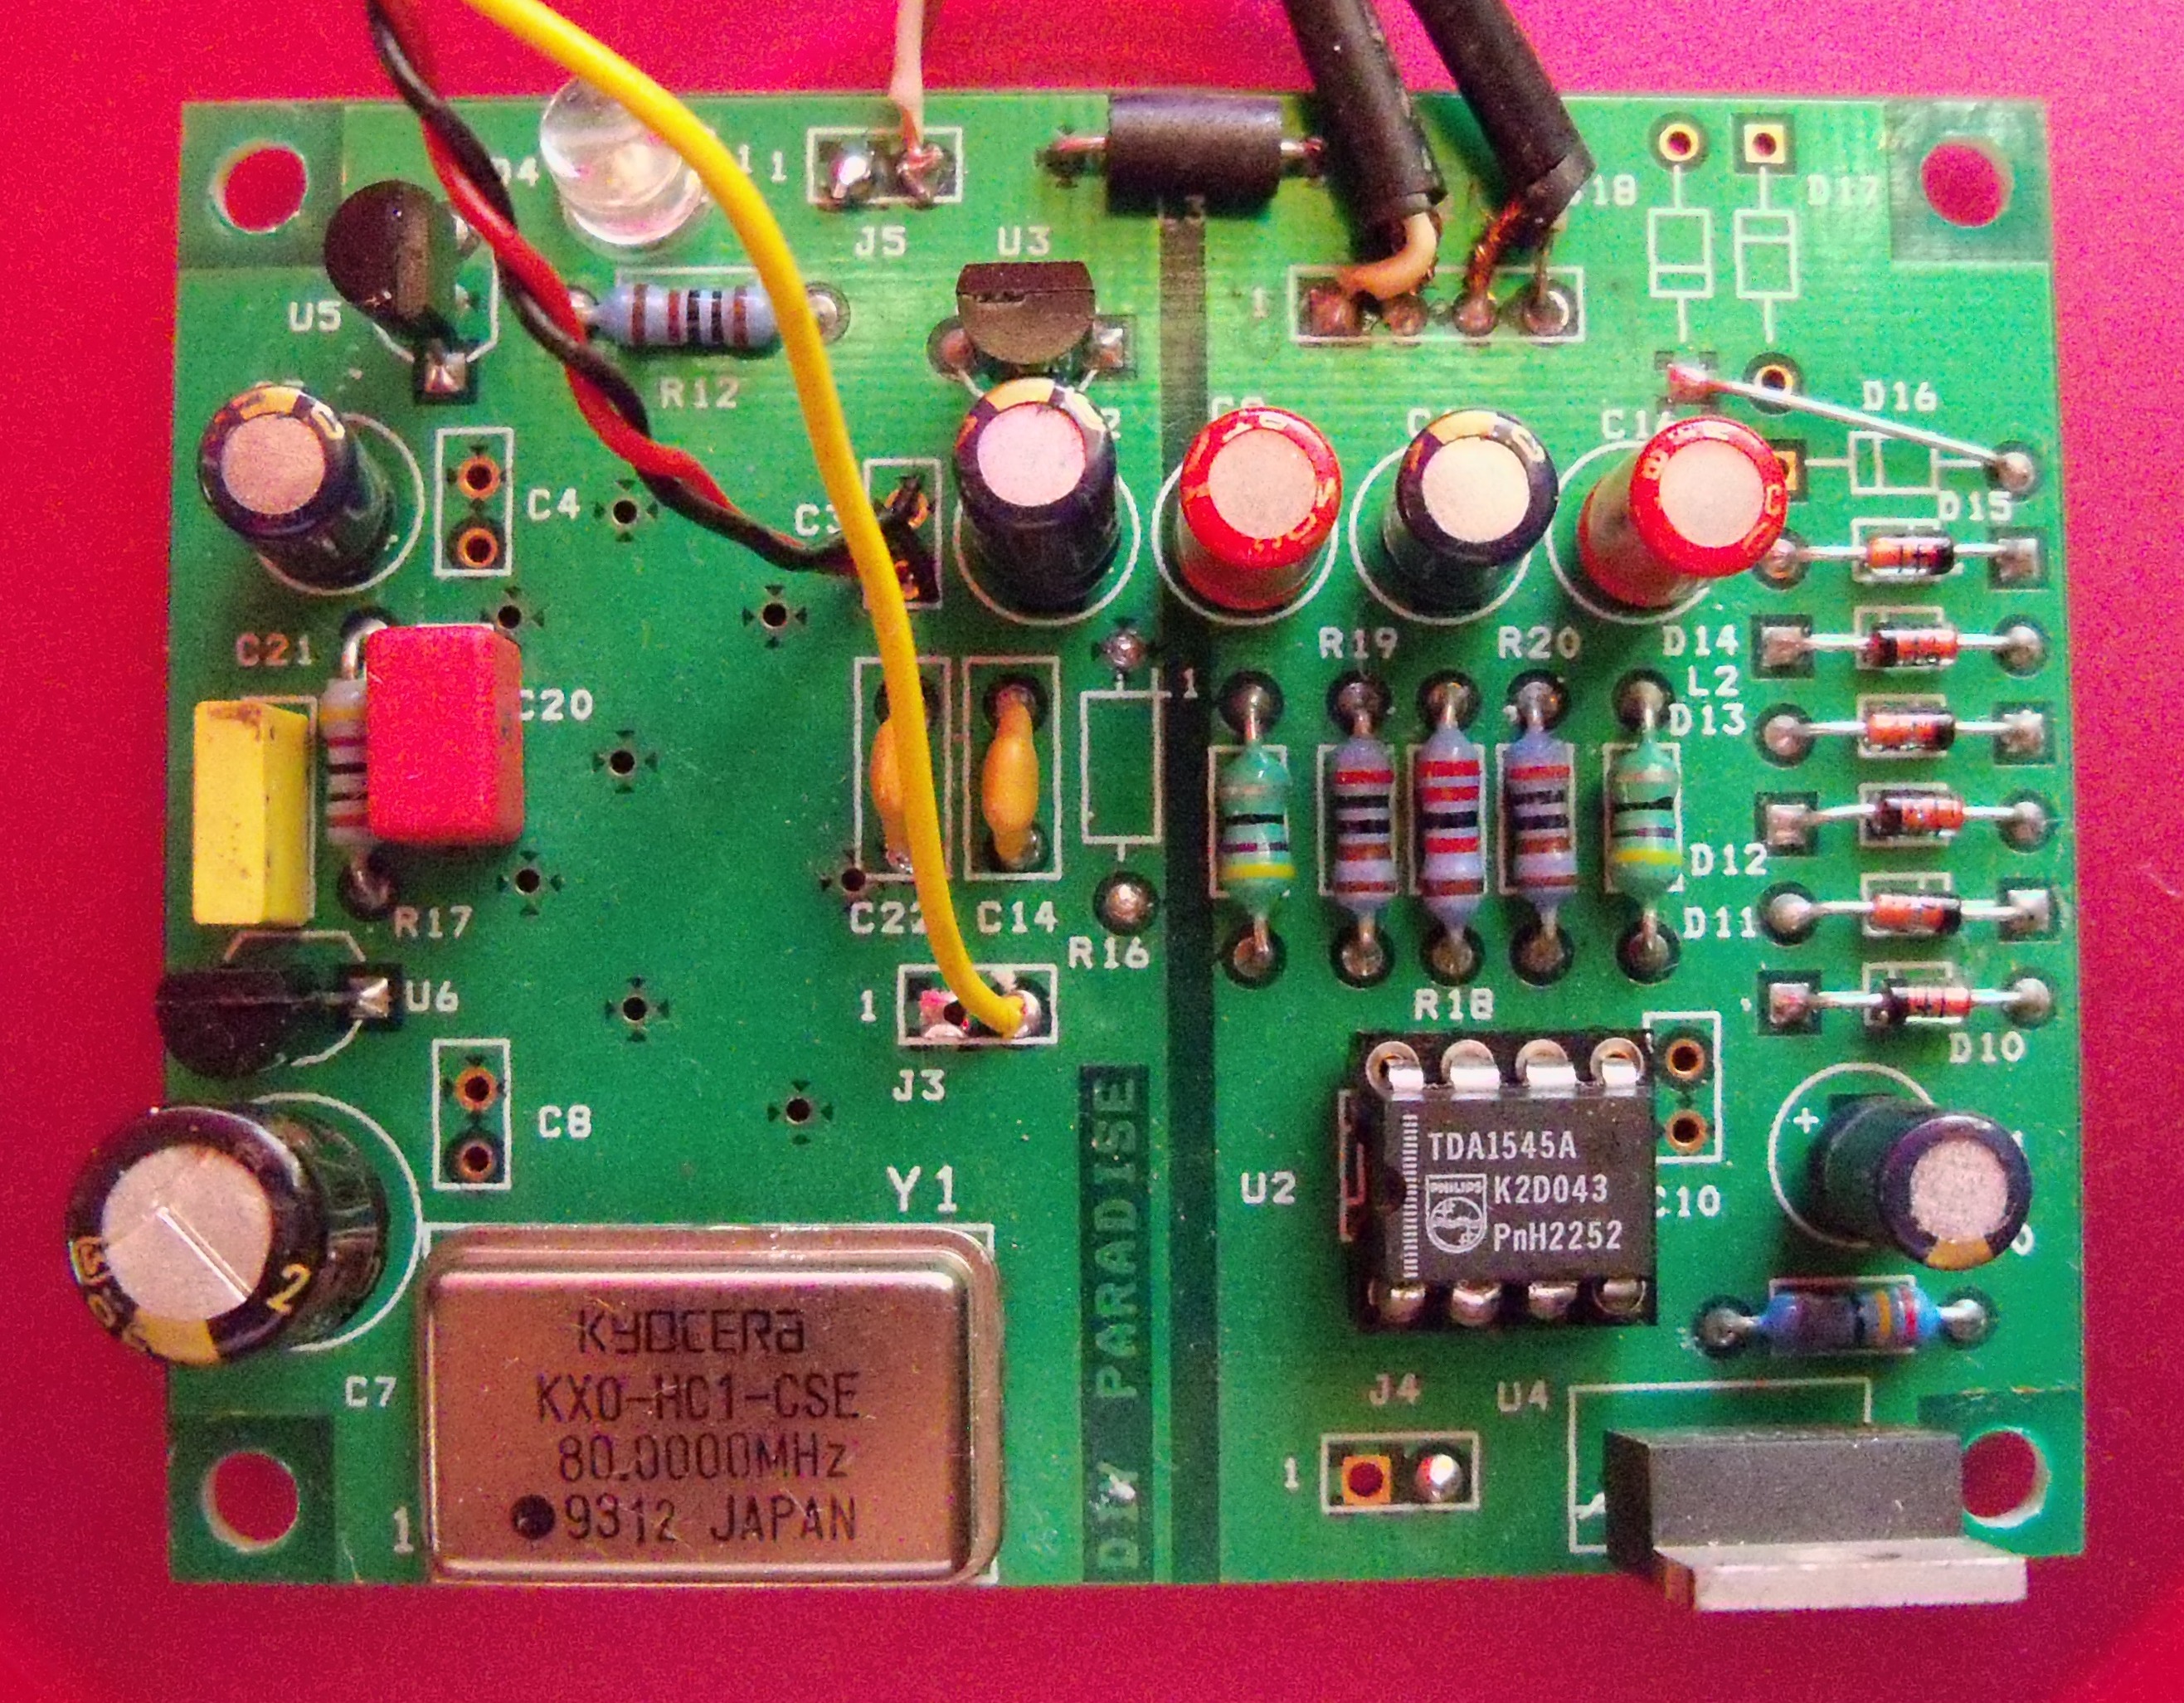
This is the famous Monica non-oversampling DAC. I modified it for TOSLINK optical input. Replace C22 and C14 with 0.01uF capacitors as per the CS8414 datasheet. The TORX177 produces TTL output levels. Remove R16.
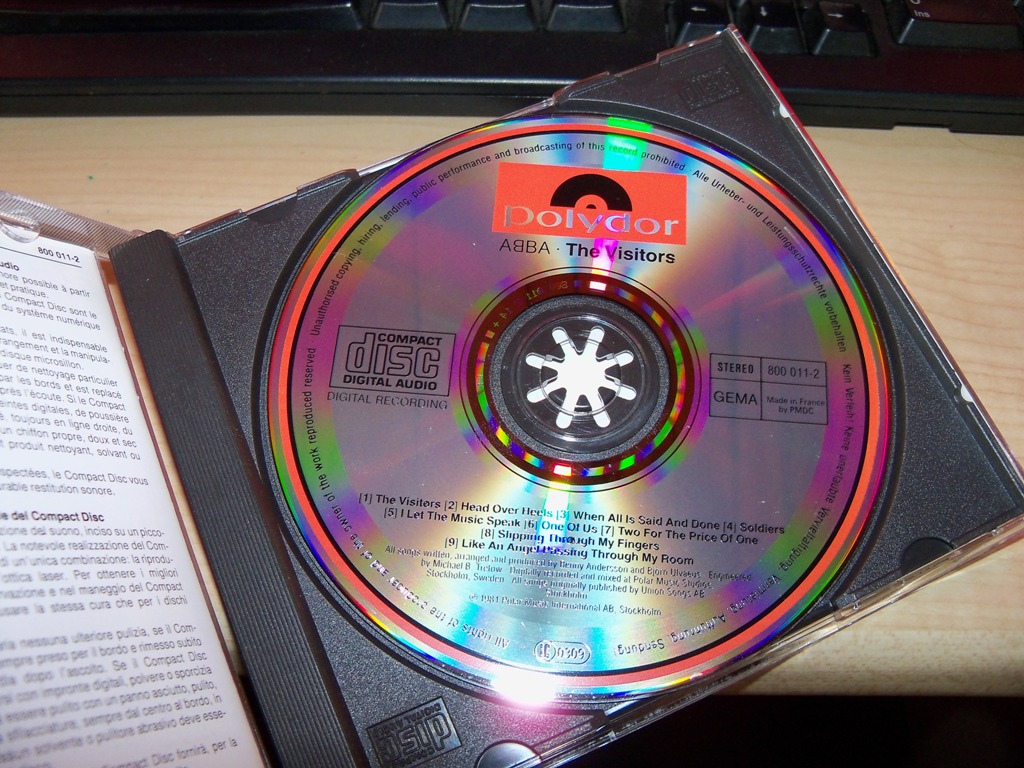
December 2011 How to tell if a CD was mastered using Video Tape I was excited to get a 1982 copy of ABBA: The Visitors on ebay recently. It is now the oldest CD in my collection. The Visitors is special because it was one of the very first albums to be released on CD in 1982. What is more special is that The Visitors was digitally recorded (a few tracks are analog) using the new 3M Digital Audio Mastering System at Polar Studios.
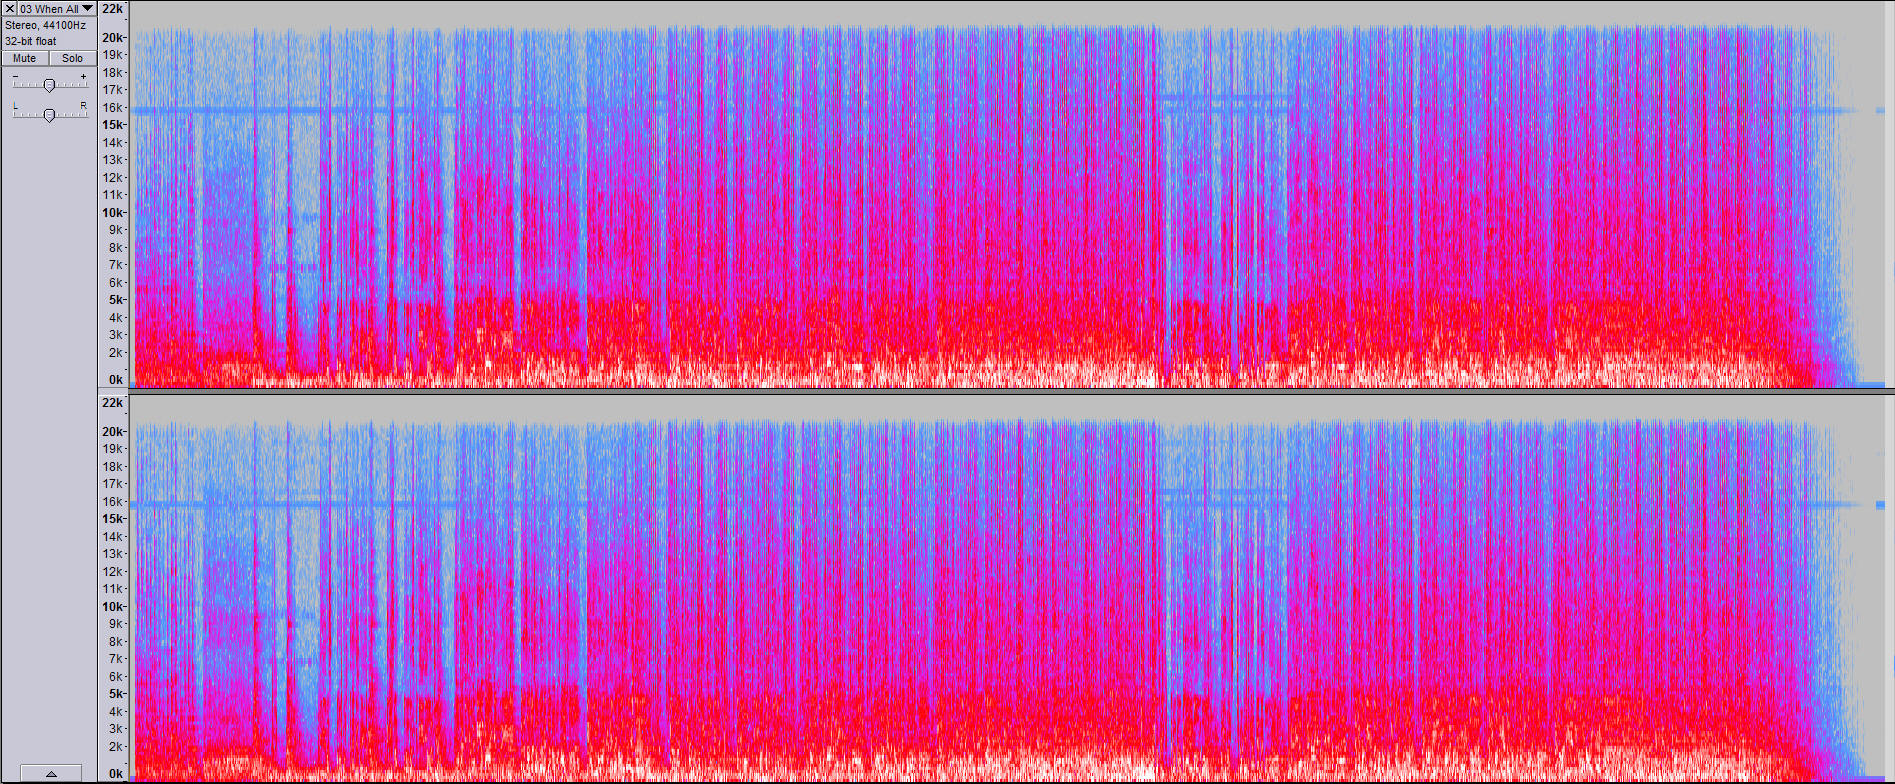
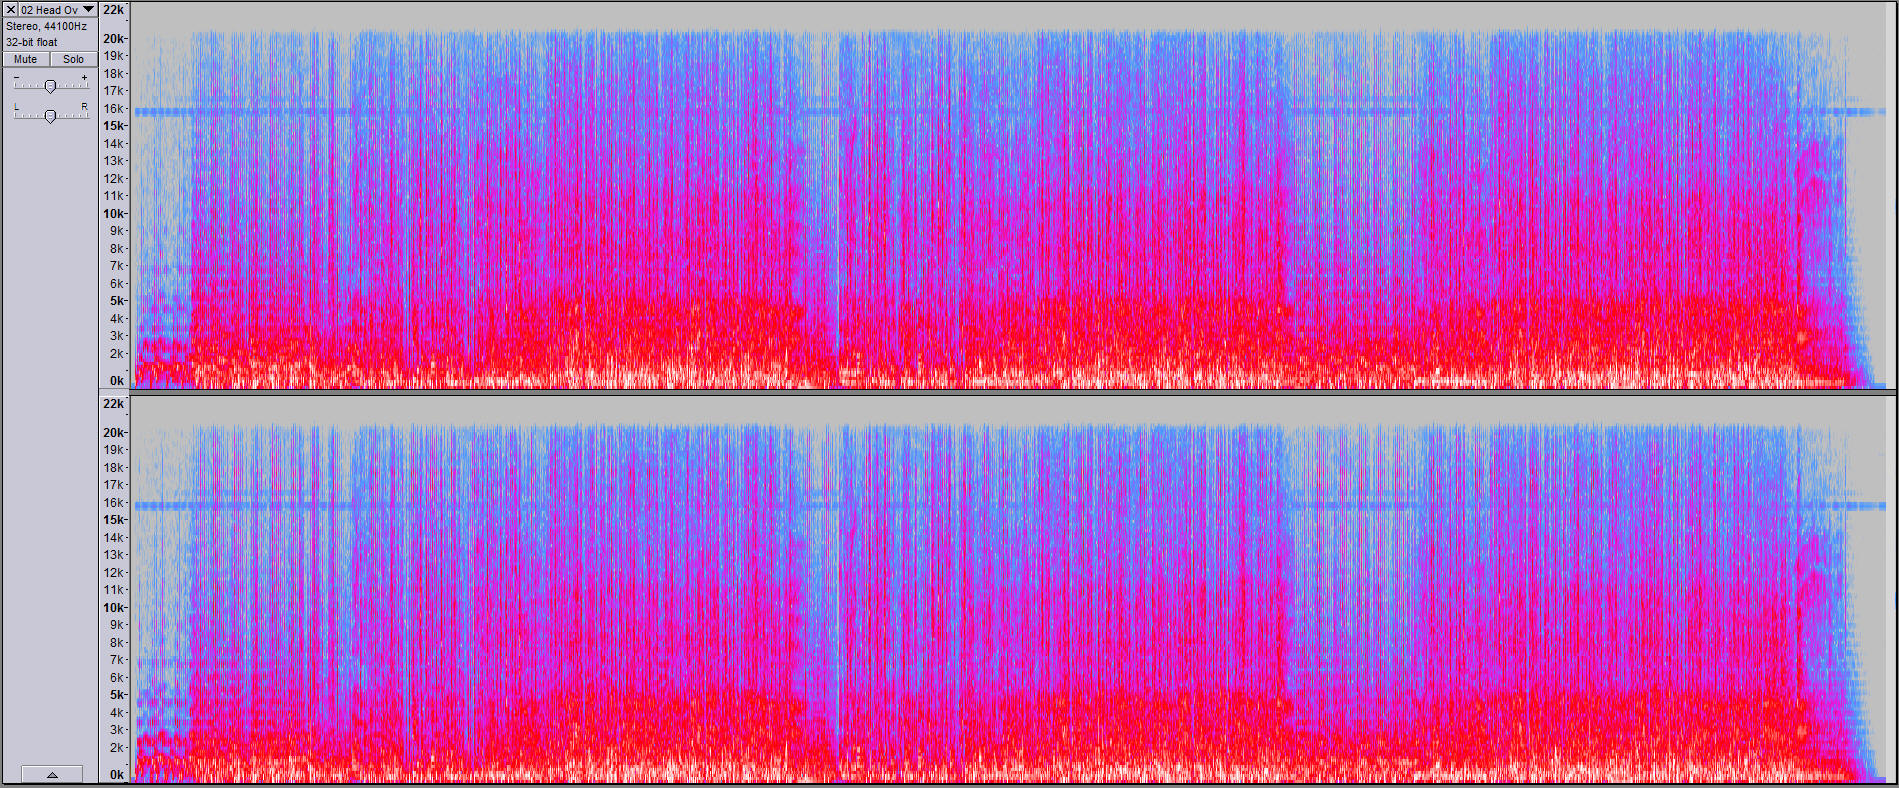
I recently (12/30/2018) ripped the audio tracks on ABBA: The Visitors to .wav files so that I can look at them in Audacity. I made an interesting discovery. When I viewed the tracks in spectrogram view I noticed an unusual anomaly. There was a tone at about 15-16kHz going through all the tracks on the disc.
When all is said and done. (click for larger view)
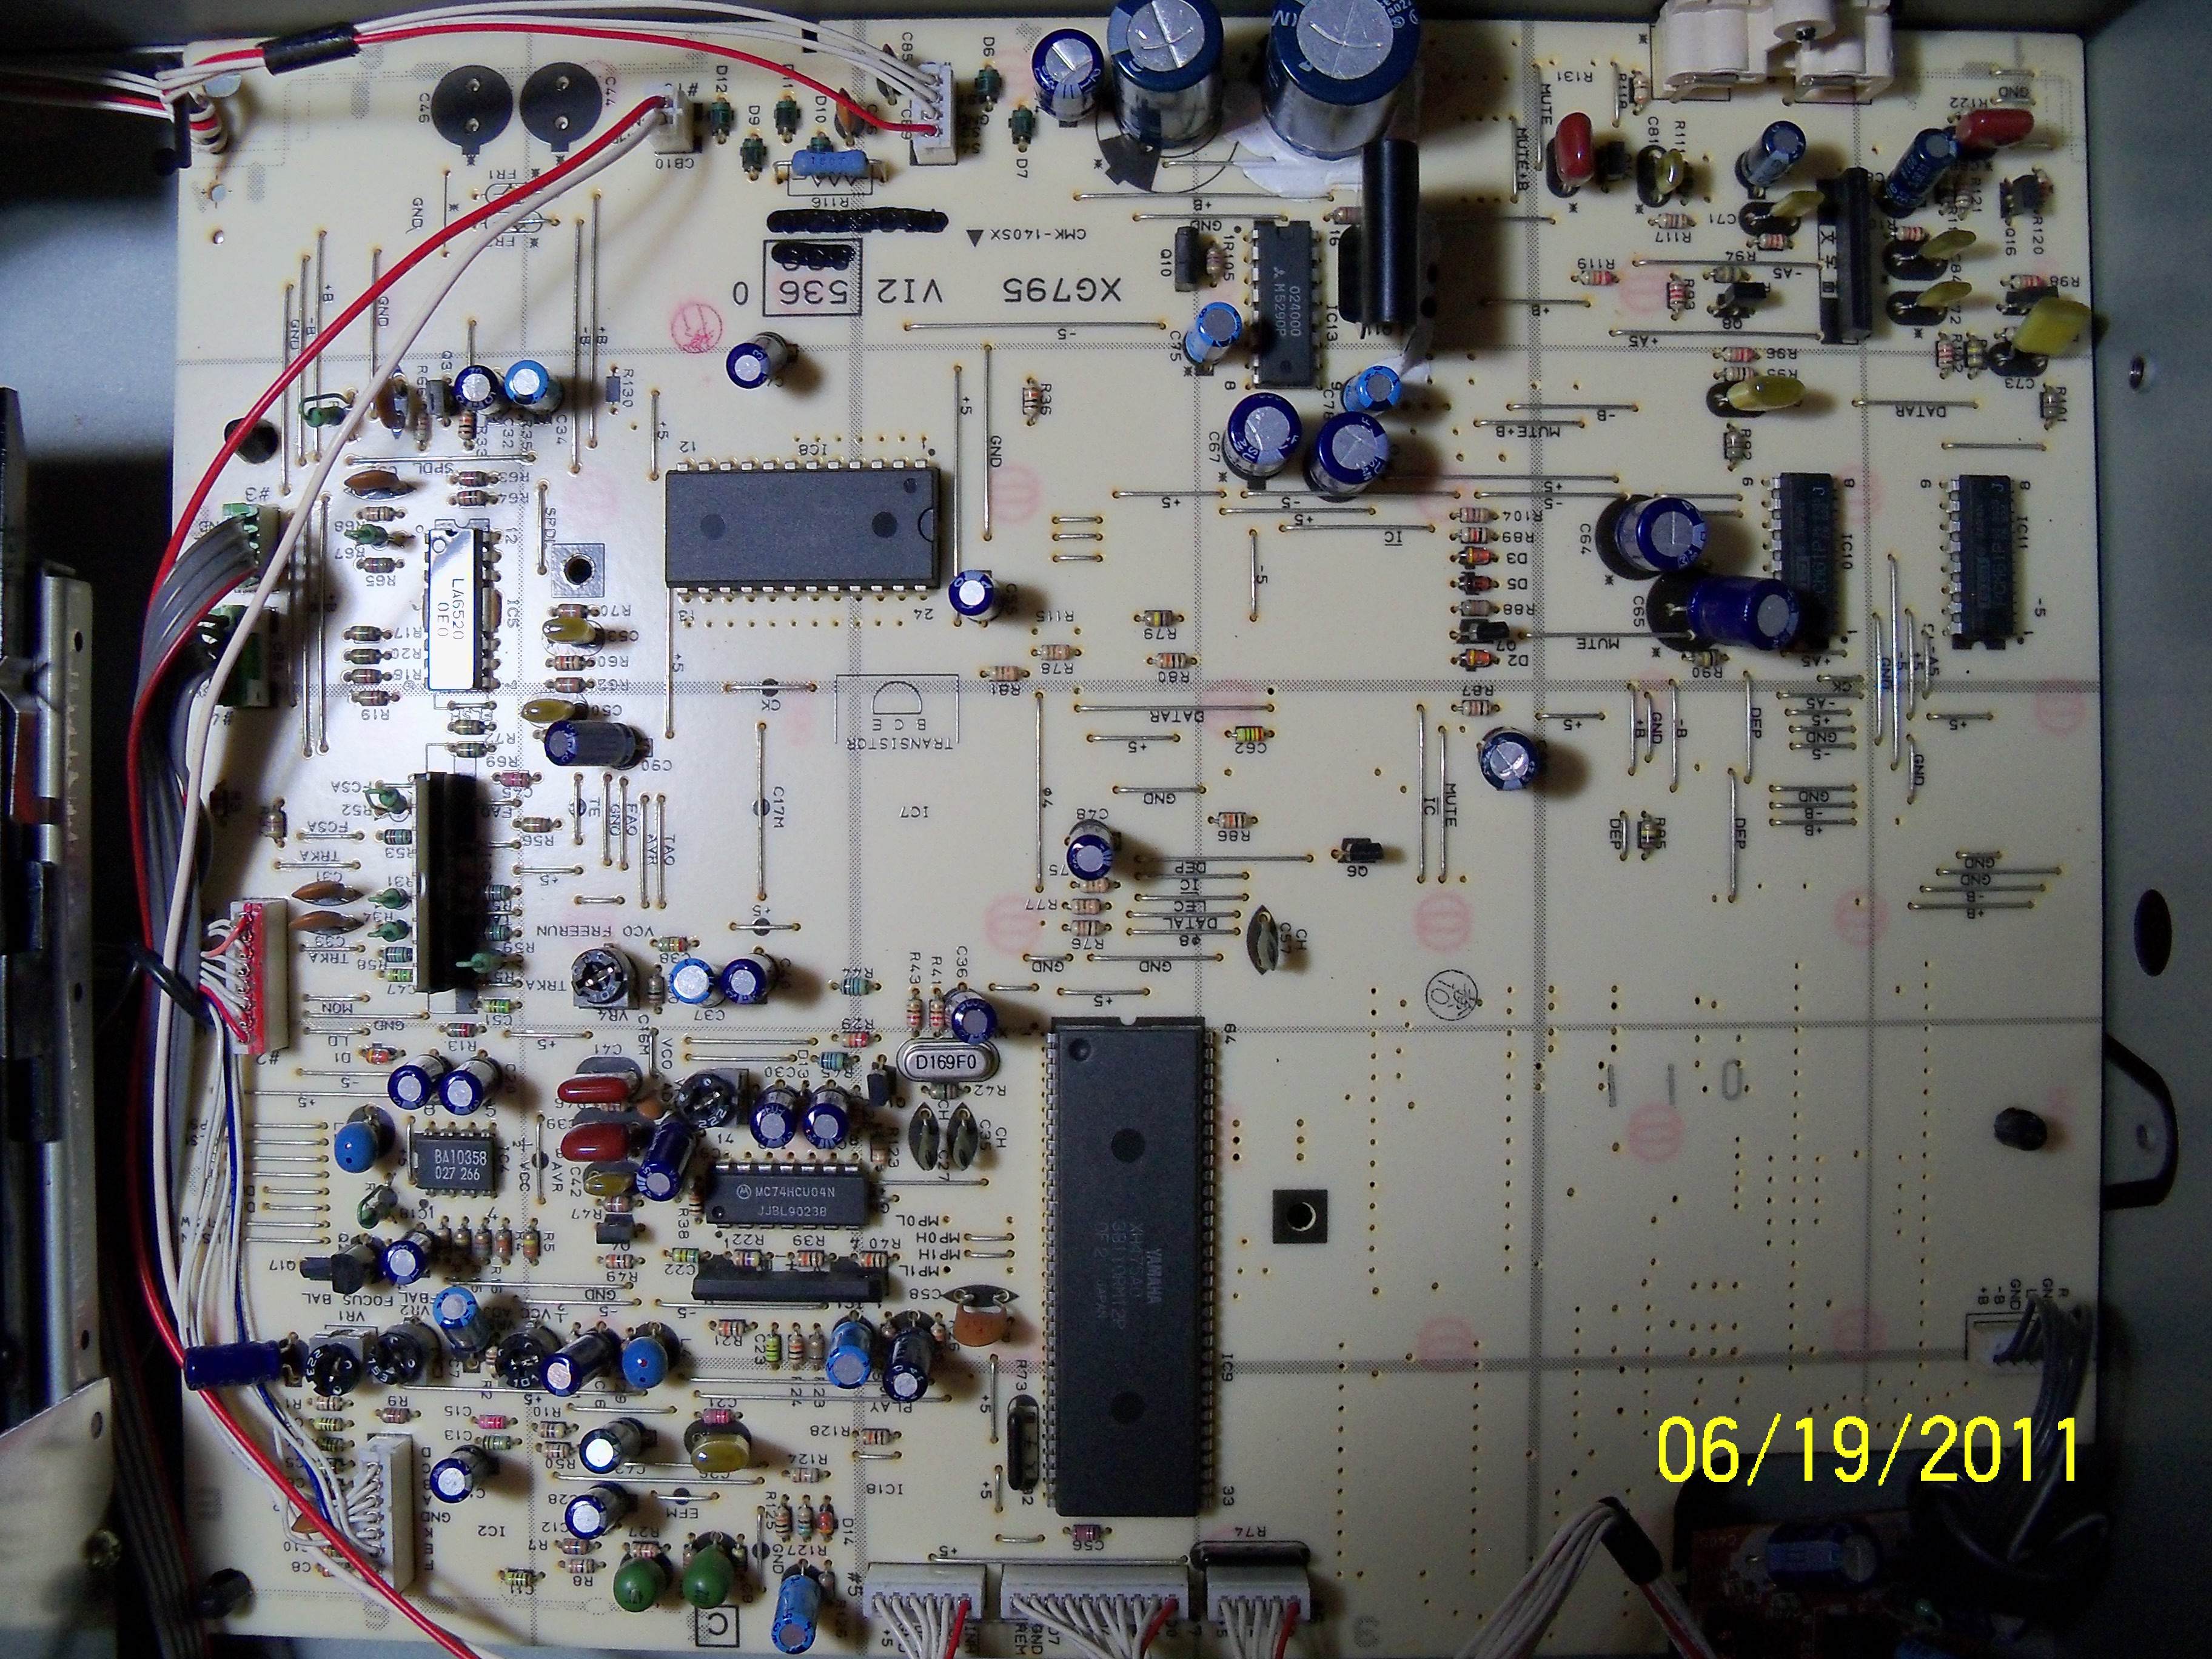
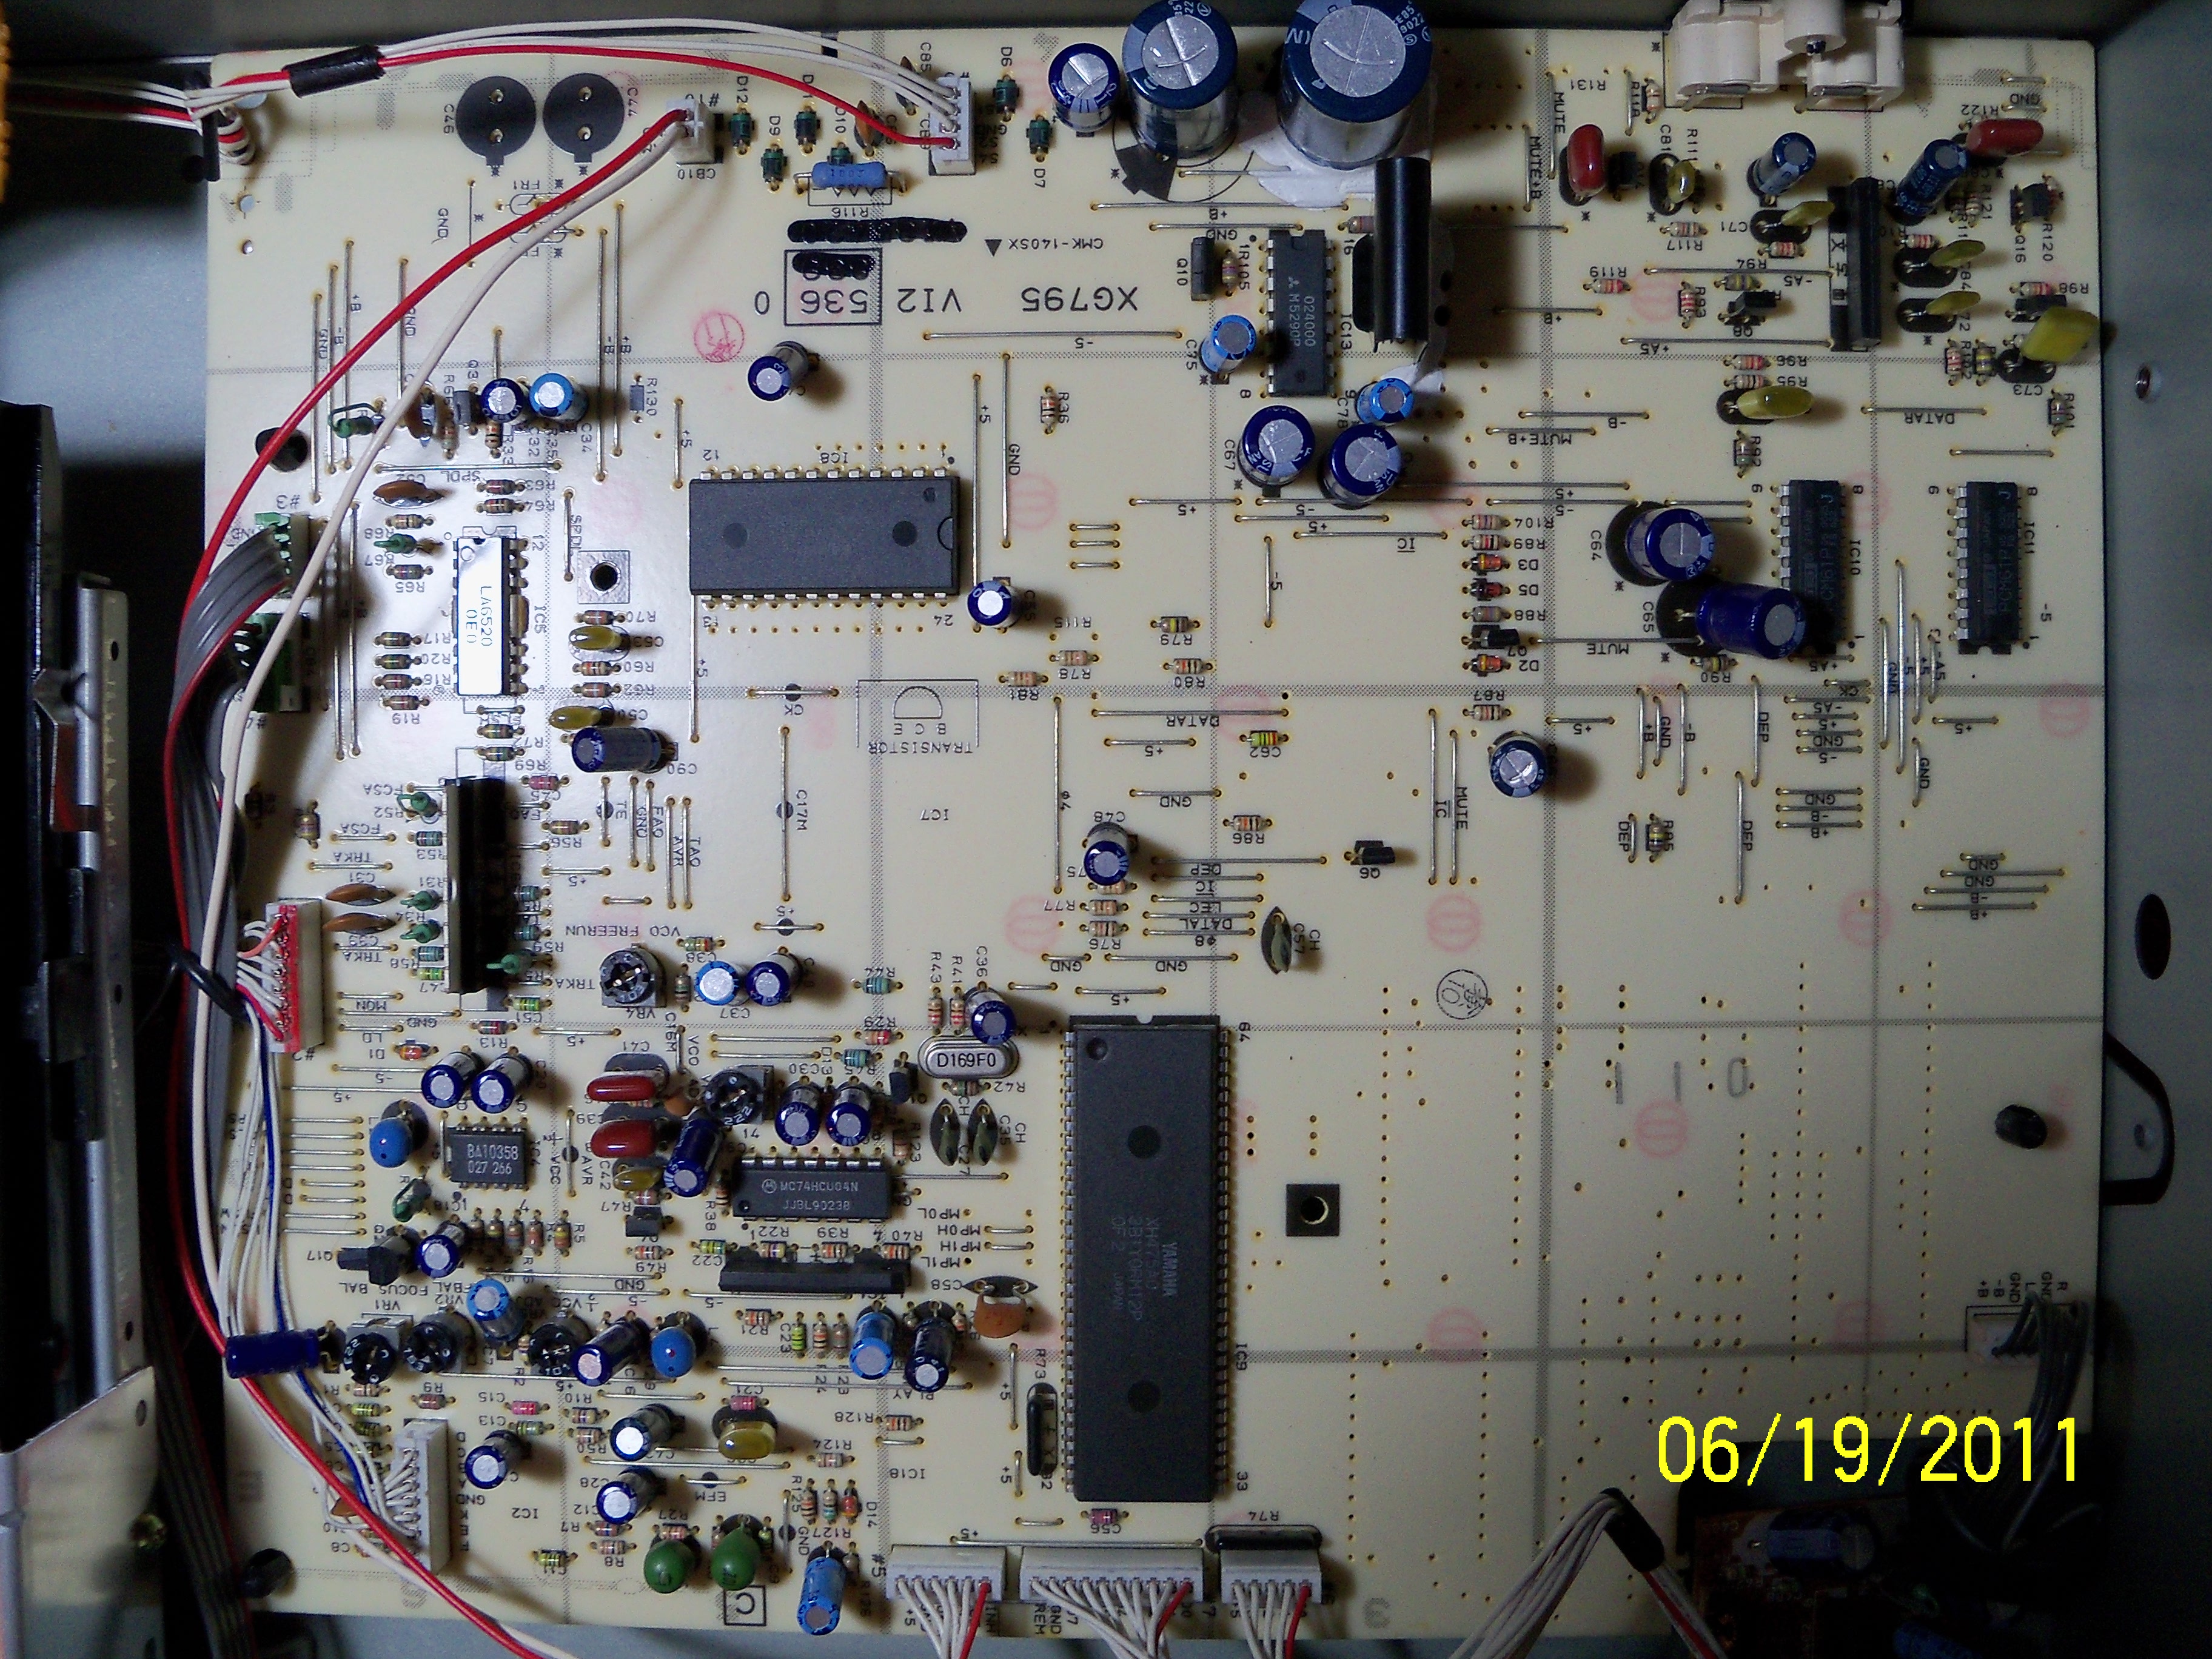
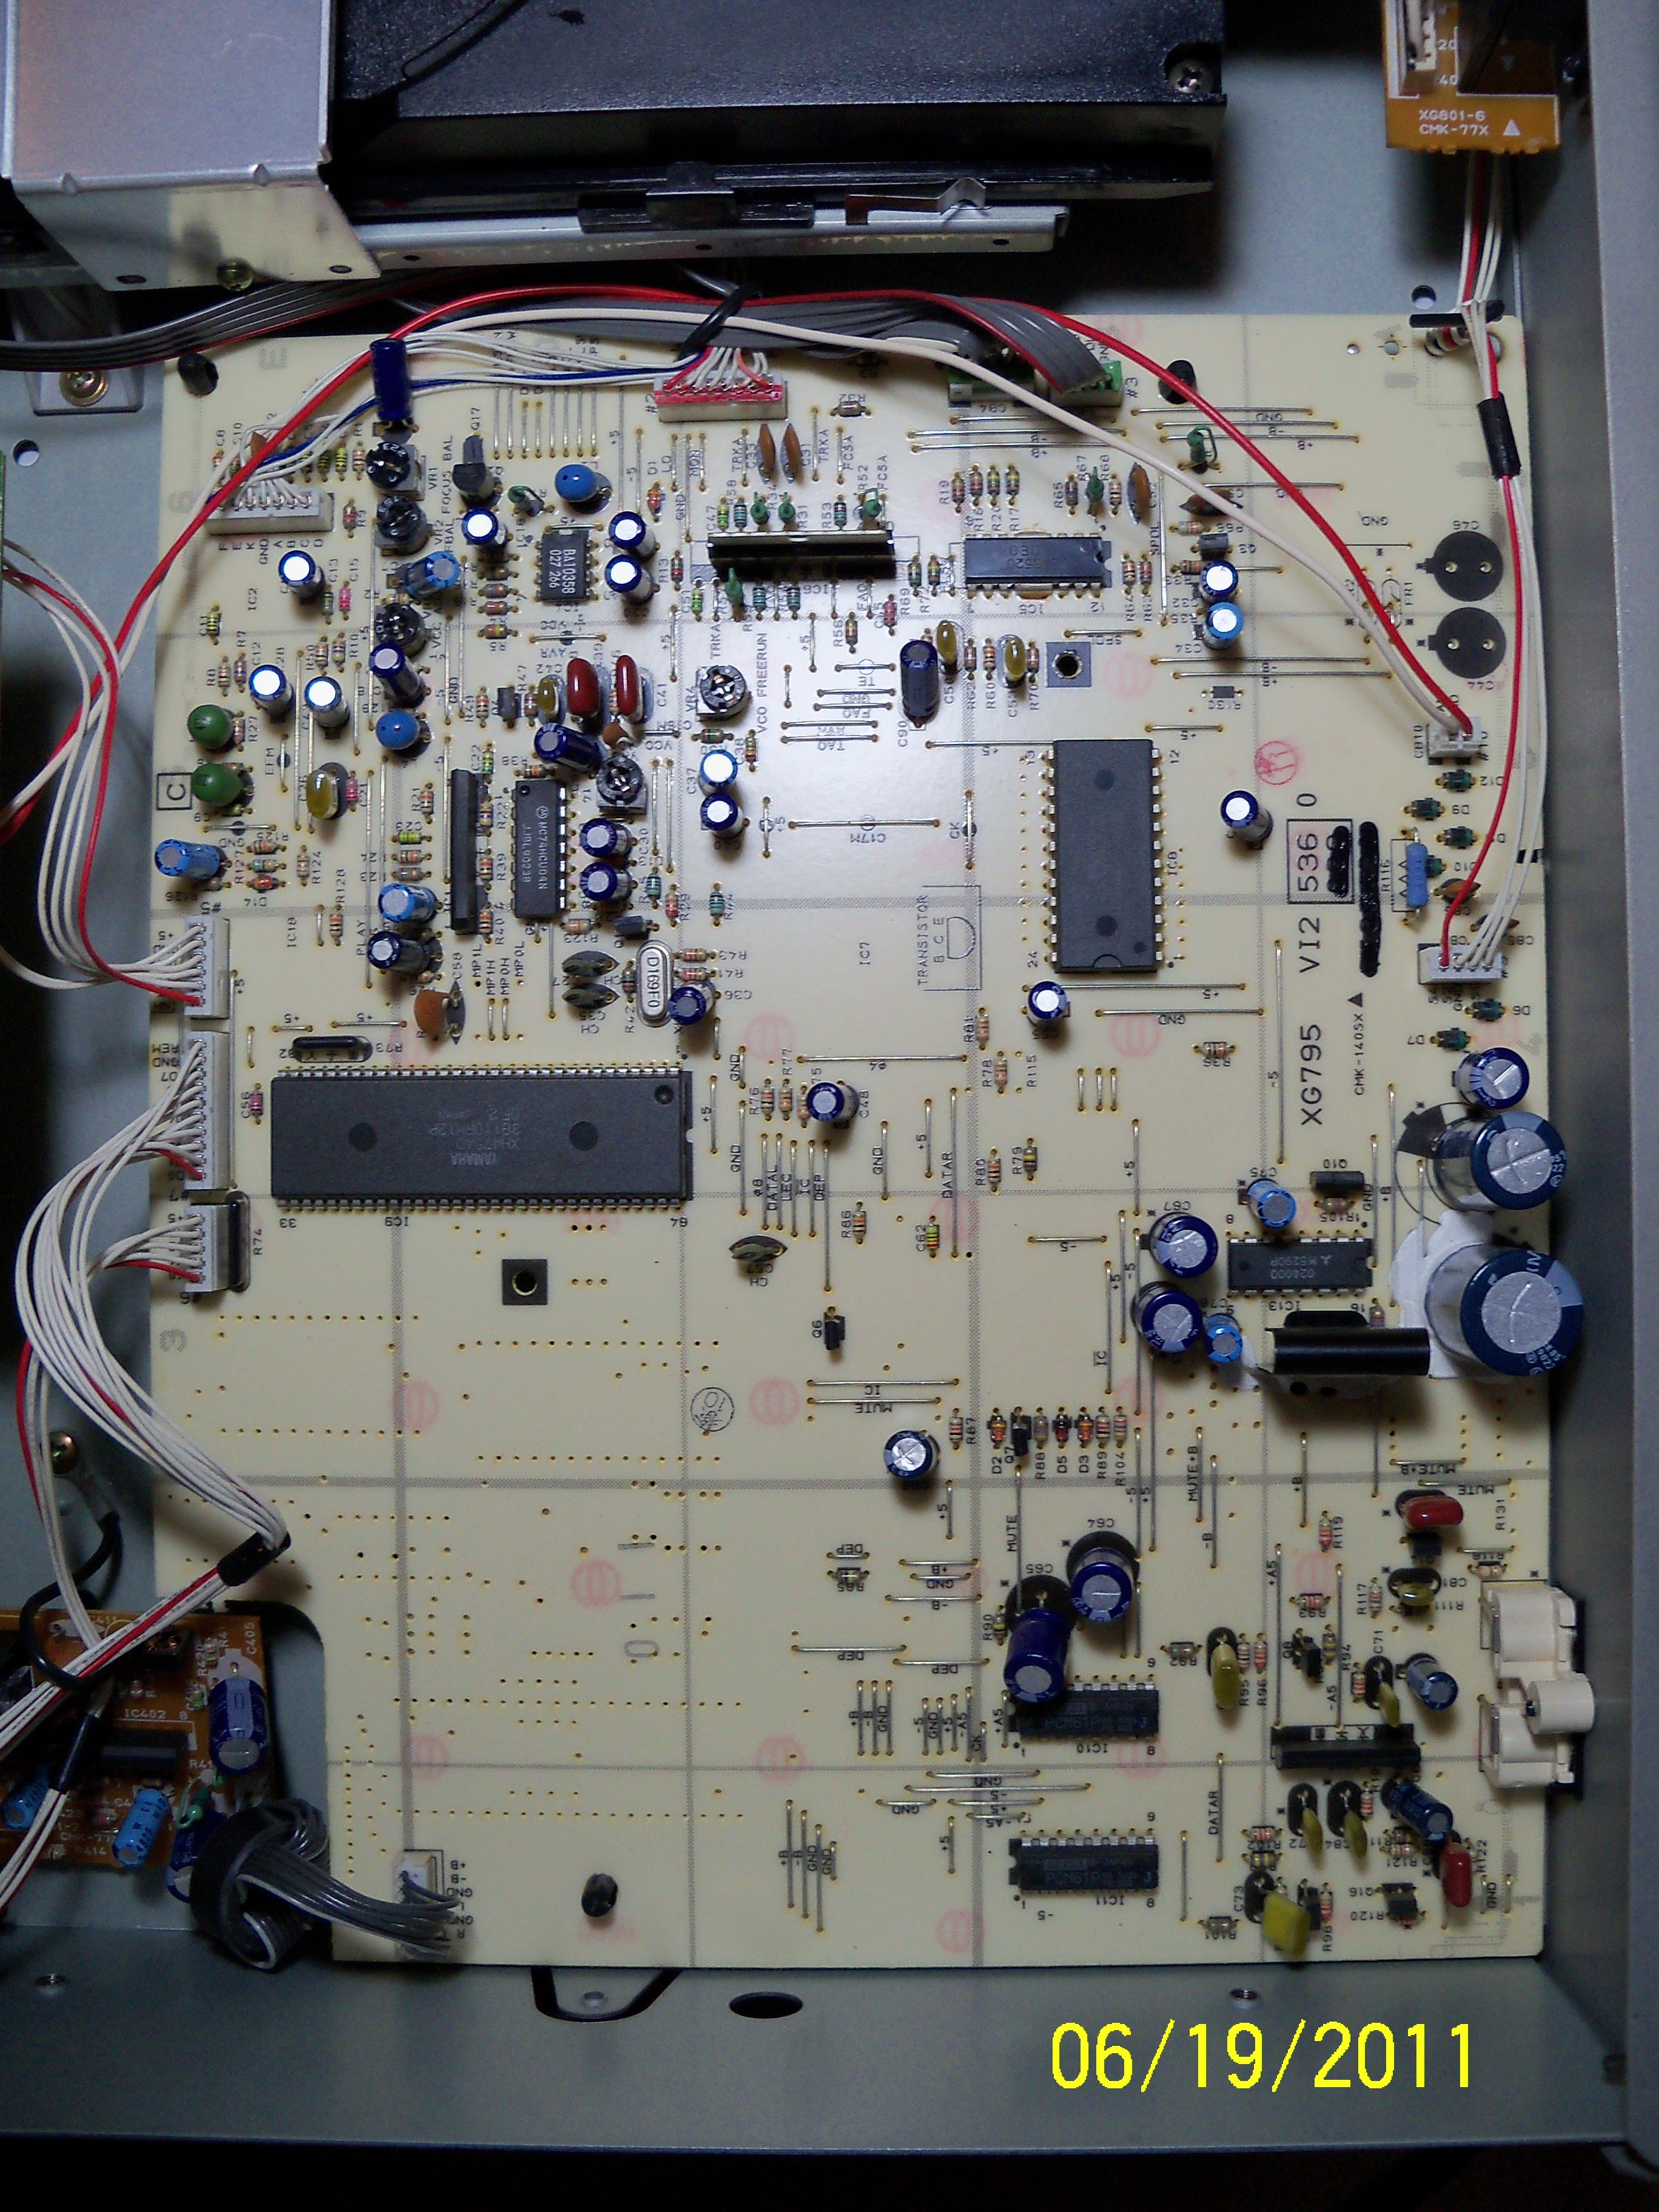
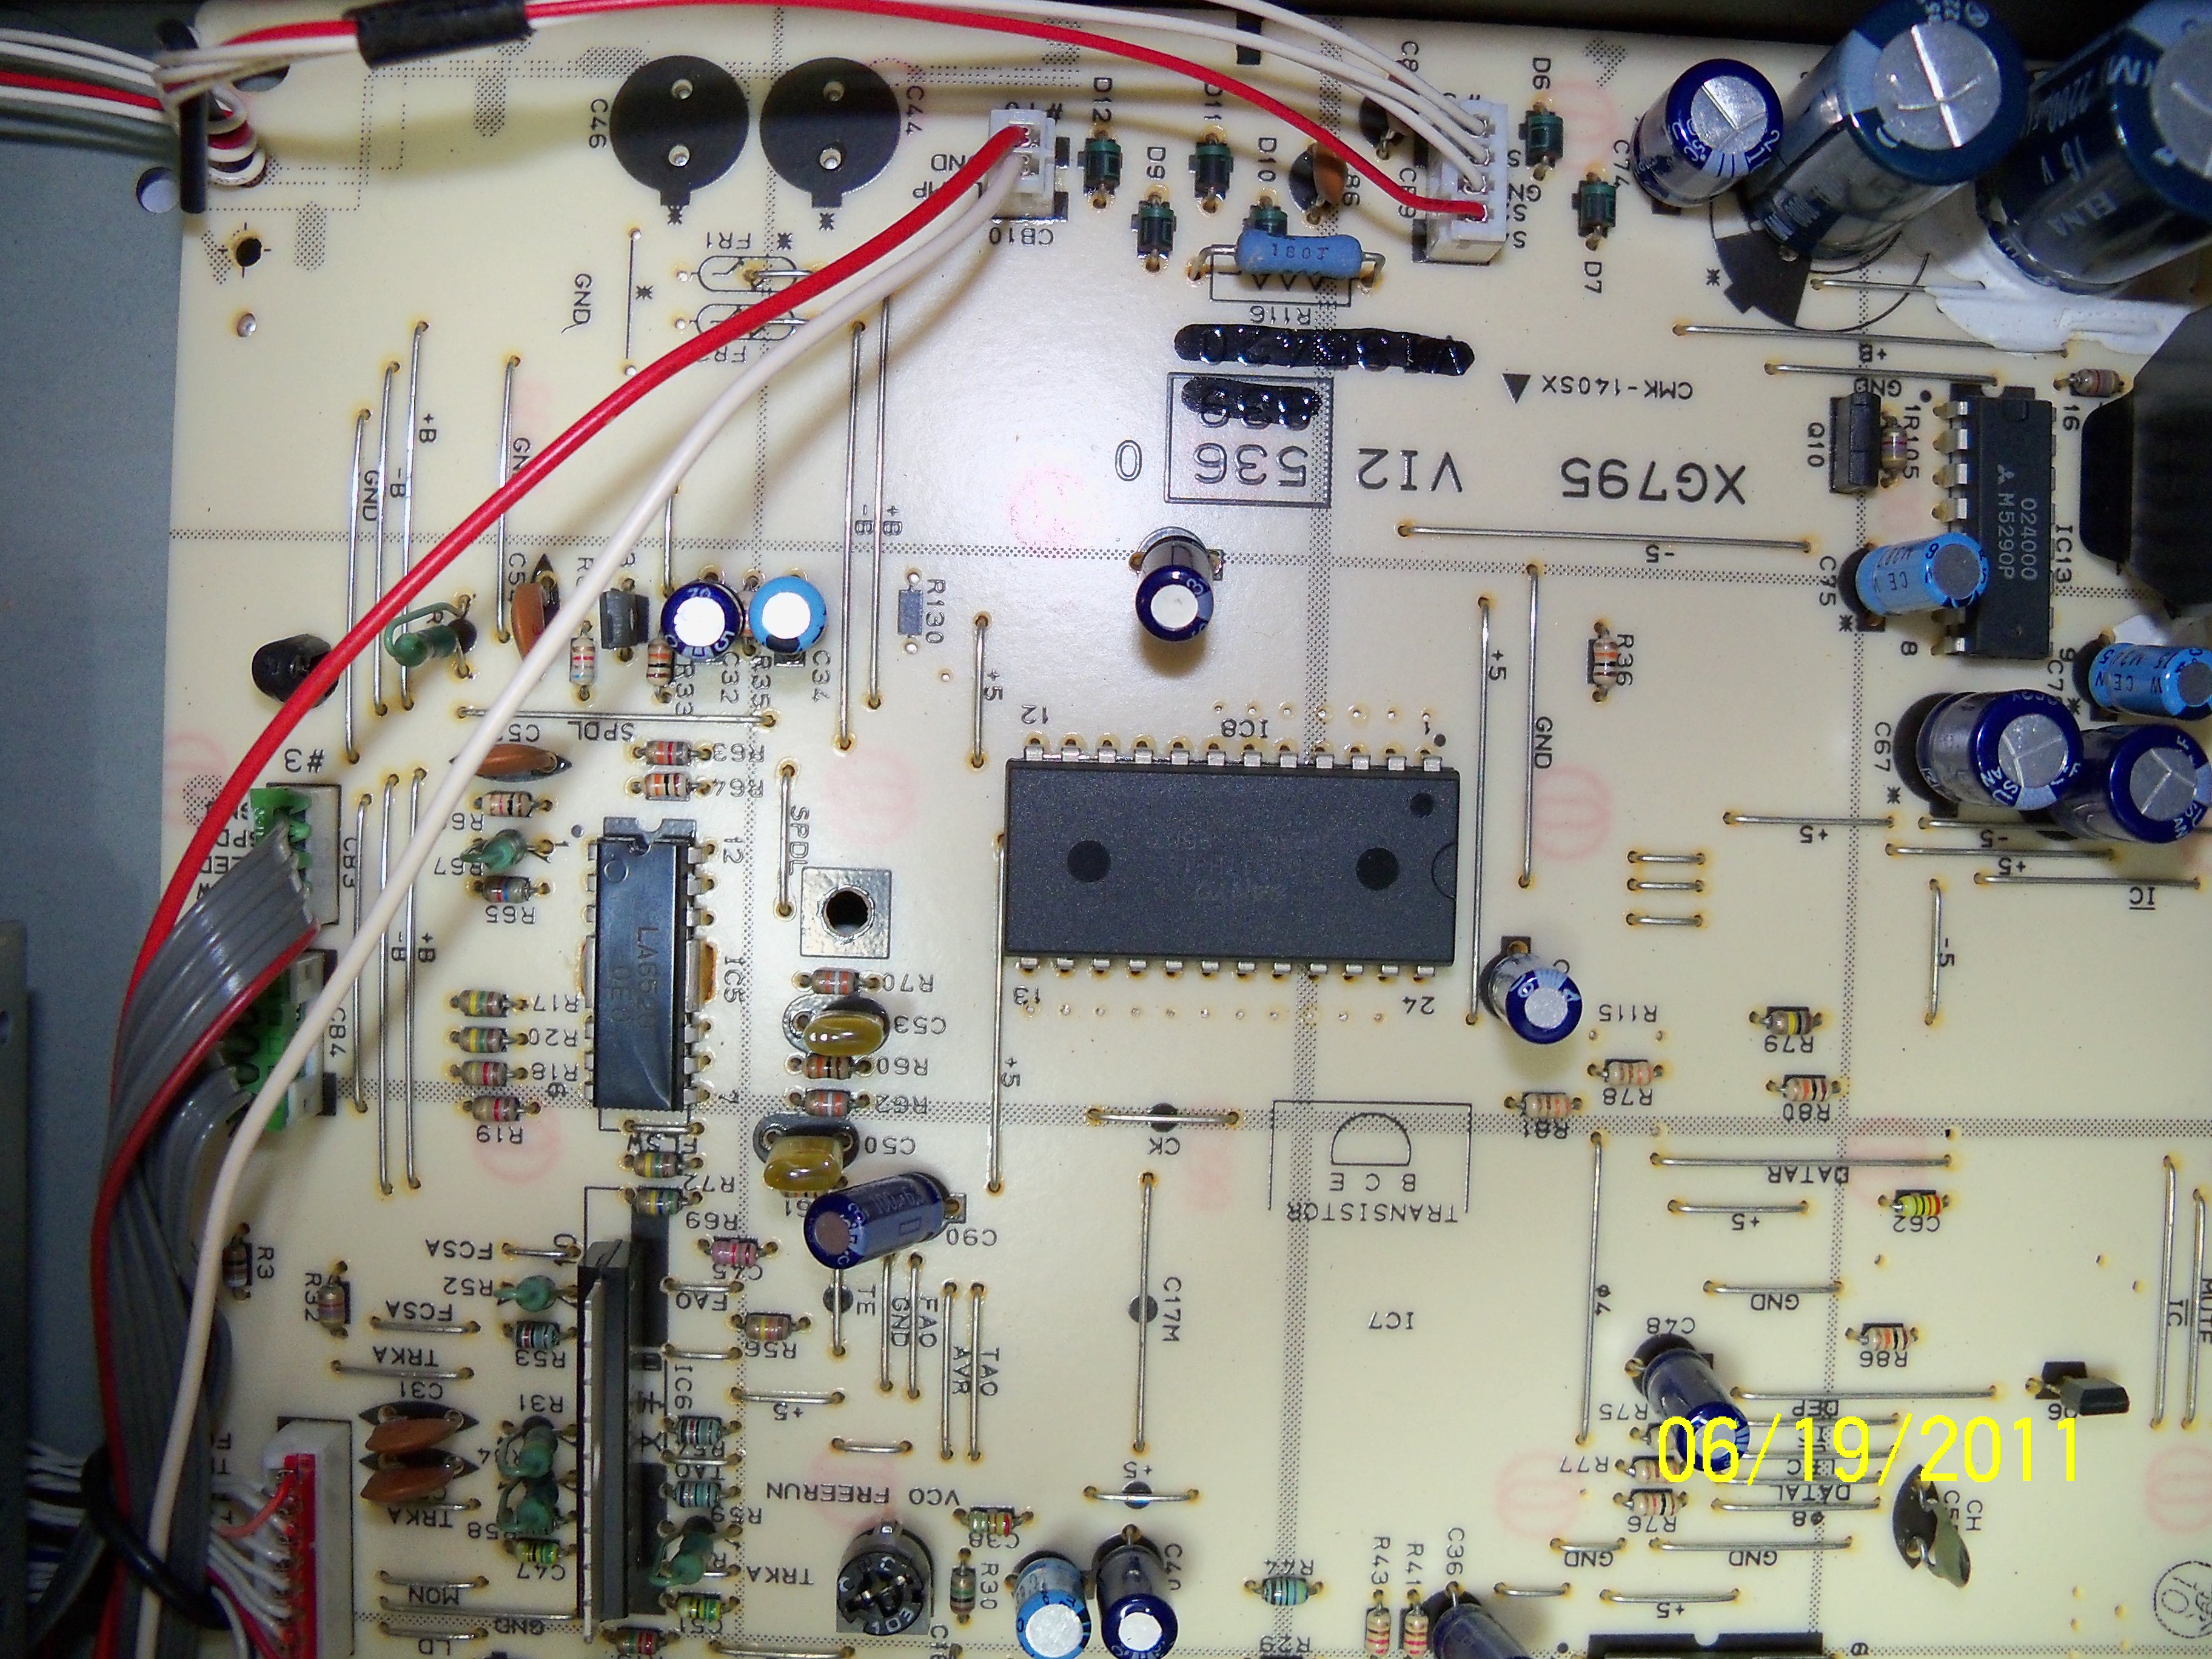
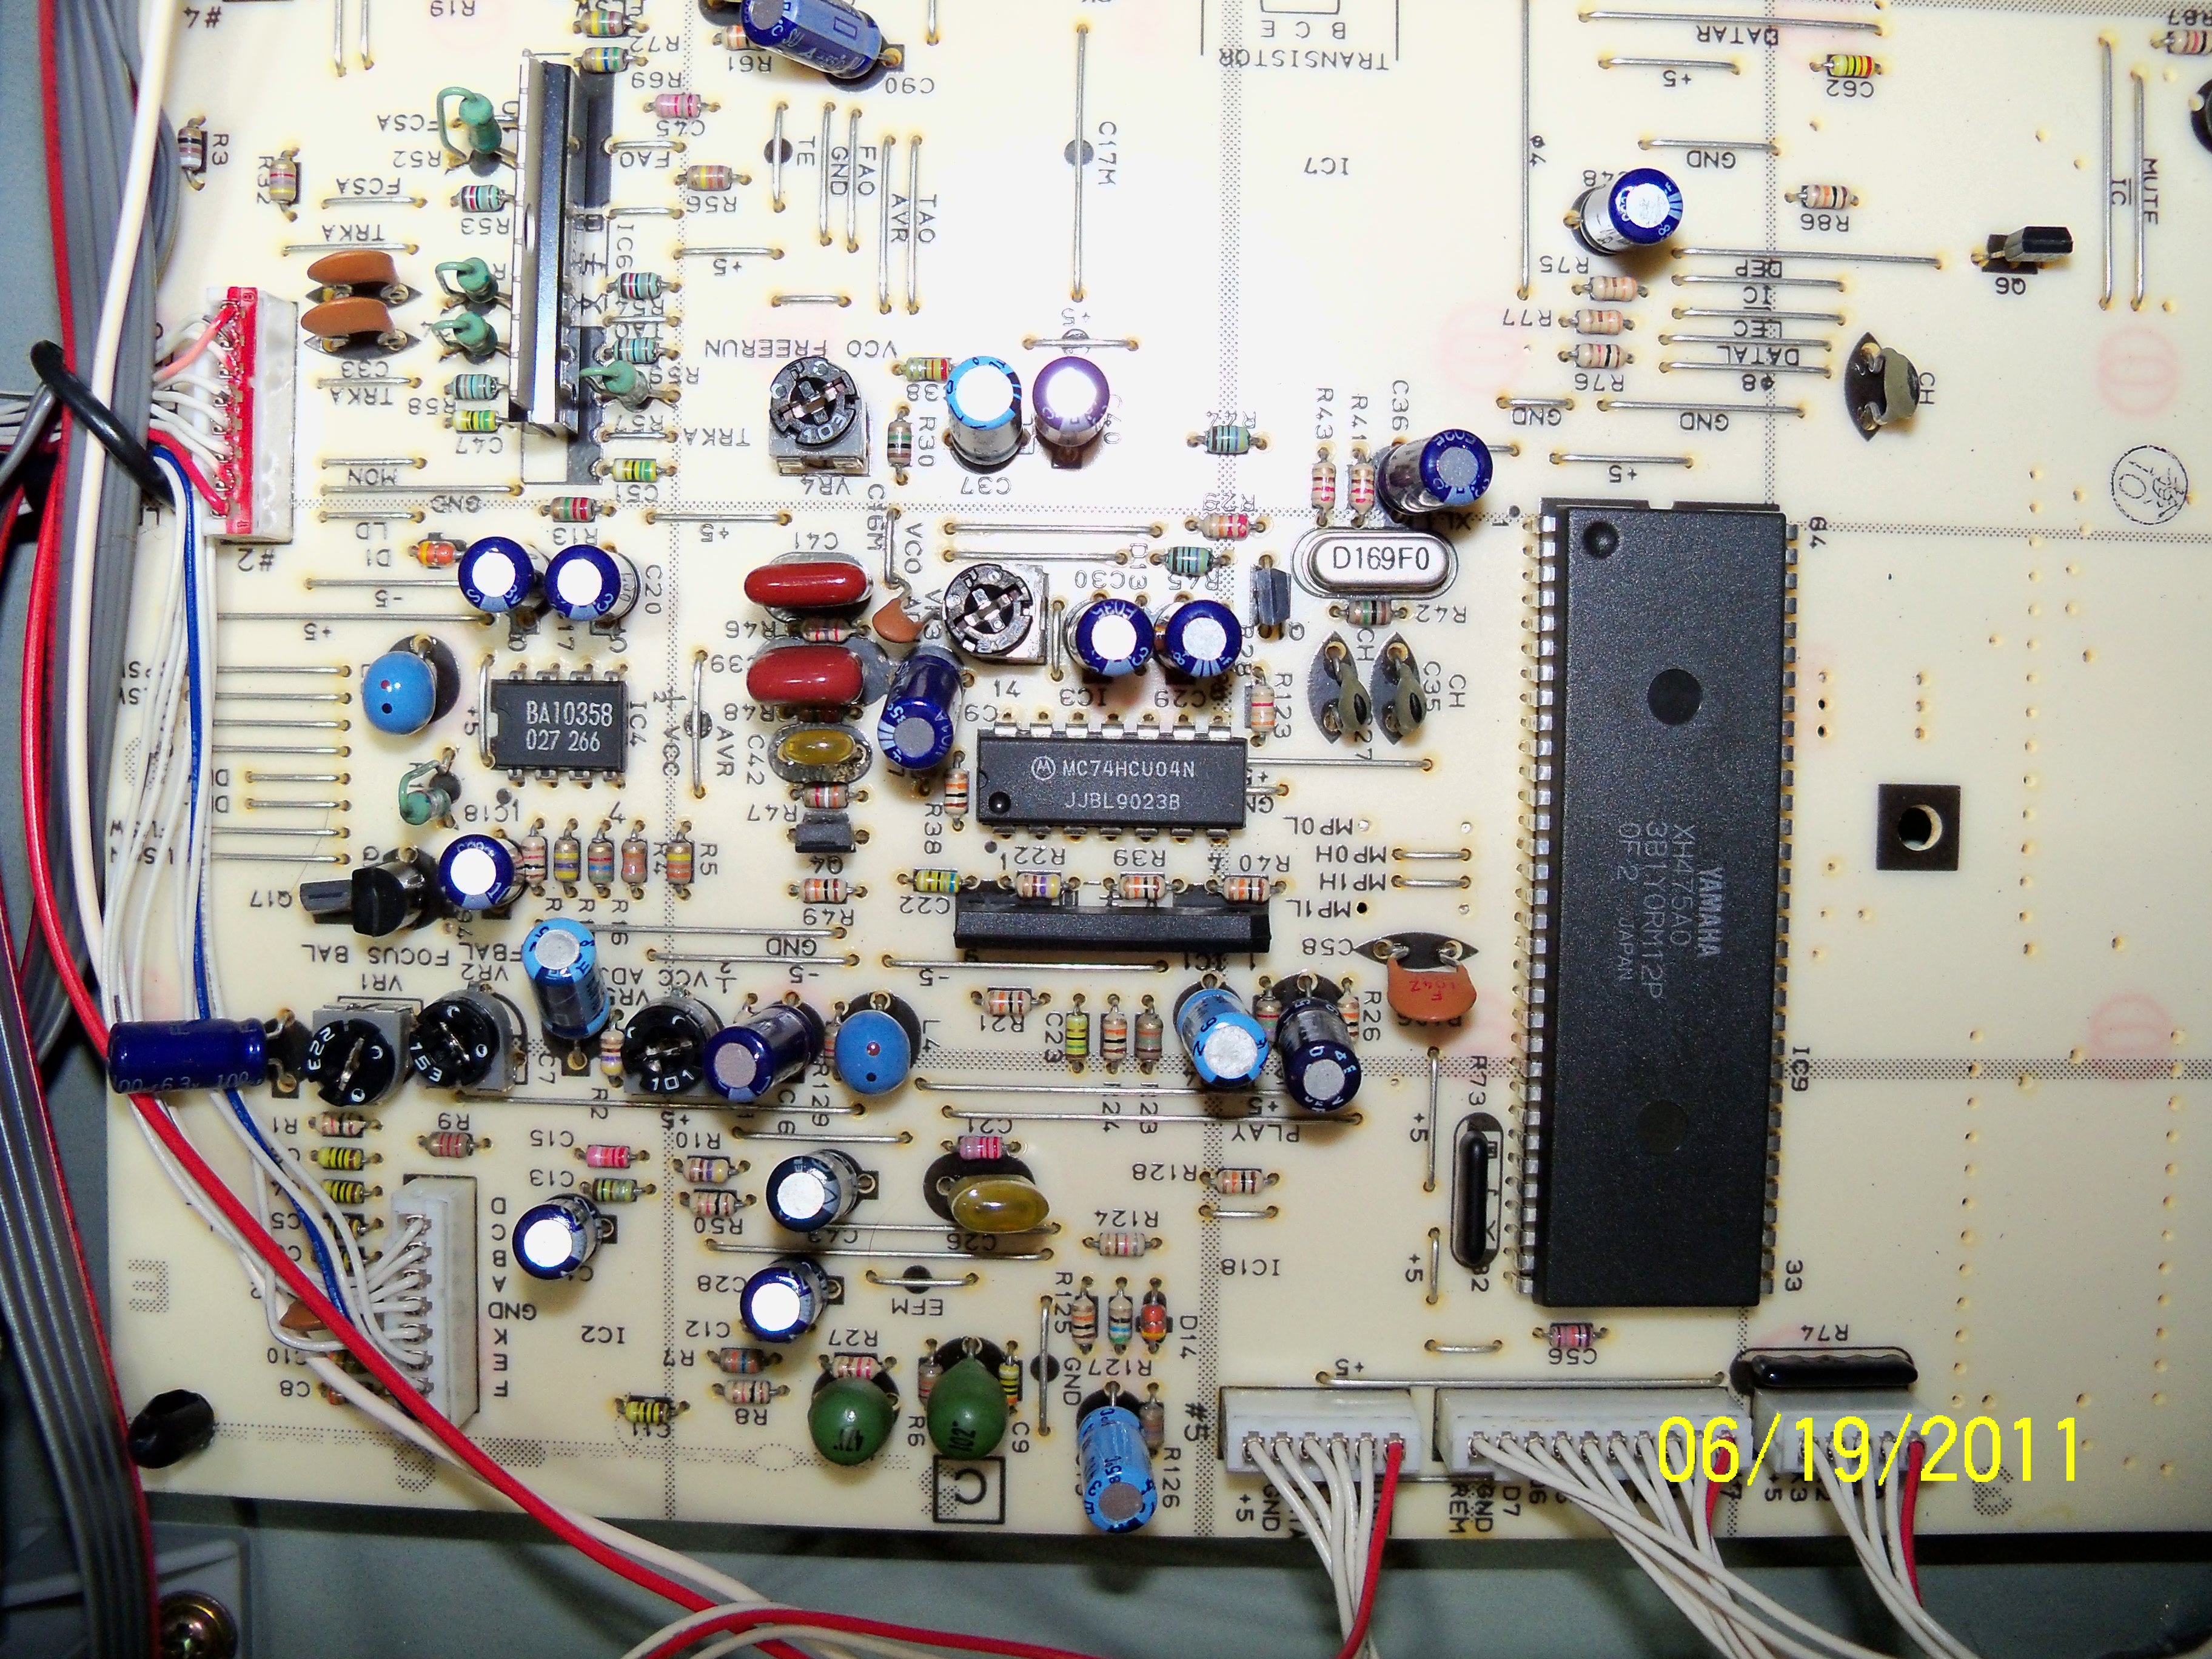
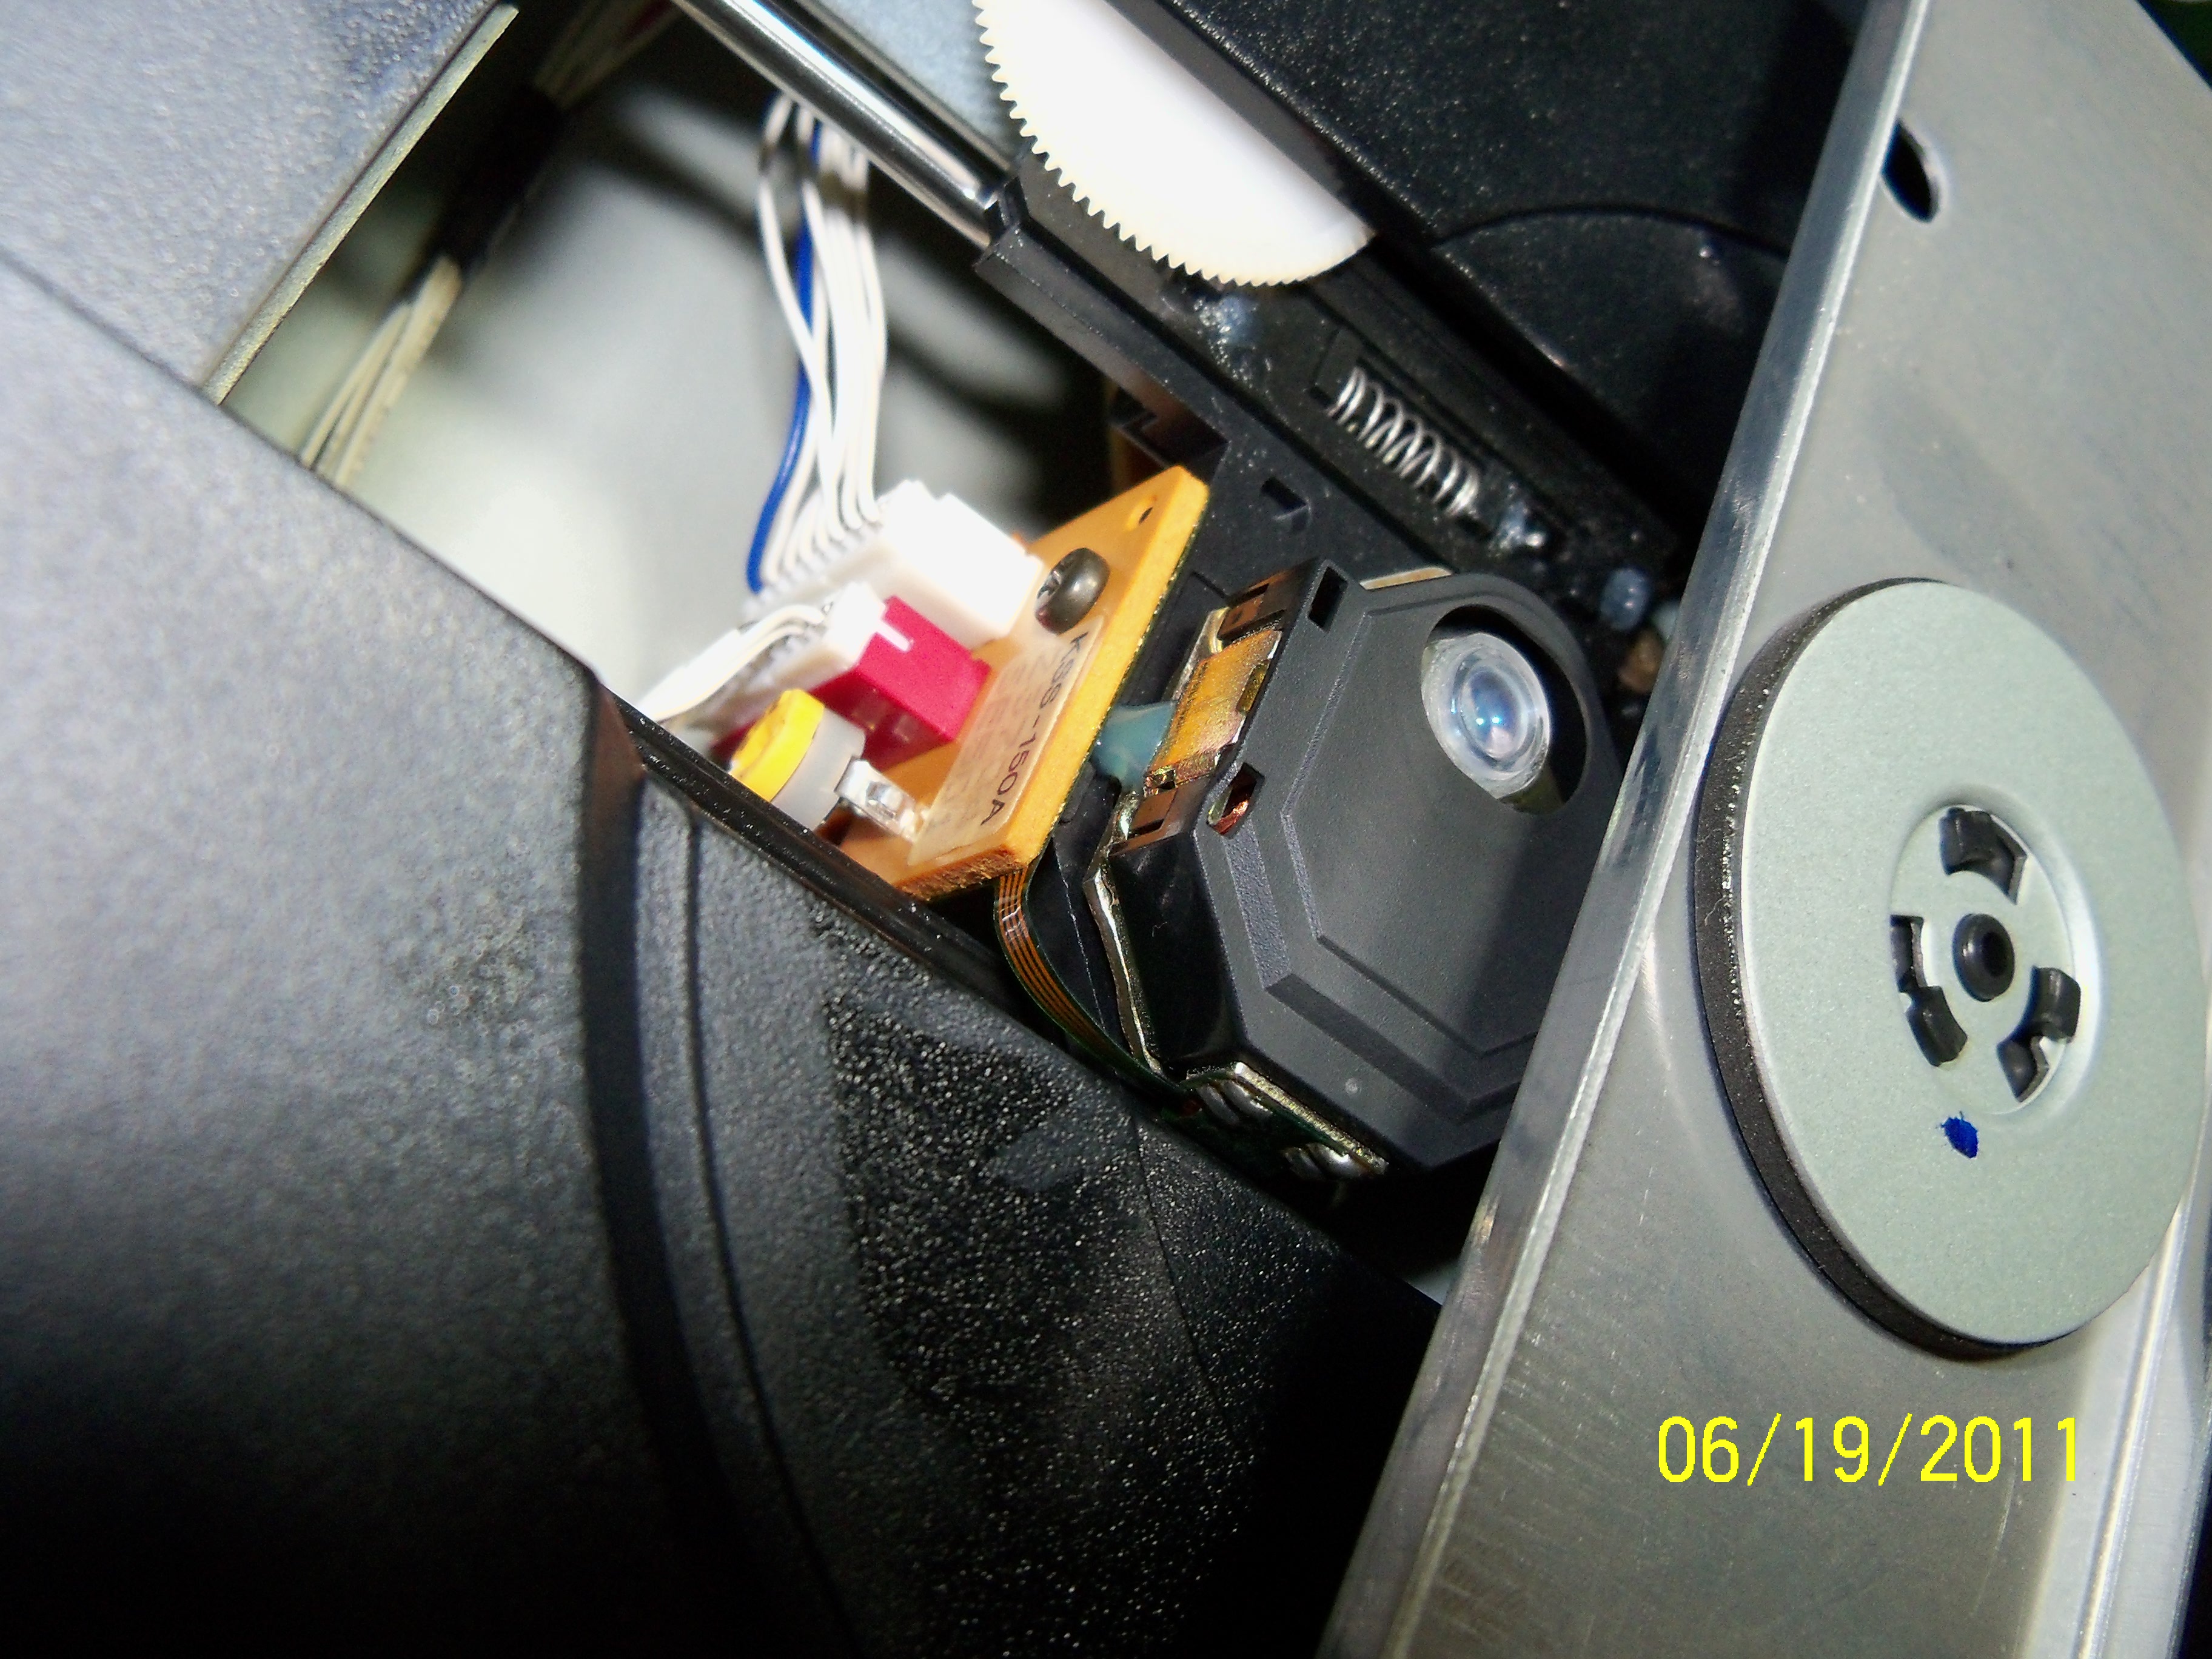
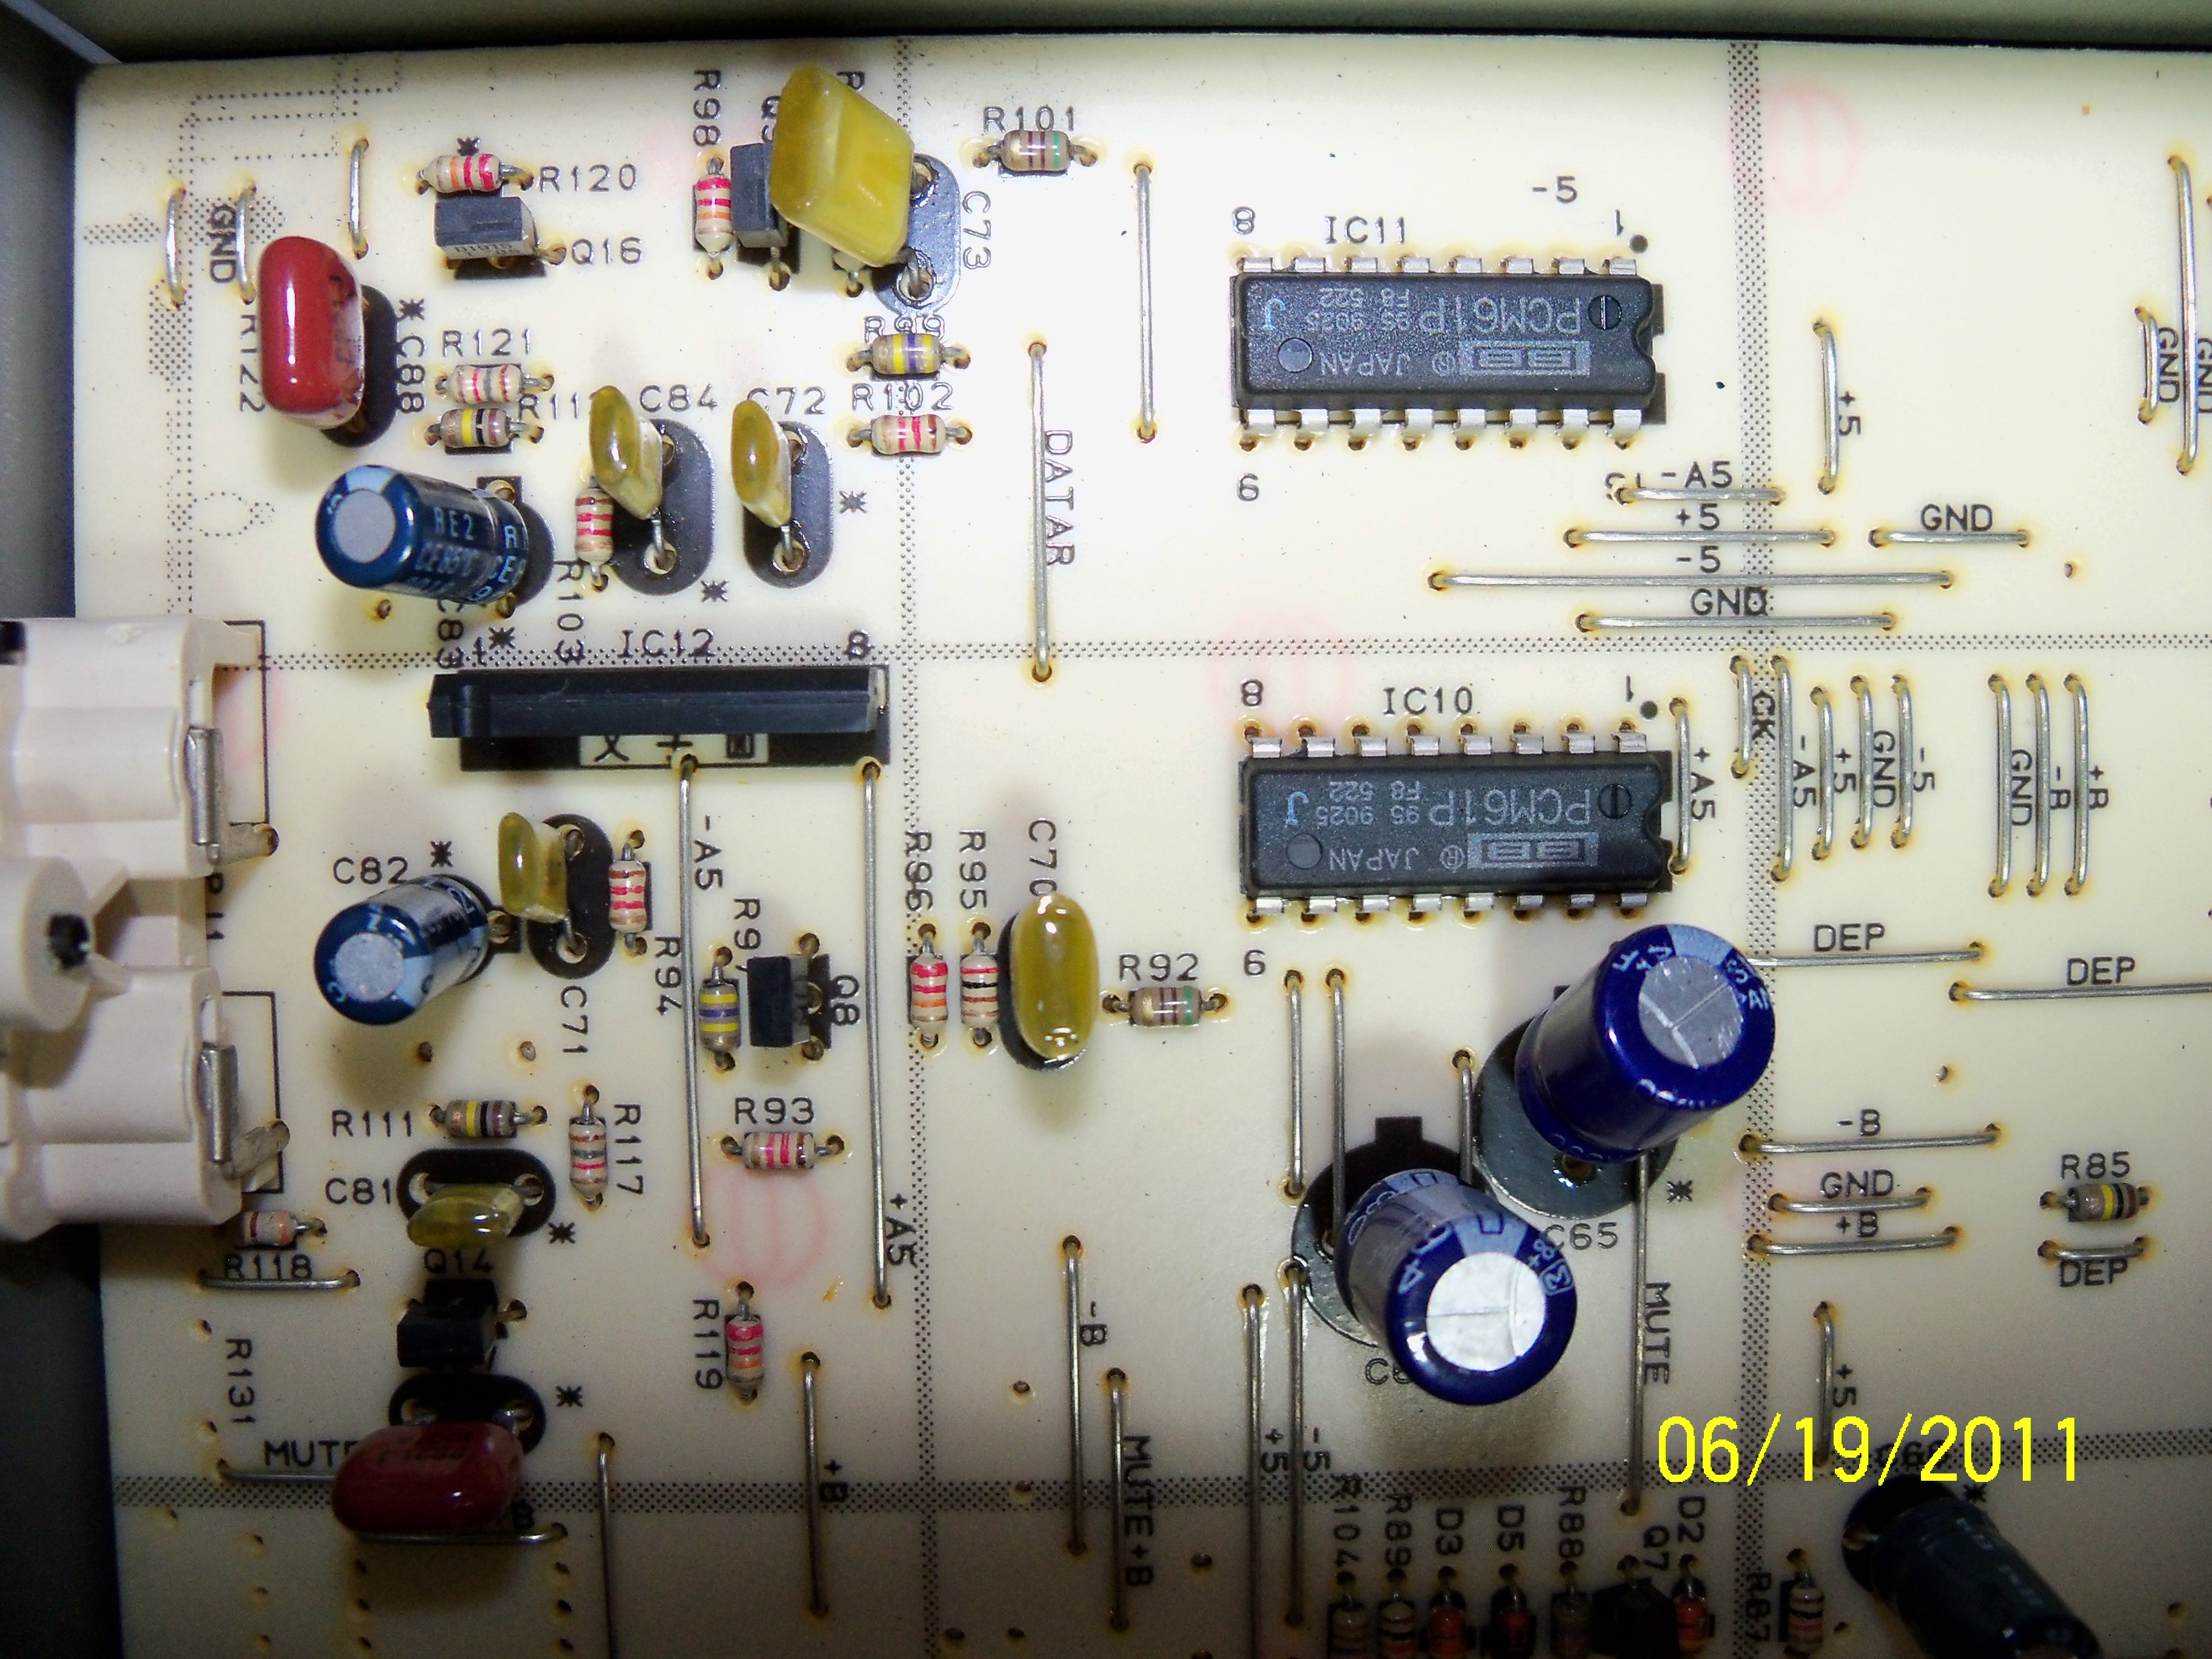
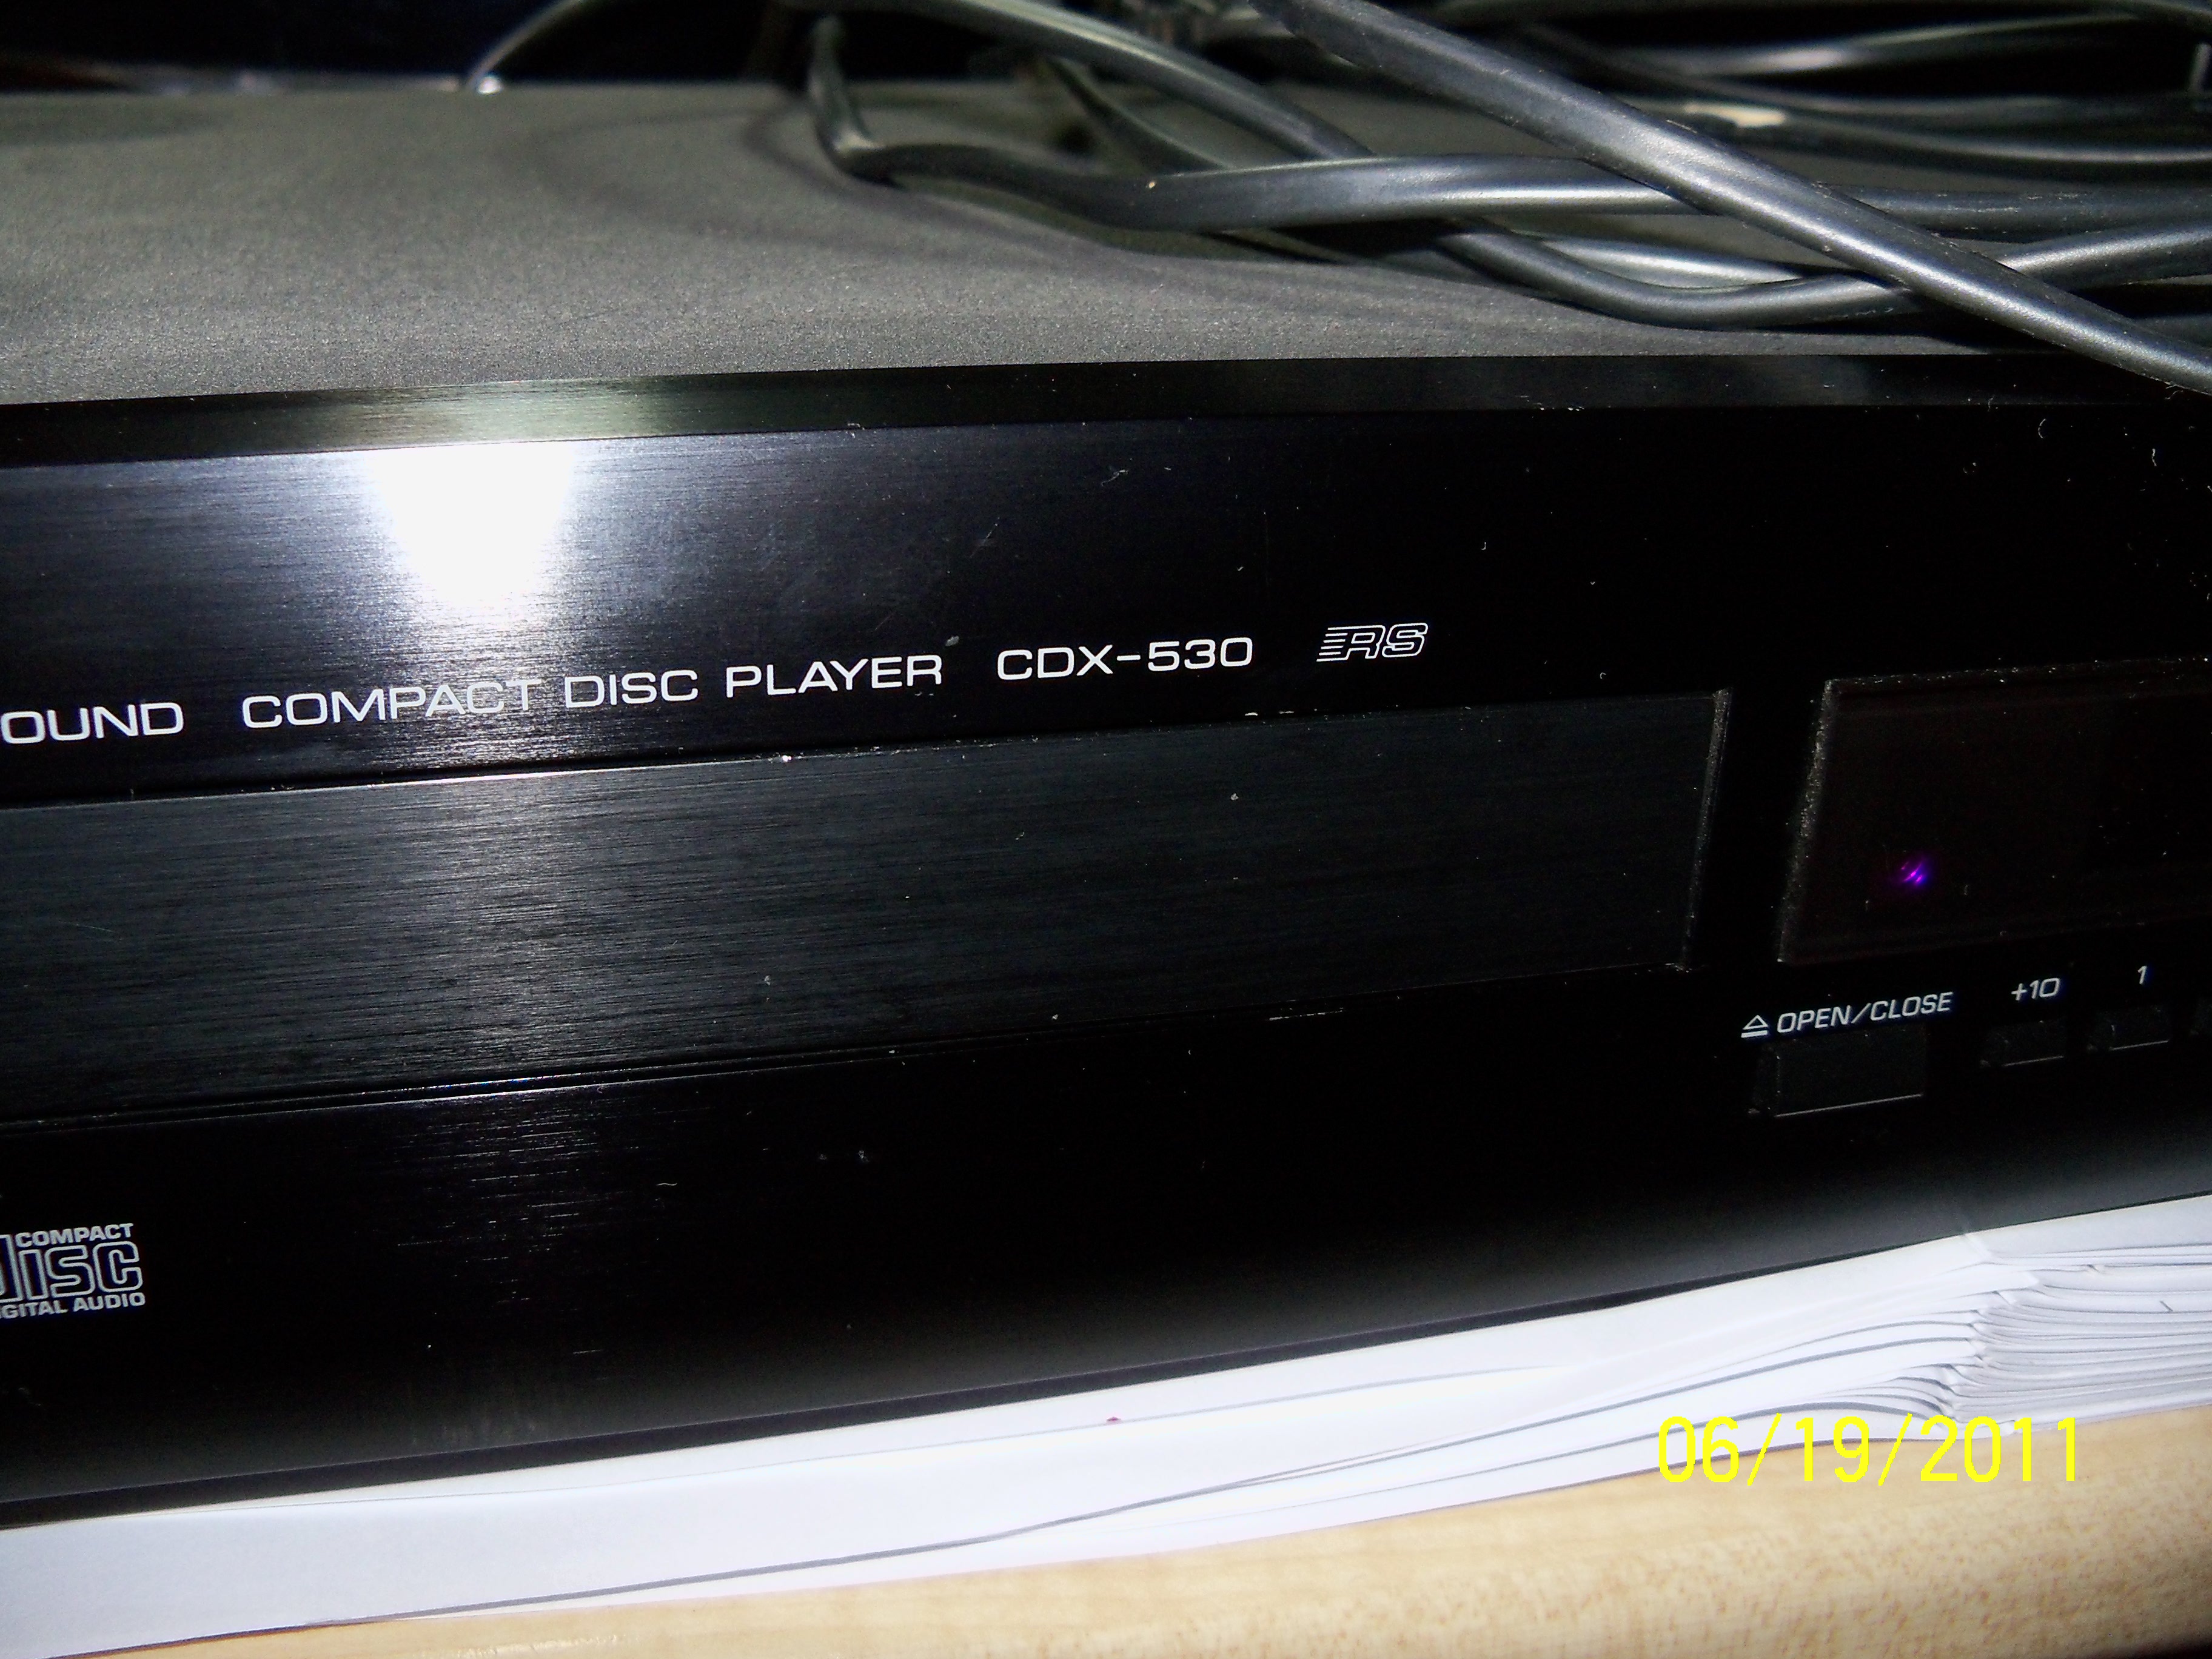
Head Over Heels. (click for larger view) Each track on the disc display this anomaly. A high frequency tone or noise in the background of the music. The level is quite low so it is not audible, but it can be clearly seen. Consider that this is a view of the actual PCM samples on the disc. At no time did I pass any of these signals through an additional stage of ADC before viewing them in Audacity. There is a simple explanation for the presence of this noise or tone. Way back in the early 1980s the only way to master a CD was to write the digital data as a pseudo video signal to U-Matic video tape. Before the audio data could be written to the video tape it had to be processed by a PCM Processor. It converted the digital audio into a video signal the video recorder could record. It would appear the audio was played into the ADC units of this PCM processor (typically a Sony PCM-1630) and in the process the horizontal scan frequency of the video signal leaked in. The horizontal scan frequency is 15.750 or 15.625kHz depending on whether NTSC or PAL video timing is used during mastering. When you look at the spectrogram view you will see the noise/tone at that location. It is very likely that many other early CDs display this interesting anomaly. 19 June 2011 Yamaha CDX-530 I took some photos of the innards of my Yamaha CDX-530. I now have a service manual for it too. I love this player. It never screams at you.
|
||||||||||||||||||||||||||